Getting the Apple Watch up & running
Posted by Wesley on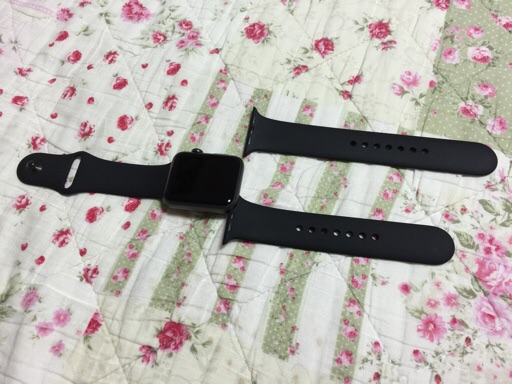
Replacing Apple Watch's sport band with a shorter one
This post should have been up much earlier, but thanks to a week-long business trip it was inadvertently delayed. Anyways, going back to the day I got the Apple Watch two weeks ago, I noticed that the longer sport band was pre-installed on my 42mm version. I have a relatively thin wrist, around 170 to 175mm circumference, which is at the lower end of the Apple's 165 - 195mm range for most men. So I felt that a shorter one would do just fine.
Switching the band was quite easy. I just pressed the button at the back of the watch near the band and the band was slid out smoothly. Then I inserted the shorter band into place, after which the button clicked and the band was locked.
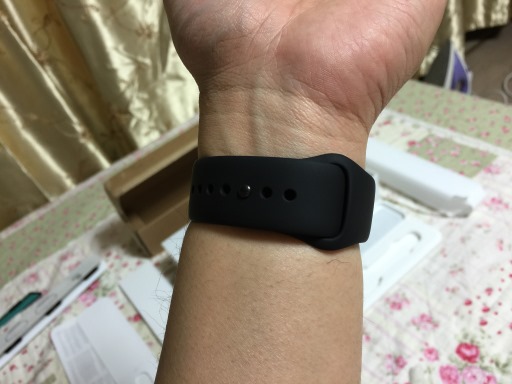
Checking the feel of the watch on the wrist
With the right band in its place, I put the watch on my wrist. Initially, I had the pin on the 3rd notch from the end as you can see here. After a day, I felt that the watch was put on too tight - there was a bit of an ache where the watch's back pressed on my wrist. So the pin was put on the 2nd notch thereafter.
This was much more comfortable, as the Apple Watch was able to shift around the wrist more. But this occasionally made the watch go into the locked state because it thought that it was no longer touching the wrist (more about locking in another post).
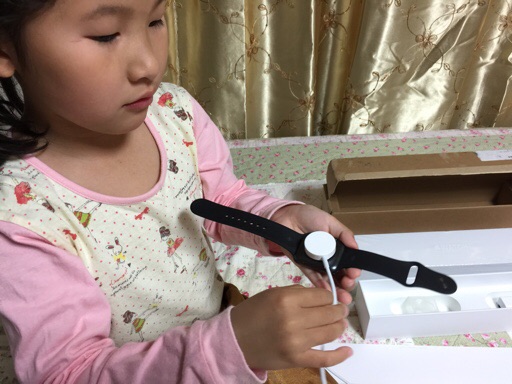
Celine puts the inductive charger on the Apple Watch
Apple Watch's battery is inductively charged using this round charger. The charger has a white plastic housing like this for the Sport (aluminum) version, while the other, more expensive versions have metal housing. After using it for several days, it seems that the difference is related to the material used for the back of the watch. Sport models use hard-coated plastic lens to cover the sensors, while the the others use sapphire. Therefore the metal charger may cause scratches on the Sport models.
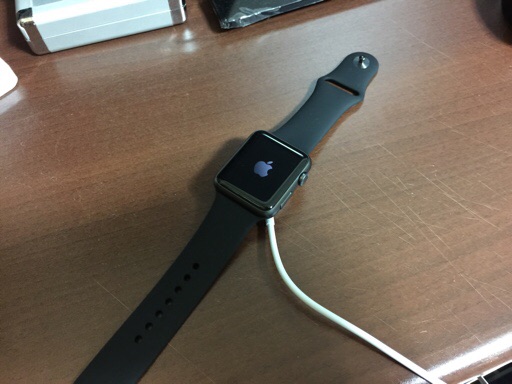
Apple Watch charges and boots up
Once the watch is placed on the charger and automatically held in place via magnets, it took about 2 hours to be fully charged. When it initially boots up, you select what language you want to use, just like an iPhone. But then waits for you to pair it with an iPhone before it could be used at all.
While Apple Watch can be used somewhat independently of the iPhone depending on the features once it's completely set up, the requirement of a compatible iPhone for the initial setup means that anyone wanting to get an Apple Watch should first be properly prepared.
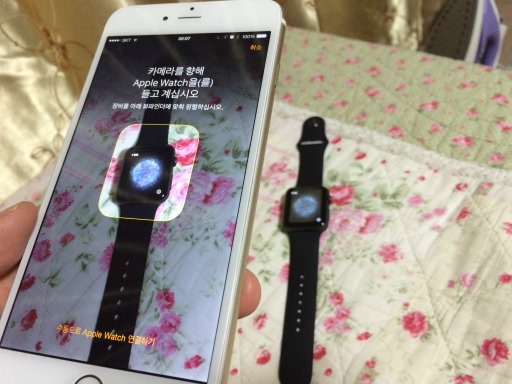
Pairing the Apple Watch to the iPhone 6 Plus
The pairing process involves launching the Apple Watch app on the iPhone and aligning the Apple Watch's screen on the center of the iPhone's camera view.
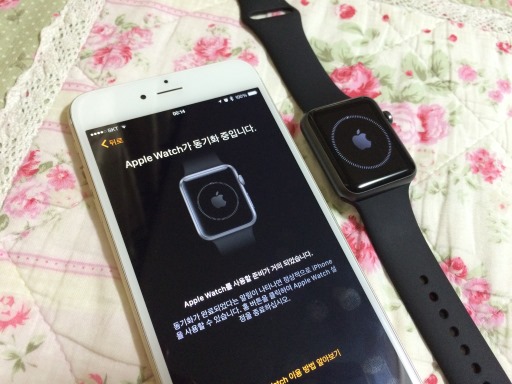
Synchronizing iPhone's data to Apple Watch
After the pairing and a handful of user choices, the apps, data, and settings are synchronized. It's a fairly straightforward and smooth, if lengthy, process. It's everything you'd expect from an Apple product.
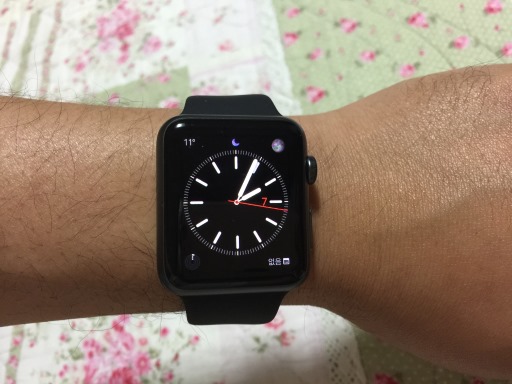
Apple Watch now ready to use
And now, the Apple Watch was ready for use. I'll be showing the daily uses of the watch in the next posts.