Recreating Elsa's crown from "Frozen"

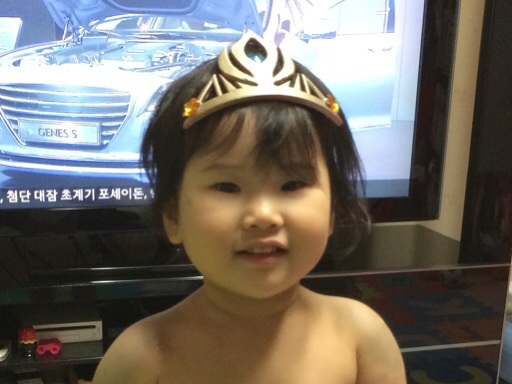
Hayun wears the completed Elsa's crown

It's safe to say at this point that Disney's feature-length animation "Frozen" is a big success. Even my daughters have become big fans - watching both the subtitled and dubbed versions, reading the story book, memorizing the theme song "Let It Go", and so on. So when I was looking around for something to print in 3D, a version of Elsa's tiara crown immediataly caught my eyes. Although short-lived, this was one of the most memorable items in the movie.

Unlike most of the 3D-printed objects I made so far, the printing was only the first step for making the crown. It would have to be worn on the head, needing more work. To find out how it went, read on.
Continue reading "Recreating Elsa's crown from "Frozen""

KPX coin - designed and 3D printed

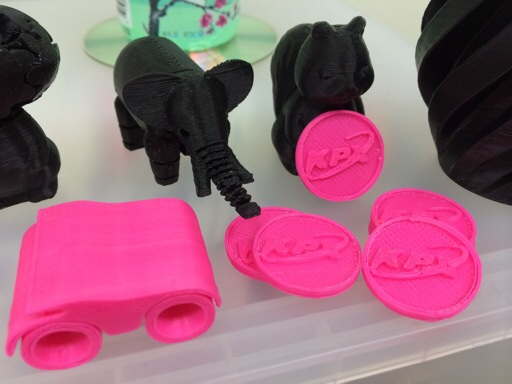
Toys welcome the new KPX coins

I've been downloading and 3D printing a lot of interesting stuff so far. But eventually, I had to tackle the art of using a 3D modeling program to create custom designs. For my first attempt, I decided to make a coin with a logo on its face. Specifically, the logo was that of KPX, which is where I work. As far as I am aware, the company never issued a commemorative coin before, so it seemed to be a good choice.

A few weeks ago, I had installed Autodesk's 123D Design software to make 3D models. I was originally thinking of TinkerCAD, but that had been bought by Autodesk, so I thought I might as well just use Autodesk's original software. Apart from being slow to load on my Mac, it was thankfully not too difficult to make some shapes and move things around.

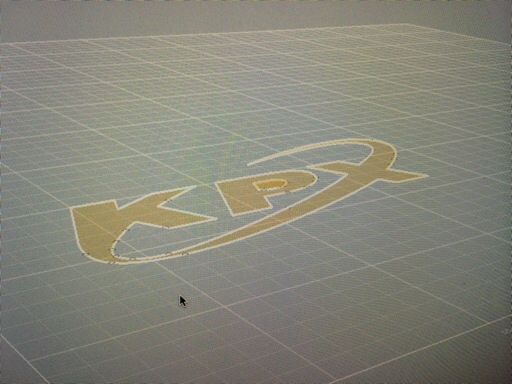
Hand-laid line art depicting the KPX logo

After a couple of practice, I started drawing the KPX logo. Sadly, there wasn't a way of importing an image file to trace over. As a workaround, I put a grid over an image of the logo and drew the lines as closely resembling as possible on the grid within 123D Design. It came out fairly well.
Continue reading "KPX coin - designed and 3D printed"

3D printed balloon car

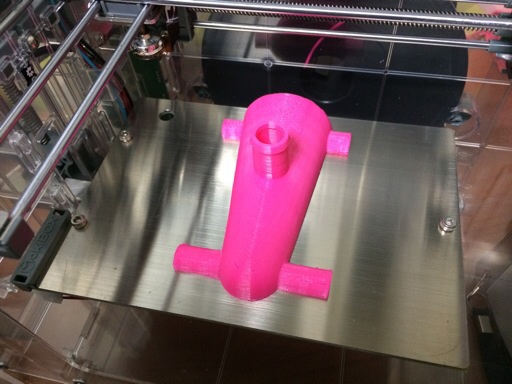
Balloon car body printed

My kids wanted bigger cars from the 3D printer because the ones I made were too small. So I wanted a design that maxes out the print dimensions, while being somewhat special. That's why picked this balloon-powered car. I initially tried the design that uses snap-on wheels, but seeing that the wheels may not turn smoothly, I went ahead with the one that needed separate wires that held the wheels. To see how this went, read on.
Continue reading "3D printed balloon car"

3D printed cars with captive wheels

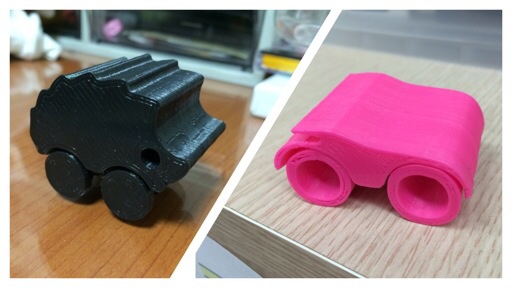
Toy cars printed with rotating wheels already inside

One of the fun things about 3D printing is that, with a clever design, you can have movable parts already inside the printed object. One fine example is having captive wheels inside toy cars, like the ones you see here. No assembly is required - they are already inside the main body and can freely turn after scraping off some excess materials unintentionally introduced during the print. Here is the video of them in action.

Defined tags for this entry: , , ,

Broken filament feeder in Makibox

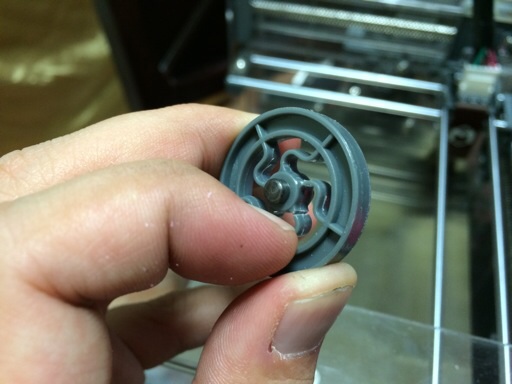
The broken Zen Drive wheel

My Makibox 3D printer was doing very well up to early this month. But then suddenly, it decided to stop pushing the plastic filament into the extruder. After some manual pushing, it worked again for a while, but then it'd stop yet again. Looking at the filament, I saw some grinding, so I initially suspected a clogged nozzle. But if I disengage the filament from the feeder and push the filament in by hand, the nozzle had no problem putting out the material. So I took the filament feeder apart.

Now, Makibox's filament feeder is called "Zen Drive". It consists of a stepping motor with toothed axis and a tension wheel. The teeth "bites into" the filament to make it move, while the wheel allows the filament to catch onto the teeth in a consistent manner. When I disassembled the Zen Drive assembly, I noticed that two of the wheel's spokes had snapped. Snapped spoke meant that a consistent pressure couldn't be applied to the filament. This was the cause of the inconsistent filament feed I experienced. It was time for a repair.
Continue reading "Broken filament feeder in Makibox"

Copyright (C) 1996-2025 Woo-Duk Chung (Wesley Woo-Duk Hwang-Chung). All rights reserved.