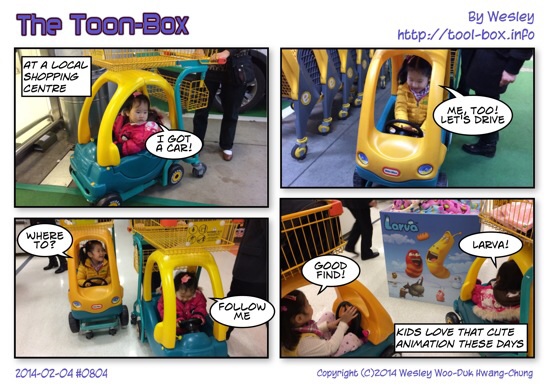
Today's "The Toon-Box" Posted by Wesley on Tuesday, February 4. 2014 Defined tags for this entry: animation, car, Celine Chung, Hayun Chung, Larva, shopping cart
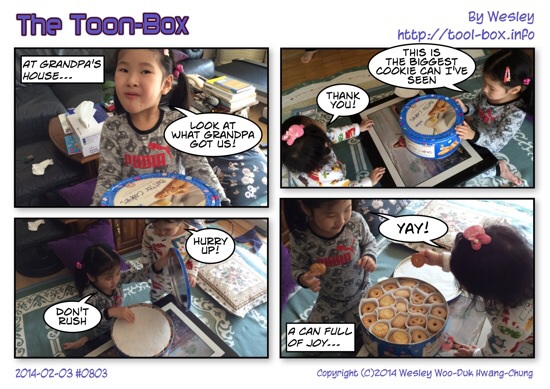
Today's "The Toon-Box" Posted by Wesley on Monday, February 3. 2014 Defined tags for this entry: Celine Chung, Danish butter cookies, Hayun Chung
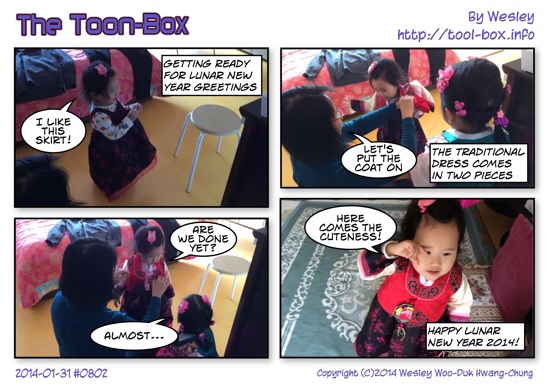
Today's "The Toon-Box" Posted by Wesley on Friday, January 31. 2014 Defined tags for this entry: Hayun Chung, Lunar New Year, traditional Korean dress
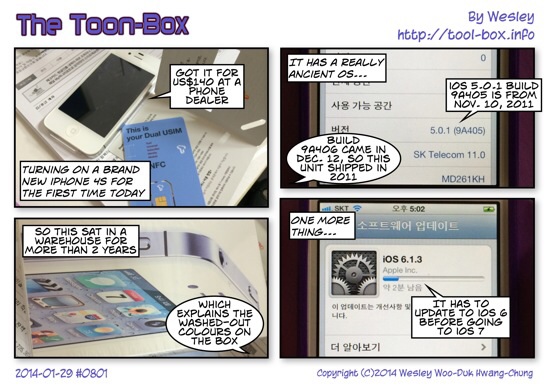
Today's "The Toon-Box" Posted by Wesley on Wednesday, January 29. 2014 Defined tags for this entry: 2011, iOS 5.0.1 build 9A405, iPhone 4S
Iridium 20 satellite flare Posted by Wesley on Tuesday, January 28. 2014 This is a recording of the flare from Iridium 20 satellite over at Yatap subway station in Seongnam. Device: iPhone 5S Settings: 30mm - ISO 1250 - 1/15s - f/2.2 Filters: None Time: 2014-01-28 19:25 KST Location: Seongnam, KoreaDefined tags for this entry: astronomy, flare, iPhone 5S, Iridium, satellite