Building Makibox (Part 1)
Posted by Wesley on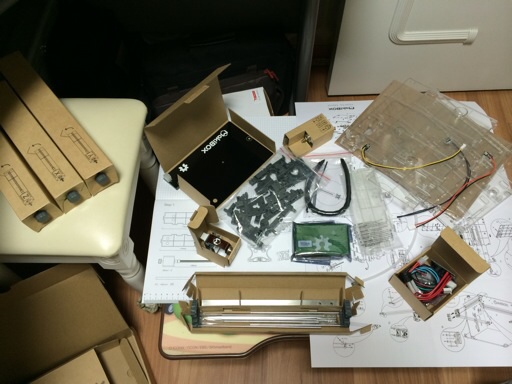
Opening up the box of parts for Makibox
After the Christmas festivities died down and the kids were put to sleep, I got to work on building the Makibox A6 HT. The kit had an assorted array of plastic and metal parts, as well as some pre-built parts like the main circuit board and nozzle. It also came with a detailed (but slightly buggy) assembly instruction.
If things went smoothly, I would've finished building it and had some time to sleep. But apparently that would not be the case. Hiccups along the way dragged down the build speed, and I could only finish about half way through before getting one hour of sleep and going to work. If you want to hear what happened, keep reading.
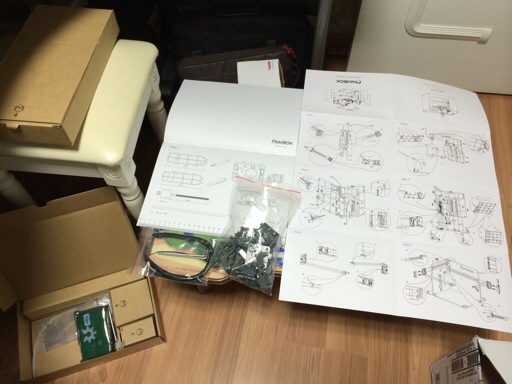
Build table for Makibox
I set up a small table with the instructions spread out over it, so I could locate the necessary parts and build the machine without looking elsewhere. This worked fairly well.
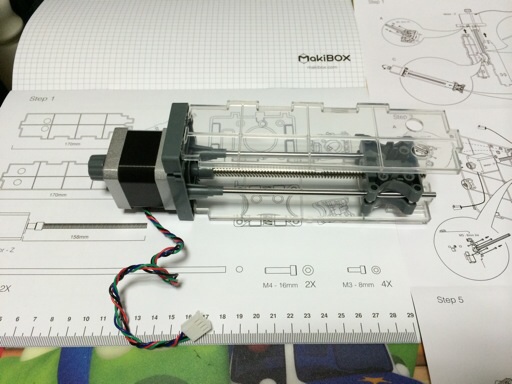
The Z-axis assembly
And so, I got to get the Z-axis assembly built without much issues. However, this assembly would cause issues later on. The protruded areas meant to fit into the slots on other panels would not go in much at all. After trying many ways of forcing it in, I barely managed to fit them in after filing the edges. I think this issue alone consumed about two hours of build time.
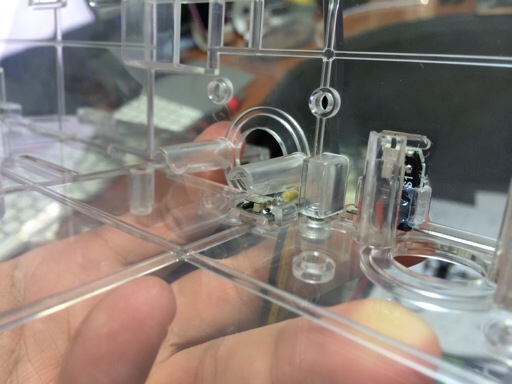
Glue-gunned wires became too thick for the panels to fit in
Then there was the reoccuring issue of the overall design being very tight. In one example, the protective glue-gunning of the wires on the panel was just thick enough to prevent proper fitting of the two perpendicular panels. I had to scrape off the plastic to make them fit.
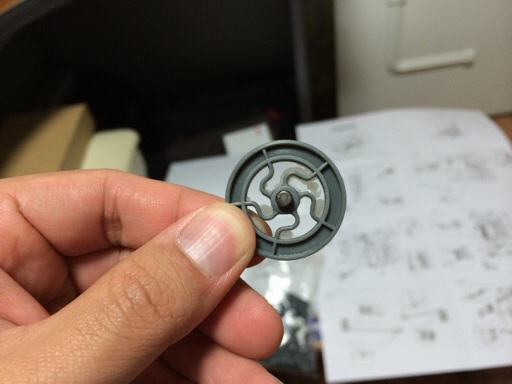
Some parts had disappointing finishes
The plastic parts were more or less okay. Some parts did have excess plastic not quite properly trimmed off, however, so I had to do trimming myself. This wasn't as significant an issue as some of the parts simply not being present in the kit. I decided that I could finish the build, so I kept going without the missing pieces, but I'll have to see how much of an affect this will cause. I contacted Makibox customer support about this.
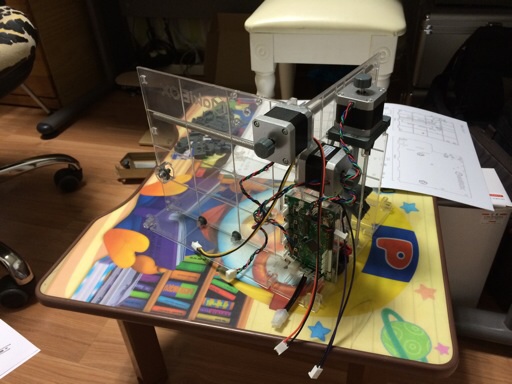
The Makibox build so far
After about six hours of fiddling, I was about half way done. I needed to get at least some sleep, so I stopped and put the whole thing away for now. I think I'll be able to finish this with another night of building session. Wish me luck. I need lots of it.
Defined tags for this entry: 3D printing, Makibox