Building Makibox (Part 2)
Posted by Wesley on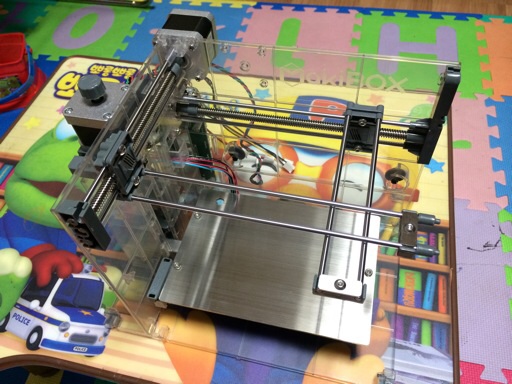
Makibox's axes are in place
Continuing from where I left off yesterday, I proceeded to put the rest of the Makibox A6 HT parts together. The X and Y axes that will accommodate the printing head was installed. This part was fairly easy. The rest of the parts that needed to be assembled were the stuff that fed and printed the plastic filaments, and the cover panels. Read on to see how they look like.
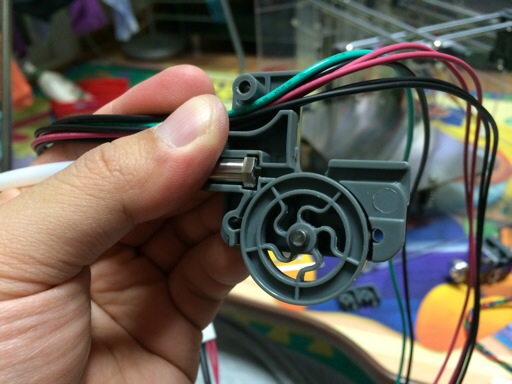
The Zen Drive filament feeder
This is the Zen Drive, which feeds the plastic filament into the tube that leads to the printing head. You can see the half-built form that tells you how it looks like inside.
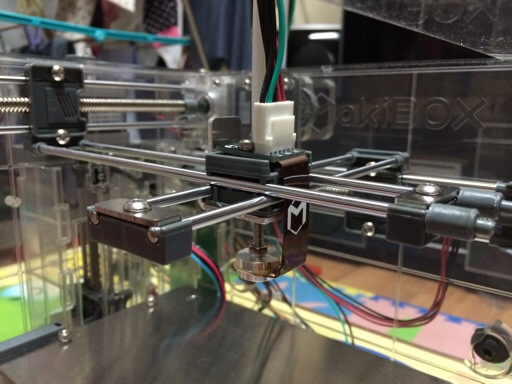
Printer head on two axes
After the Zen Drive was installed on the back, I installed the printer head on the axes. It doesn't quite move as smoothly as I would like, so maybe I need to put some grease.
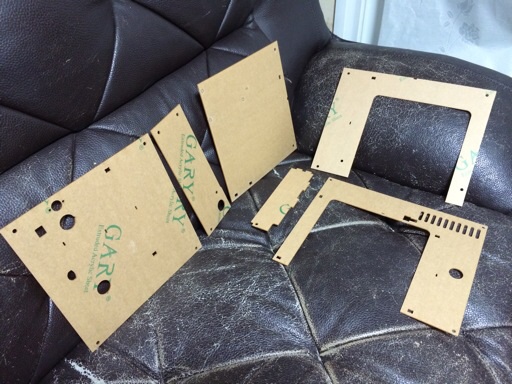
The cover panels (with protective sheets on)
Finally, the plastic panels that cover the whole unit on the outside were screwed on one by one. While it looked simple on paper, the reality was somewhat different.
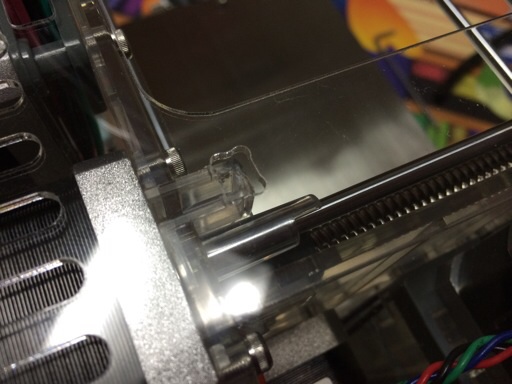
The holes don't quite line up
Some of the holes where screws go in did not properly line up. There must be slight misalignments in the overall build that's causing this. It's annoying, and took some time to make adjustments.
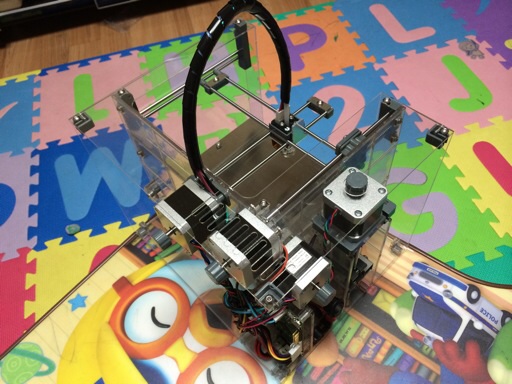
The almost finished Makibox A6 HT
The time ran out before I could install all the panels and adjust fully, but the printer is almost complete now. One more night, and then it's time to tune the thing so it can actually print stuff.
Defined tags for this entry: 3D printing, Makibox