Building Makibox (Part 3)

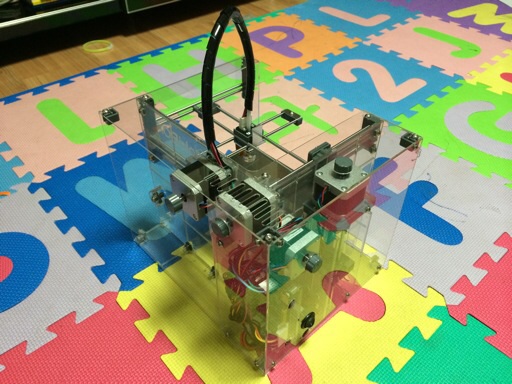
The assembled Makibox A6 HT

While a lot of people were celebrating the turn of the year on the night of the New Year's Day, I was putting the rest of the outer panels on Makibox and making adjustments on the panels that were already installed. With that, the assembly of the printer was complete. However, the work is far from over.
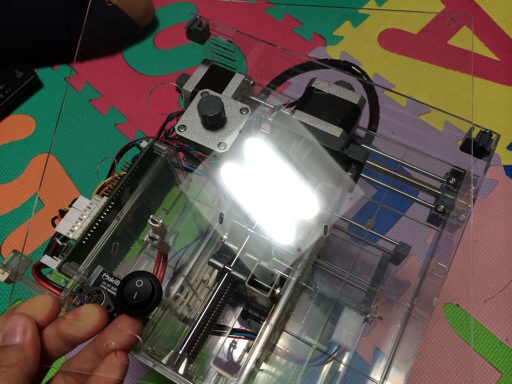
Last panel goes in
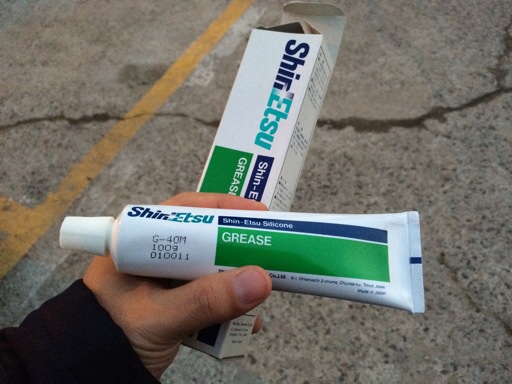

Shinetsu silicone grease

I bought a tube of silicone grease on the last evening of 2013, and applied it to the axes of the fully assembled printer. While it did make movements slightly better, movement still gets stuck at the far end. Upon various observations, the problem seems to stem from the axes not being strictly perpendicular.

I'm planning to make and insert some shims under the holding bars to see if this could be remedied. If this works out, I'm going to try leveling the printing bed and proceed with first test prints.
Defined tags for this entry: ,

Trackbacks

Trackback specific URI for this entry

This link is not meant to be clicked. It contains the trackback URI for this entry. You can use this URI to send ping- & trackbacks from your own blog to this entry. To copy the link, right click and select "Copy Shortcut" in Internet Explorer or "Copy Link Location" in Mozilla.

No Trackbacks

Comments

Display comments as Linear | Threaded

No comments

Add Comment

E-Mail addresses will not be displayed and will only be used for E-Mail notifications.

To prevent automated Bots from commentspamming, please enter the string you see in the image below in the appropriate input box. Your comment will only be submitted if the strings match. Please ensure that your browser supports and accepts cookies, or your comment cannot be verified correctly.
CAPTCHA

Enclosing asterisks marks text as bold (*word*), underscore are made via _word_.
Standard emoticons like :-) and ;-) are converted to images.

Copyright (C) 1996-2025 Woo-Duk Chung (Wesley Woo-Duk Hwang-Chung). All rights reserved.