Building Makibox (Part 4)
Posted by Wesley on
Leveling the Makibox's hot bed
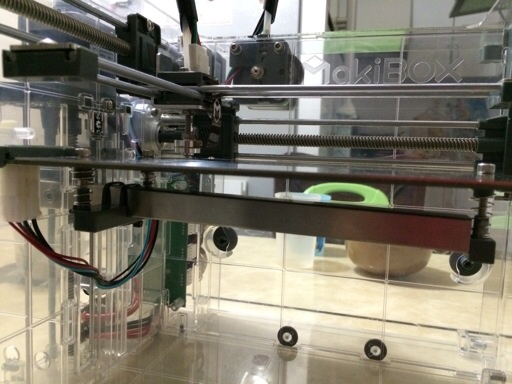
The axis movement issue was somewhat alleviated, so I went with leveling the hot bed where the prints will be formed on. This required turning the three screws on the bed ever so slightly so that the nozzle is basically at the same distance away from the surface.
I made the adjustments without powering on first because they were off by a lot and needed big shifts. The expansion caused by heating of the bed may require further adjustments, but I hope it will be minor.
As for how the axis movement got better, read on.

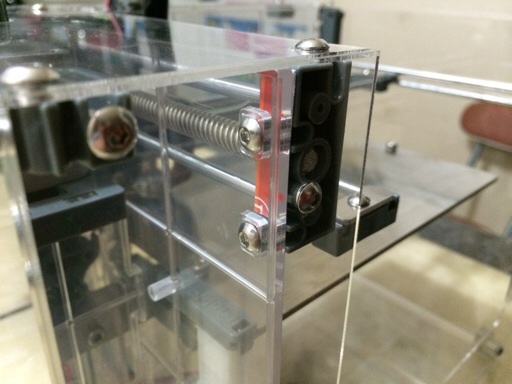
The X-axis fix

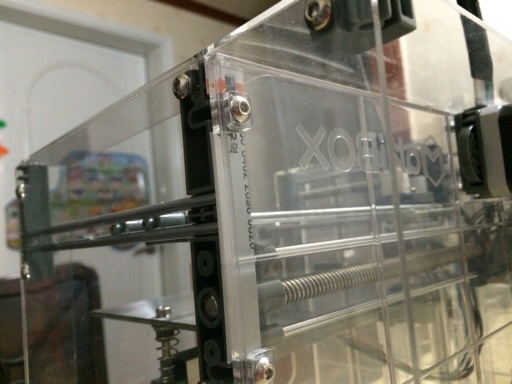
The Y-axis fix
Essentially, I cut out some spacers from a defunct plastic membership card I had and inserted them between the case and the axis holders. This somewhat mitigated the problem caused by the perpendicular panels not fitting in with each other fully. Unless I choose to print a really wide thing, I guess there won't be too much problems.
Next steps are powering it up, putting a roll of filament in, and doing a test print. I hope nothing breaks up.
Defined tags for this entry: 3D printing, Makibox