Building Makibox (Part 5)
Posted by Wesley on
Makibox starts printing a cube
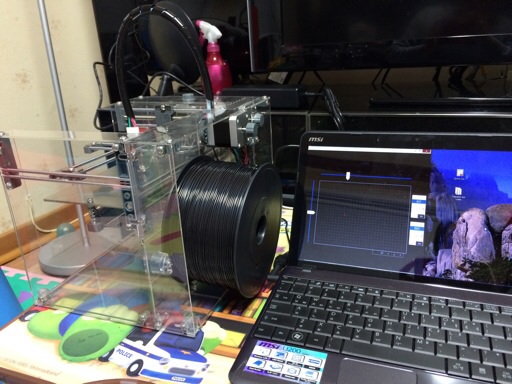
After much worries and adjustments, I decided to bite the bullet and connect Makibox to a computer to do a test print. Windows driver was loaded to my notebook computer, and I downloaded 5DPrint, the host software that operate the printer, to the Chrome browser. On the 5DPrint, I loaded the test cube G-code file provided at the Makibox website for the very first printing test.
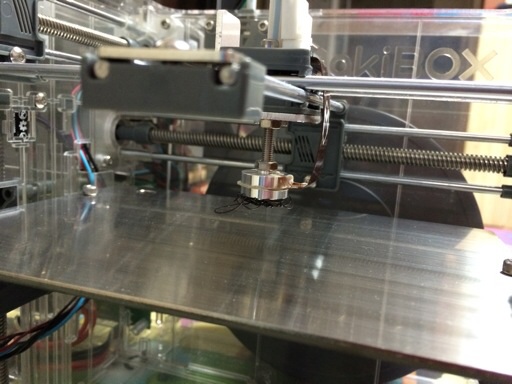
First attempt went horribly wrong because I just loaded the filament and there wasn't enough material to stick to the hot bed first, making the material curl up around the nozzle. The second attempt, however, is going relatively smoothly as I write this. I need to level the hot bed a bit more, but other than that everything seems to be okay. To see the photos leading up to this, read on.

Loading plastic filament into Makibox
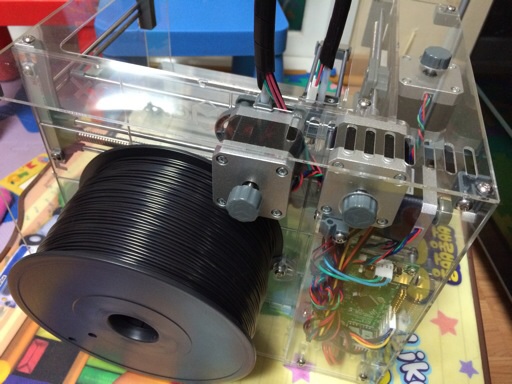
For the first prints, I chose the black filament because it came with the printer and I wanted to use the other colours after the tests were finished.

5DPrint controls Makibox
The 5DPrint software that makes the Makibox move is a web app, but it works fine. Other than loading & printing a sliced 3D shape data, you get to control the X and Y axes manually, which is great for testing movement and leveling the hot bed.

Plastic filament got stuck to the he'd on the first try
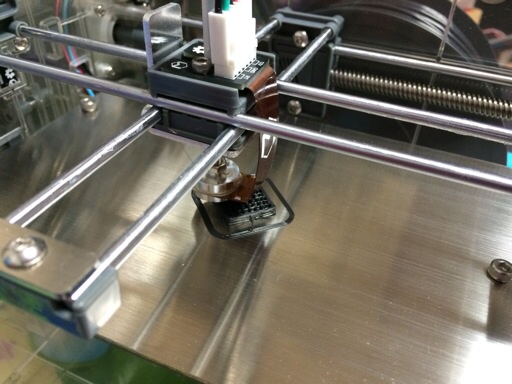
This is how it ended up looking like after the failed first attempt. The black plastic filament got stuck on the nozzle. The next attempt went much better.
Defined tags for this entry: 3D printing, Makibox