Making of the Portable Athlon (9/10)
Posted by Wesley onOf course! Attach it on the case itself! I had initially thought of attaching the panel in such way that it would completely overlap the case's bottom area. However, it would make matters complicated, as buttons or cables stick out of the broad side of the case, making it difficult to position it upright without separate support. The panel would not have good eye-level, either. So I chose a position that made the case stand taller.
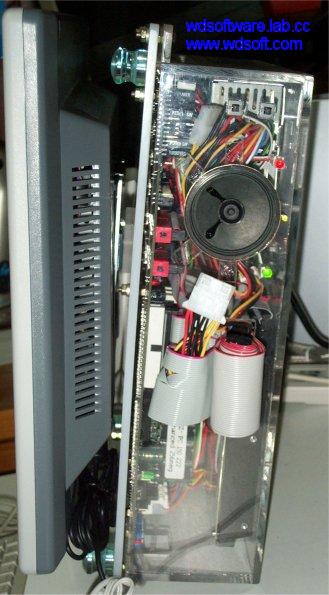
If a panel was to be attached at such position though, total width of the system would inevitably get longer, so I need to detach the panel and turn it around when I was to carry the system around. Therefore, a hook was made and screwed on the panel, and an attacher from the stand was taken off and put on the case's bottom. Having done this, the panel could be easily attached and detached, yet be firmly seated while in use. Luckily, the weight of the panel and the system are pretty much on par and balance out perfectly, so I did not need a separate support.
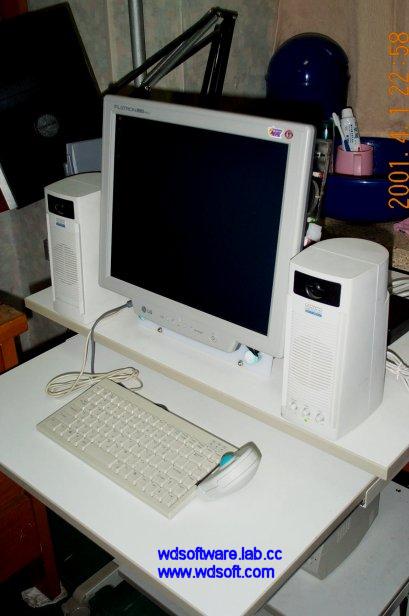
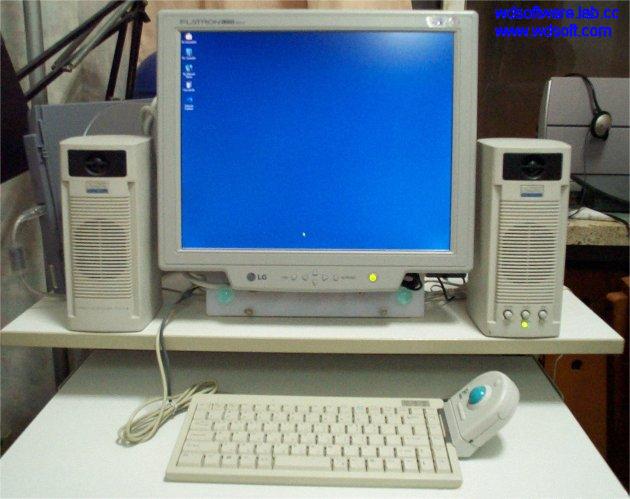
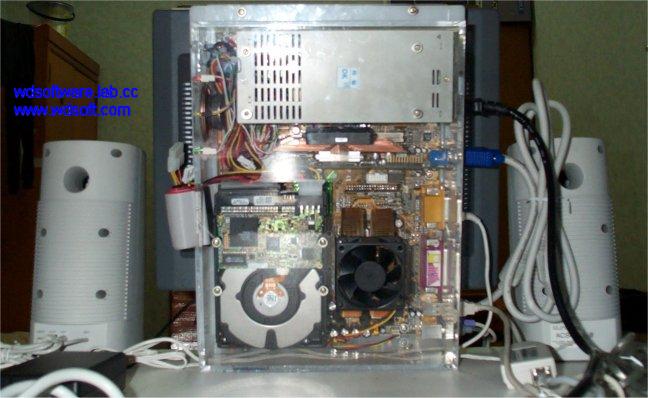
These pictures should show how the system looks like in general. You can see how the whole system is nicely hidden behind the flat panel. To help understand how the panel was attached, and how much space was saved by doing this, look at the pictures below.
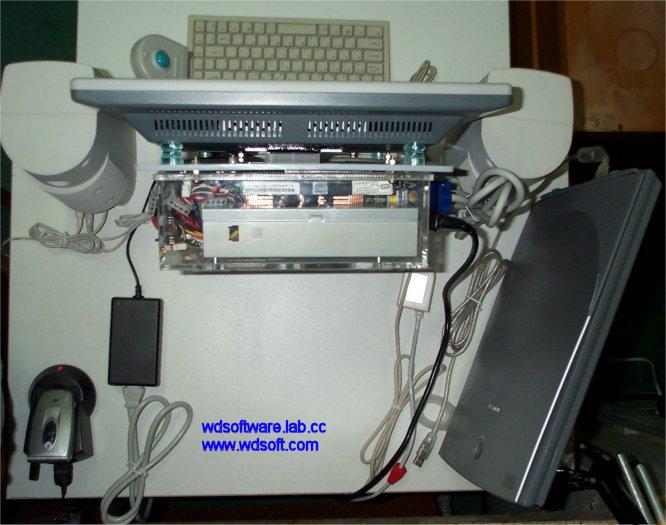
The whole desk used to be occupied by the 17 inch monitor and a mid-tower case, with barely enough room for the speakers. But now, the speakers find its place easily and there's plenty of room even after placing a scanner and a cellphone charger.