KPX coin - designed and 3D printed
Posted by Wesley on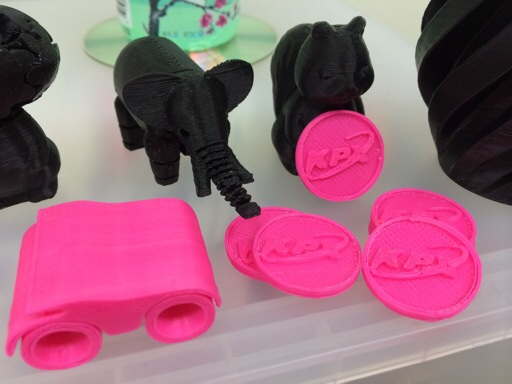
Toys welcome the new KPX coins
I've been downloading and 3D printing a lot of interesting stuff so far. But eventually, I had to tackle the art of using a 3D modeling program to create custom designs. For my first attempt, I decided to make a coin with a logo on its face. Specifically, the logo was that of KPX, which is where I work. As far as I am aware, the company never issued a commemorative coin before, so it seemed to be a good choice.
A few weeks ago, I had installed Autodesk's 123D Design software to make 3D models. I was originally thinking of TinkerCAD, but that had been bought by Autodesk, so I thought I might as well just use Autodesk's original software. Apart from being slow to load on my Mac, it was thankfully not too difficult to make some shapes and move things around.
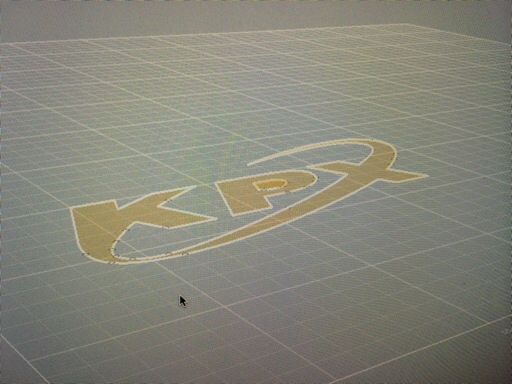
Hand-laid line art depicting the KPX logo
After a couple of practice, I started drawing the KPX logo. Sadly, there wasn't a way of importing an image file to trace over. As a workaround, I put a grid over an image of the logo and drew the lines as closely resembling as possible on the grid within 123D Design. It came out fairly well.
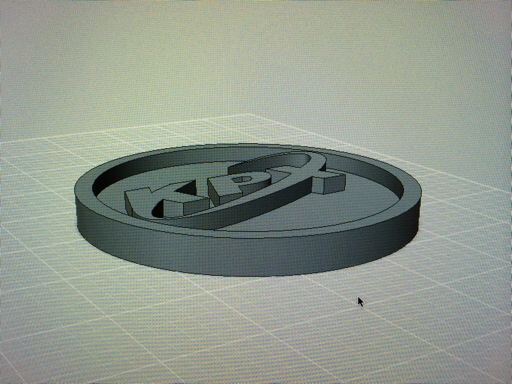
Coin design with KPX logo
With the logo complete, I manipulated some circles into a basic coin shape. The recreated logo was then put on the center and given appropriate elevation. With that, a nice, simple design of a KPX coin was complete. It was exported to an STL file, sliced to a Gcode file, and then sent to the Makibox 3D printer.
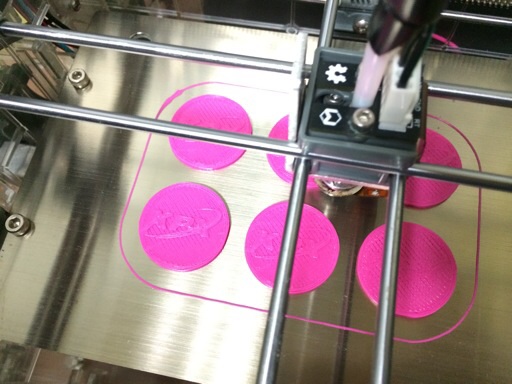
Minting some money in progress
The design is originally intended to make a huge coin - 1cm thick and 10cm in diameter. But that would be more like a medal, so for the actual print, I scaled it to 30% (3mm thick, 3cm in diameter) and made the printer generate six of them at a time.
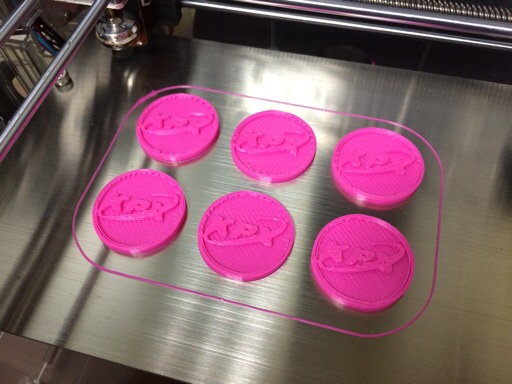
Freshly minted KPX coins
The whole process takes about an hour, so I won't be mass-producing these any time soon. But I think I can make them from time to time for handing out to some of my colleages.