Recreating Elsa's crown from "Frozen"
Posted by Wesley on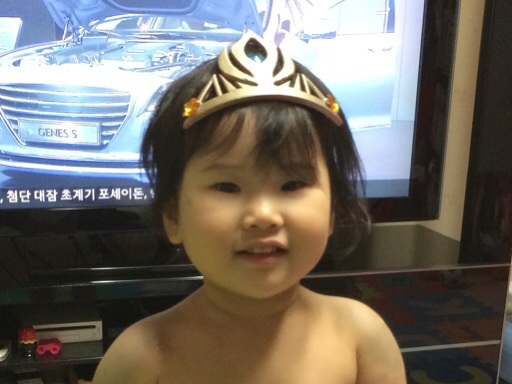
Hayun wears the completed Elsa's crown
It's safe to say at this point that Disney's feature-length animation "Frozen" is a big success. Even my daughters have become big fans - watching both the subtitled and dubbed versions, reading the story book, memorizing the theme song "Let It Go", and so on. So when I was looking around for something to print in 3D, a version of Elsa's tiara crown immediataly caught my eyes. Although short-lived, this was one of the most memorable items in the movie.
Unlike most of the 3D-printed objects I made so far, the printing was only the first step for making the crown. It would have to be worn on the head, needing more work. To find out how it went, read on.
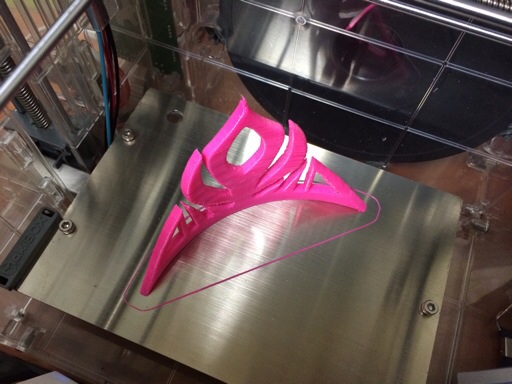
Freshly printed Elsa's crown from Makibox
Obviously, Makibox was put to creating the crown. It did a good job of doing that, but the center jewel didn't get printed right. It didn't matter, as I would be placing a toy gem in its place anyway.
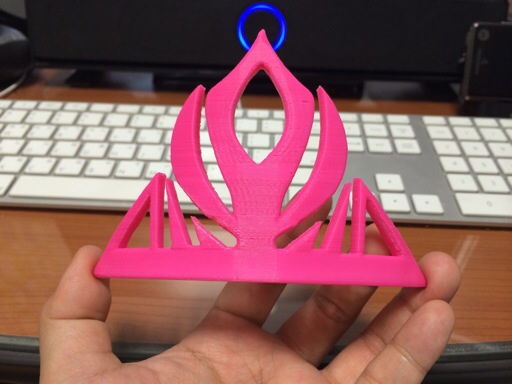
Elsa's crown in bare form
Celine likes the colour, but it looked incomplete. Not to mention, this couldn't be worn on the head unless you had a really fluffy hair. Something had to be done about these.
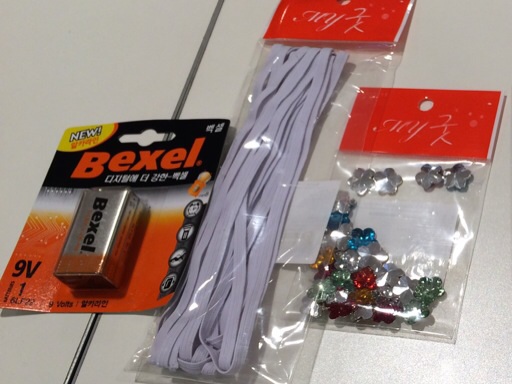
The rubber band and toy gems
So I went to a store and got a long strand of rubber band and a bag of assorted toy gems used for decoration.
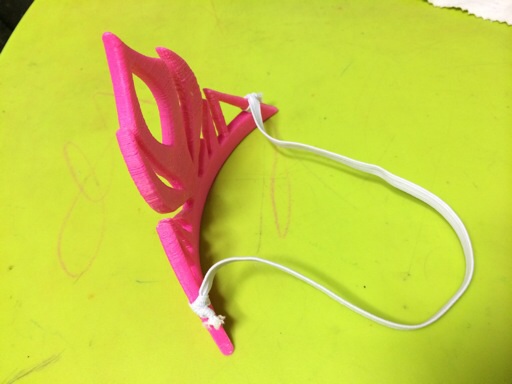
Rubber band attached to the crown
After taking some measurements, I decided that the rubber band should be about 33cm (13") long for everyone to comfortably wear the crown. I cut the band and tied it at the ends.
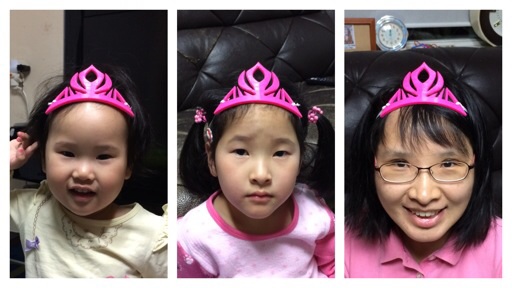
Hayun, Celine, and Sung-Eun tries on the crown
The band worked wonderfully. Now the crown needed some decoration.
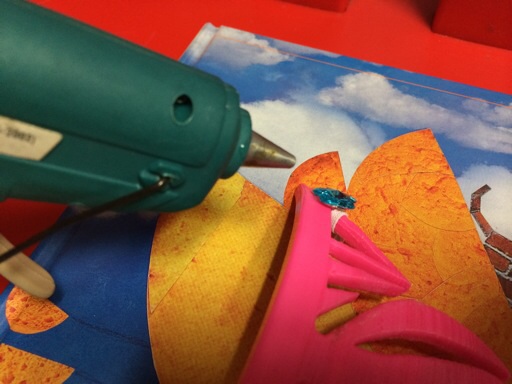
Gluing the gems onto the crown
I glued not only the center jewel, but a gem at each end. This deviates a bit from the original design, but hides the band while making it look prettier.
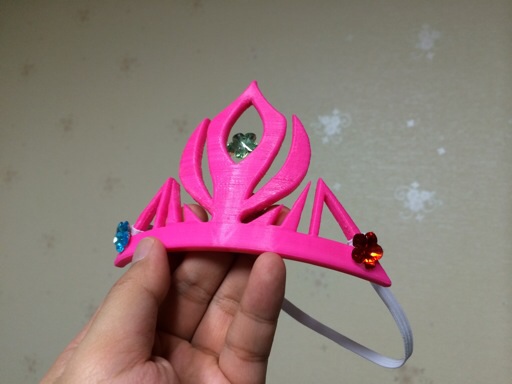
The pink version of Elsa's crown is finished
And this is how the finished crown looks like. The original version was golden, but Celine wanted the crown to stay pink, so no further colouring was done. But what about the one that Hayun was wearing on the first picture? That was the second one I made.
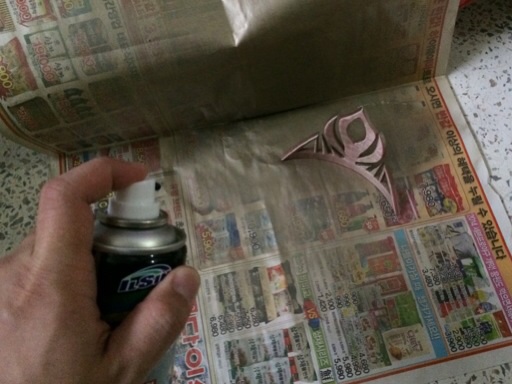
Painting the crown gold
I printed another crown and sprayed a golden paint over it. It was technically "Light Beige" (#120 GU) intended for Hyundai cars, but the glitter made it look sort of golden.
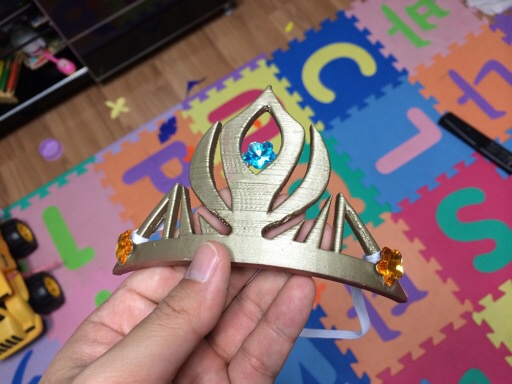
The golden version of the crown is finished
After letting the paint dry for over 24 hours, the rubber band and gems were installed like the pink version. Hayun likes this gold one. And everyone was happy.
Defined tags for this entry: 3D printing, Celine Chung, crown, Disney, Elsa, Frozen, Hayun Chung, Sung-Eun Kim