iPhone 6 Plus screen repair (Part 3)
Posted by Wesley on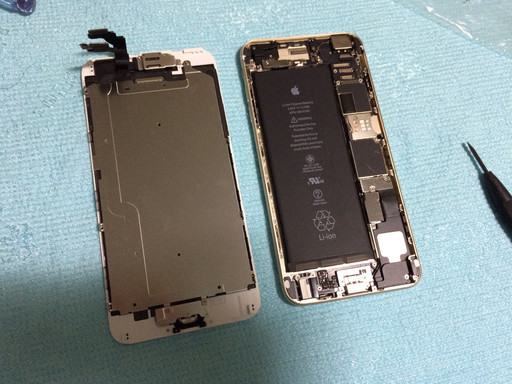
Taking the iPhone 6 Plus display assembly apart
Seeing that the glue can no longer cleanly fix the cracked screen, I decided to order a 3rd party replacement display assembly for my iPhone 6 Plus. Currently, they're pretty expensive - easily fetching more than US$300 with shipping cost extra - and some sellers don't really have them in stock or ask for more money once you pay the listed price. In my case, it took me three tries to get one shipped, paying about $260 for the display and $35 for shipping.
With the replacement in hand, I started disassembling the phone. After removing two pentalobe screws on the bottom and lifting the screen with a suction cup, I was able to easily disconnect the display assembly from the rest of the phone. All I needed to do was to take off the five screws holding the cable bracket, and then carefully disconnect the four cables from the display assembly.
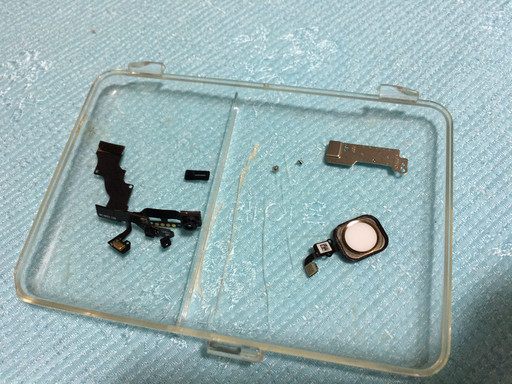
Parts separated from the display assembly
But there were a lot of modules on the display assembly that had to be separated. They did not come with the replacement display, so they had to be re-used. And in the case of the home button, the integrated Touch ID sensor is uniquely paired with the phone and any replacement will not have the fingerprint sensing enabled due to security reasons.
So I carefully removed the earpiece speaker and the front-side camera & sensor assembly on top, and then the home button on the bottom. Where they were stuck using adhesives, I used a heat gun at a setting of 50C (122F) to loosen them.
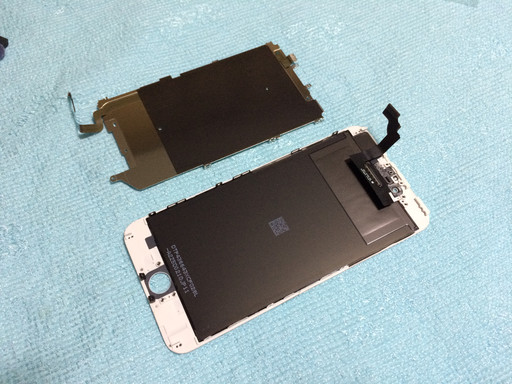
Shield plate separated from the display assembly
Also, the shield plate did not come with the replacement either, so that had to be removed as well. This involved unscrewing eight screws first, and then carefully separating the bottom end of the Touch ID data cable on the plate, which was stuck on the display assembly with an adhesive. Heat gun had to be used generously.
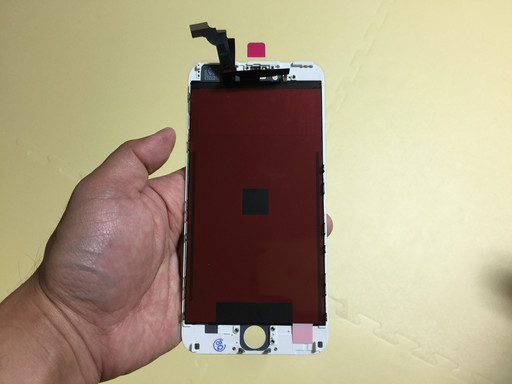
3rd party replacement display assembly for iPhone 6 Plus
With all the removable parts separated from the original display assembly, I took out the replacement out of the box to start reassembling.
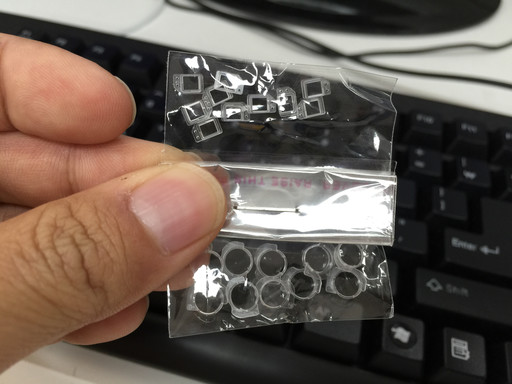
Plastic holders for the camera and ambient light sensor
Before using the replacement display, some work had to be done. Important parts like these plastic holders for the modules were missing, but hey were hard to remove from the original one. Instead of risking damage, I bought them from other suppliers.

Extra parts ready to be placed on the display assembly
Once the earpiece speaker grill and the holders for the camera and sensors were ready, I looked at the original display and saw how they were placed.
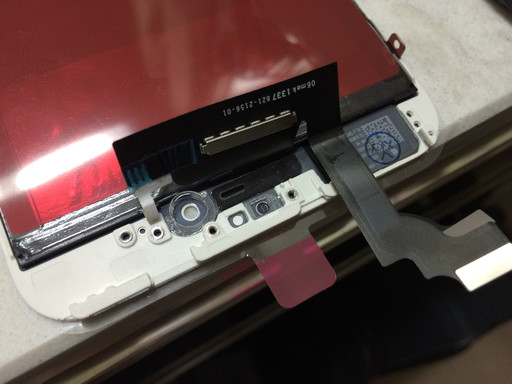
Extra parts installed on the replacement display assembly
Then I put the parts at the right location and orientation, and glued them onto the display assembly.
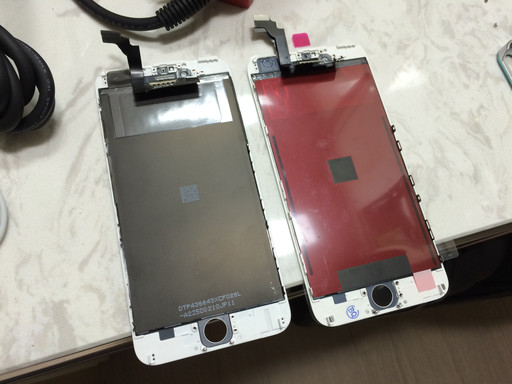
Original display assembly on the left, 3rd party replacement on the right
Finally, the replacement display assembly could take the place of the original. I started putting everything back together - the shield plate, home button, camera, speaker, and sensors.
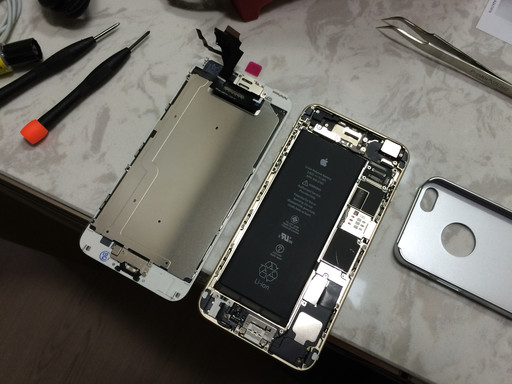
Parts on the display assembly is put back together
I made sure that the cable connectors were in the correct order and that nothing was left behind. Then I connected the cables to the phone, put the bracket back, and closed everything up.
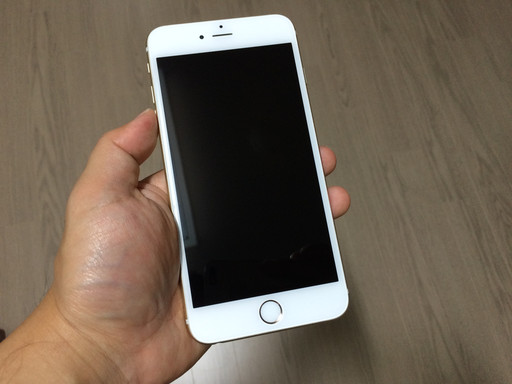
iPhone 6 Plus with the freshly replaced screen
Finally, my iPhone 6 Plus had a clean screen once again. The quality of the LCD was indistinguishable from the original, and the touch screen worked just as well. Everything was back to normal, except for one strange issue...