Cleaning iPhone 6 Plus rear(back) camera
Posted by Wesley on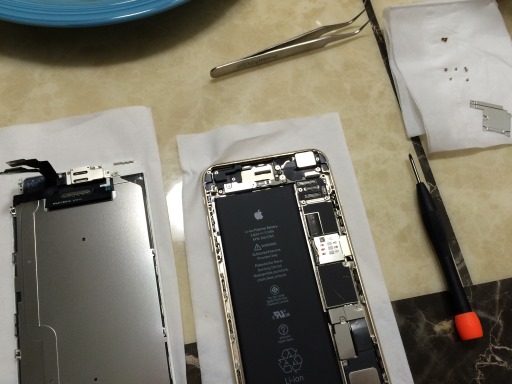
Removing the display assembly is the first step to most iPhone 6 Plus tinkerings
Rear camera on iPhones doesn't seem to have any gaps for dust to get in, but for some reason it gets in on rare occasions. You could take the phone to an authorized service center for either cleaning or refurbishment, or if that's not a viable option like my case, you could do the cleaning yourself.
To do that, you need to first open up the phone and separate the display assembly from the rest of the phone. The cables connecting the two are held by five screws and a cover plate, so once you take them out, the four cables can be popped off with a spudger.
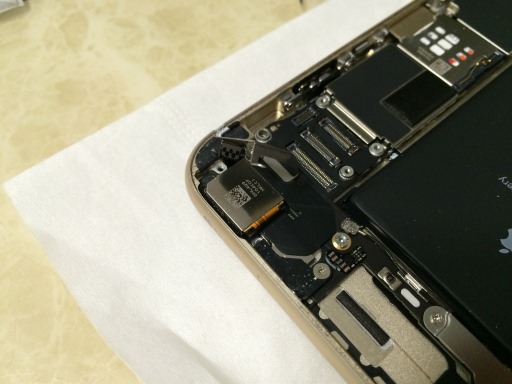
Remove the cover plate to pull out the rear camera
To access the rear (back) camera, you need to remove two screws that hold the cover plate for the camera on the top right area of the phone. The screw on the left is obscured by a black pad, so you need to lift it slightly with something like a flathead screwdriver while you unscrew. The cover plate may not completely become loose, but it does not need to be.
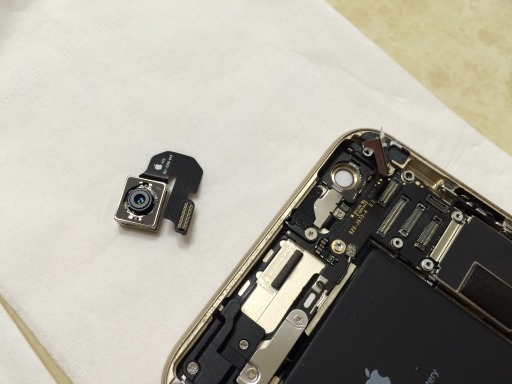
Rear camera can be popped off with a spudger
Pop off the cable connector located at the bottom of the camera module. The module itself can be pulled out after inserting the spudger at the top and right side and pushing it carefully.
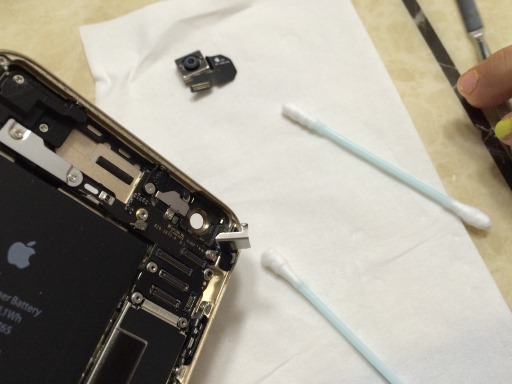
Use cotton swabs soaked in rubbing alcohol to clean
Once the rear camera has separated, soak a cotton swab with rubbing alcohol and gently clean the lens on the camera and the inside of the lens cover on the phone.
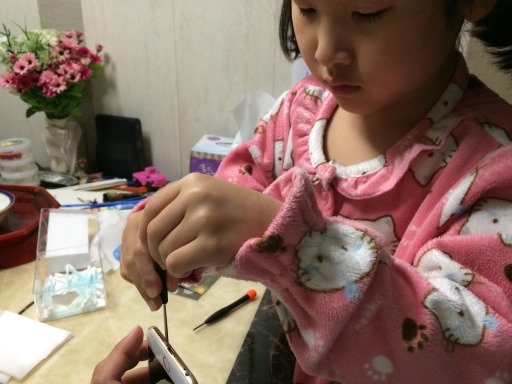
My assistant gets to put the phone back in one piece
Visually check that the cleaned area is okay, and then reassemble everything back. My daughter Celine (now age 5) was eager to get in on the action, so I let her do some of the work.
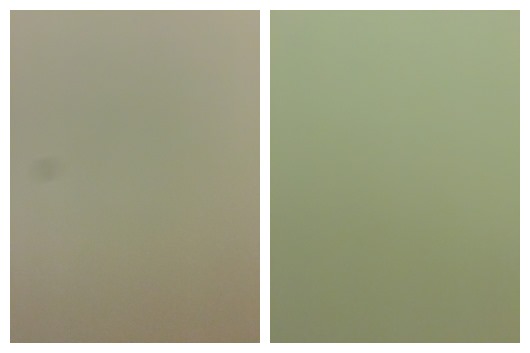
Before (left) and after (right): the smudge on the left-center corner is now gone
The blemish that persisted on the left side of the photo was now gone. At least, for now. It hope it doesn't come back.