The Second Portable Athlon (6/10)


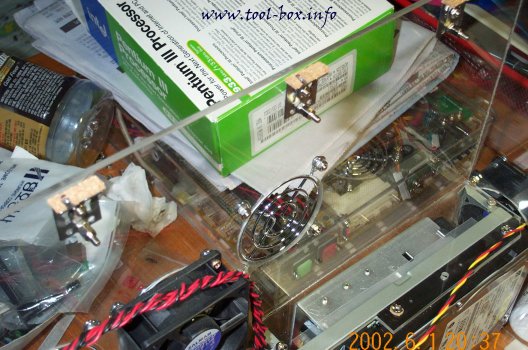
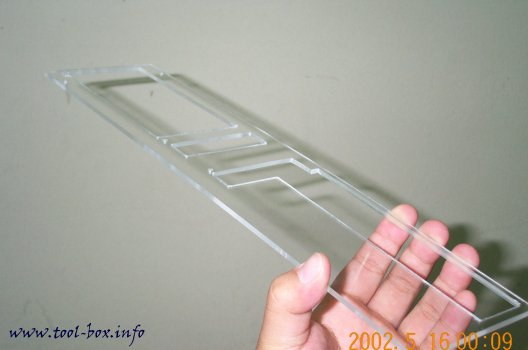
This is the close-up of the tabs where the bolts are screwed on to lock the case closed. I noticed that LED lights could be installed on the lower area to illuminate the innards.


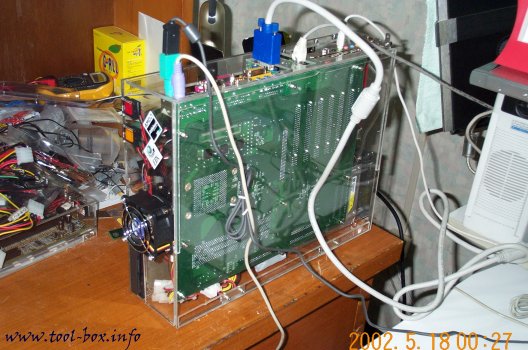
To keep things simple, I used two sets of four high-brightness LED lights connected to 12V rail. One set is blue, and another is green. Maximum operating voltage of a LED used here is 3.3V, so having four of them on 12V rail would give them at least 3.0V, and would not exceed tolerance up to 13.2V, so this is more efficient than pairing them with resistors and connecting them to 5V rail. Each tab would have two LED lights, so six of them would be lighted up from the top of the case, while the last two would be used for lighting up the case logo.


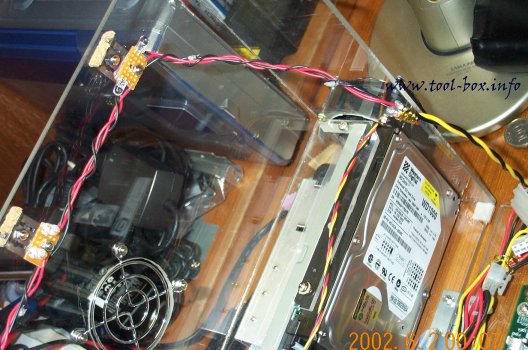
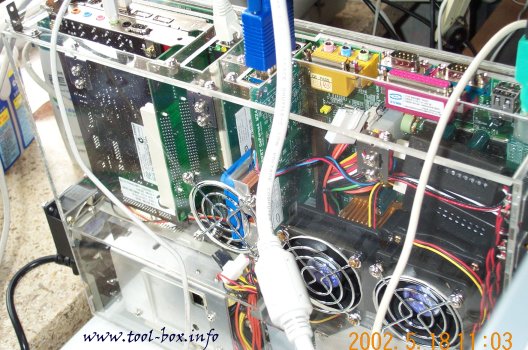
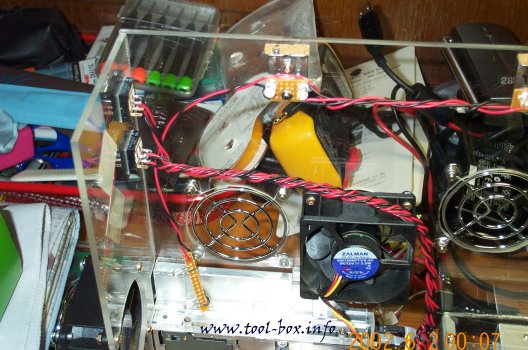
You can see that the LED lights' wires go to the power connector and get powered.

The Second Portable Athlon (5/10)


Immediately noticeable of this case is the multitude of fan holes on it. There are five in total, with three at the side and one on the front and back, each. All are cut for 60mm fans. The rear fan supplies air to the power supply. I've taken out all the fans that were on the power supply because they were 40mm ones, which aren't so powerful yet noisy. The three holes on the side are for the video card, northbridge chipset, and CPU, in the order of left to right. The video card has a fan directly on the heatsink right now, but should the heatsink change later on and it won't hold a fan on it, I can simply attach one on the case. All fans operate at 5V to ensure silent operation of the system. I used four 25mm thick 60mm fans from Zalman Tech for all fan holes except that of the video card to maximize air flow rate while keeping the noise down to minimum. This is possible because they are the same fans used on the CNPS5100-Cu cooler. I'd like to thank Zalman Tech for providing quality components for this project.


Let's see the inside of the case this time. To simplify the maintenance of the system, I used two hinges originally used in the TabletXP project so that the case would open and close like a book. You may have seen similar design in a few computer cases. Come to think of it, it's ironic or fortunate that most of the failed project's components found its way to usefulness; now the microATX mainboard used in that project is the only thing left out.. big apologies go to Ronald Hanaki of Tech-Report who provided it for me. You can see that the power supply's cable is just sufficient enough to reach the mainboard even in the open configuration. While the position of the power connector on the mainboard may be less than optimal for normal cases, it is quite appropriate for this case.


Due to the way the components are positioned, practically all wires converge at the middle of the case. This isn't particularly good because, as it is shown in the picture, it gets a bit thick and can hinder a proper closing of the case. I've eventually sorted the wires out later on. Another thing to note is how the drives are positioned. The slim size CD-ROM drive and the floppy drive are attached on the side panel of the case, while the hard disk drive is attached right below the power supply. Because power supply components generate electromagnetic fields, and hard disk's storage method is also electromagnetic in nature, this configuration can be frowned upon. However, I could not find any better place to put the hard disk on, because the hard disk is actually quite big (the 3.5" hard disk drive is actually the second biggest component in this project, volume-wise; I almost contemplated a 2.5" hard disk used in laptops) and there isn't a room in such a compact case. That spot was the only viable location. Fortunately, I have not encountered a single problem in hard disk operation despite such unorthodox positioning.

The Second Portable Athlon (4/10)


Unlike the original, the new Portable Athlon was not to have a schematic or even a simple layout sketch. I only had a list of dimensions for the panels to be cut out for the work. The master layout was in my brain, and I cut and drilled the holes according to it. I realized that, if I were to only make one masterpiece out of the work, it would prove inefficient to make a schematic first.


My only tools were the cordless drill and a coping saw. If I had some specialized tools, it would've save me a lot of time, but I decided to trust my skills on the generic tools. This is how the back panel of the case looked like after working on it for some three hours.


After about 50 near-straight hours of work, the case had finally been completed. This was to be my first-ever fully independent creation, which is quite in contrast to the original Portable Athlon, which the case was done by a professional craftsman with me only pointing out where to drill the holes. I was quite proud, but extremely tired at the same time.

The Second Portable Athlon (3/10)


The noticeable feature of this card is that it uses Tiny-BGA memory chips that are used in Ti-grade cards, but not in MX-grade cards. The small size of the chips must've helped in designing this card so small. Here comes the northbridge heatsink removed earlier. It's going to be stuck to those chips with the thermally conductive adhesives from Zalman (they came in the northbridge heatsink package) which is visible on the left corner of the picture.


But wait, there are memory chips in front, too! So I went out to buy some heatsinks meant for cooling MOSFETs, lapped it, then stuck it with the adhesive.


The video card modification is complete. The heatsinks are placed nicely, as you can see. Time to build the case now!

The Second Portable Athlon (2/10)


Now the CPU and the cooler is properly in place. The CPU used is AMD Athlon XP 1700+ (1467MHz), which is really from another project called TabletXP, my attempt at creating an Athlon XP based tablet computer. It did not go as expected because the CPU was taking too much power and wasn't feasible enough to be used on batteries.


The computer makes its first test run for functionality. Due to the expected size constraint, I applied some server parts in this project. I got a slim size CD-ROM / floppy drive combo from a server shop (they had them for 1U servers). The PCI riser card and the power supply came from IKIS. The power supply is a 300W version made for 1U servers made by Matrix Power, twice as powerful as the original Portable Athlon. Operating an Athlon system on a 150W power supply was a risky business, and it became evident in the end, as the power rails eventually fell below normal operating parameters due to stress. Using a high-capacity server-designed power supply should not repeat this problem, I thought. Anyways, the test went well, so the system was ready to be built into a proper casing.


The video card needed some modifications first, though. Operating in a tight space meant that I had to prepare it to withstand hot environments. Therefore, I replaced the original heatsink with the CoolJag JAC311C, a high performance copper heatsink made for cooling CPUs in 1U servers. It actually came from the TabletXP project, too, and it was originally cooling the Athlon XP, so I could expect a very effective cooling. Oh, and the video card is an NVIDIA GeForce4 MX440 based model from Garnet Systems. They had two version of the MX440 card, one in normal size, and the other in slim size (this one). There was no Ti-grade GeForce cards in slim size, so this was the fastest slim size card on the market I could buy.

Copyright (C) 1996-2024 Woo-Duk Chung (Wesley Woo-Duk Hwang-Chung). All rights reserved.