Miniature Air Conditioner (4/5)
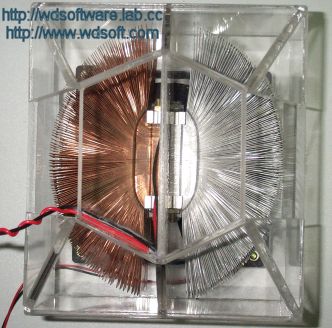
Posted by Wesley onThe housing was to be made in clear acrylic material like the previous project. To accurately create a housing for the air conditioner, I used a drafting program to create parts and virtually assemble them to see if there were any errors before actual work. My skills at using these programs improved since the last project mostly due to the fact that I'm taking classes about them in the university.
 Seeing that there weren't any problems to be found, I went back to my home town (Ulsan) to ask for the skilled help of the person who made the case for my Portable Athlon. Without much fiddling, he was able to exactly reproduce my draft into reality. Coincidentally, while this was being made, on the other side of the town, Confederations Cup 2001 preliminaries were being held at newly built Munsu Soccer Stadium. Korea won over Mexico 1-0 that night.
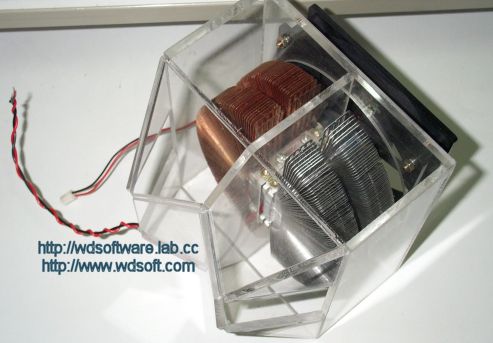
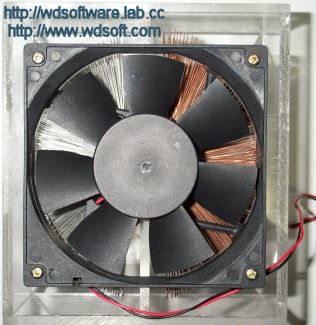
The final product meatures 15.0 x 15.5 x 17.0 (cm). This fits in a small totebag, and it is quite possibly yet another 'portable' unit. With everything in order, I set out to find optimal operation point of this unit. Too fast an airflow, the cold side would not be able to put out cold enough air because of insufficient cooling time; too slow and the hot side would overheat. I found out that using 5V for the fan was better than 12V in this sense. Temperature drop against ambient was measured between 2.5C and 3.5C during the tests. Not spectacular, but when a few degrees of drop in temperature matters a lot in overclocking, it certainly didn't look so bad at all.