Adding data display to Bolt EV with UltraGauge MX
Posted by Wesley on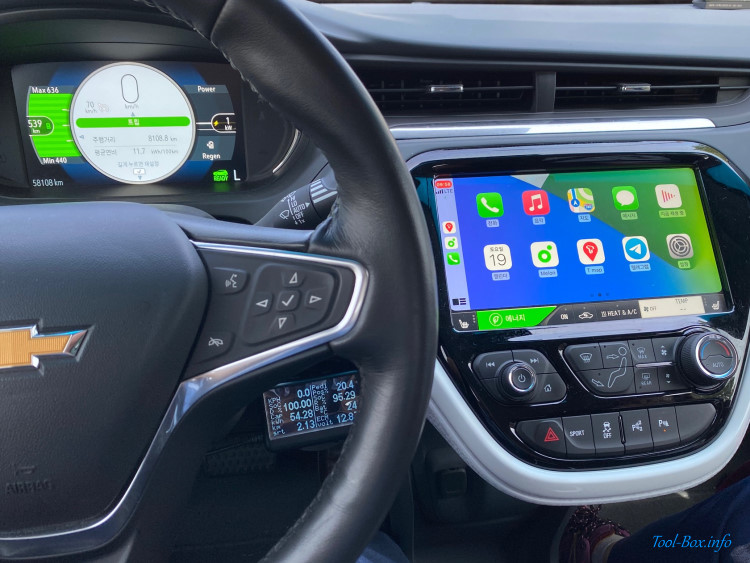
To keep a detailed log of the Bolt EV's battery status, I've been using a Bluetooth OBD-II adapter that connects to a smartphone for the past two years. While it worked well, I wanted to have a permanent display showing the data and installing an iPhone to do so seemed to be an overkill. So I searched for dedicated "gauge" units that allowed for customization and narrowed the selection down to ScanGauge 2 and UltraGauge MX. The former allowed for more custom data (25 PIDs vs. 8), while the latter had a bigger screen (8 lines vs. 2). I ended up with the bigger screen.
With the device at hand, I had to find a way to program it to display Bolt EV-specific data using the existing custom PID information, and then install it on a place where it is both easily visible and properly shaded. After a bit of work, I was able to fulfill all of the objectives, as you can see in the photo above. The first page shows the actual vehicle speed, accelerator pedal position, various battery information including State of Charge (both raw and displayed), usable capacity, and temperature, as well as current trip distance and 12V battery voltage. Let's see how this was done.
Initially, UltraGauge detects how many of the 60 standard OBD-II PIDs (Parameter Identifications) and 28 self-calculated data it supports are available on the car. Because Bolt EV does not have an internal combustion engine, most of these are irrelevant and unsurprisingly unsupported. Of the 20 said to be usable as shown here, only 7 of them are standard PIDs and none are related to monitoring the high-voltage propulsion battery.
| PID # | Description | Unit |
|---|---|---|
| 010D | Vehicle speed | km/h |
| 0121 | Distance driven with CEL (Check Engine Light) on | km |
| 0130 | Warm-ups since TC (Trouble Code) was cleared | Count |
| 0131 | Distance driven since TC was cleared | km |
| 0142 | ECM (Engine Control Module) 12V Battery Voltage | V |
| 0146 | Ambient Air Temperature | °C |
| 0149 | Accelerator Pedal Position 1 | % |
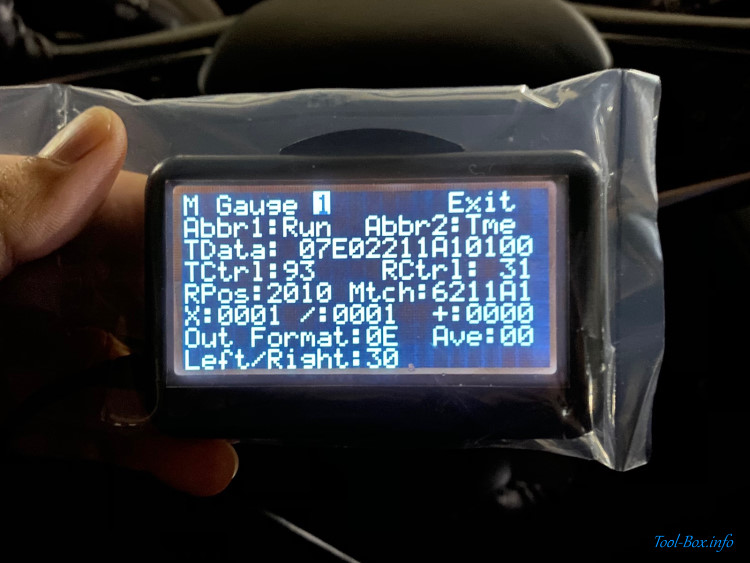
And it's not easy to make sense of it at first. I needed to translate the information found in an unofficial list of custom PIDs for Bolt EV into this format. After reading the UltraGauge MX programming supplement and researching the CAN Bus protocol, I was able to do just that. For these PIDs...
| PID # | Description | Unit | Formula |
|---|---|---|---|
| 228334 | State of Charge (Displayed) | % | A × 100 / 255 + 0 |
| 015B | State of Charge (Raw) | % | A × 100 / 255 + 0 |
| 2241A3 | Battery Capacity (for 2017-18 Bolt) | kWh | A × 999 / 31250 + 0 |
| 22434F | Battery Temperature | °C | A × 1 / 1 - 40 |
| 22436B | HV Charger Voltage | V | A × 1 / 2 + 0 |
| 22436C | HV Charger Current | A | A × 1 / 20 + 0 |
| 22437D | Last Charge Amount | kWh | A × 1 / 100 + 0 |
| 2241B6 | Battery Heater Power | kW | A × 1 / 1000 + 0 |
| # | Abbr1 | Abbr2 | TData | TCtrl | RCtrl | RPos | Mtch | X | / | + | Out | Ave | L/R |
|---|---|---|---|---|---|---|---|---|---|---|---|---|---|
| 1 | SoC | D % | 07E4228334 | 93 | 31 | 2008 | 628334 | 0064 | 00FF | 0000 | 00 | 00 | 32 |
| 2 | SoC | R % | 07E0015B | 92 | 21 | 1808 | 415B | 0064 | 00FF | 0000 | 00 | 00 | 32 |
| 3 | Cap | kWh | 07E42241A3 | 93 | 31 | 2010 | 6241A3 | 03E7 | 7A12 | 0000 | 00 | 00 | 22 |
| 4 | Bat | °C | 07E422434F | 93 | 31 | 2008 | 62434F | 0001 | 0001 | FFD8 | 00 | 00 | 30 |
| 5 | Chg | hvV | 07E422436B | 93 | 31 | 2010 | 62436B | 0001 | 0002 | 0000 | 00 | 00 | 32 |
| 6 | Chg | hvA | 07E422436C | 93 | 31 | 2010 | 62436C | 0001 | 0014 | 0000 | 00 | 00 | 32 |
| 7 | Chg | kWh | 07E422437D | 93 | 31 | 2010 | 62437D | 0001 | 0064 | 0000 | 00 | 00 | 22 |
| 8 | BHt | kW | 07E42241B6 | 93 | 31 | 2010 | 6241B6 | 0001 | 03E8 | 0000 | 00 | 00 | 13 |
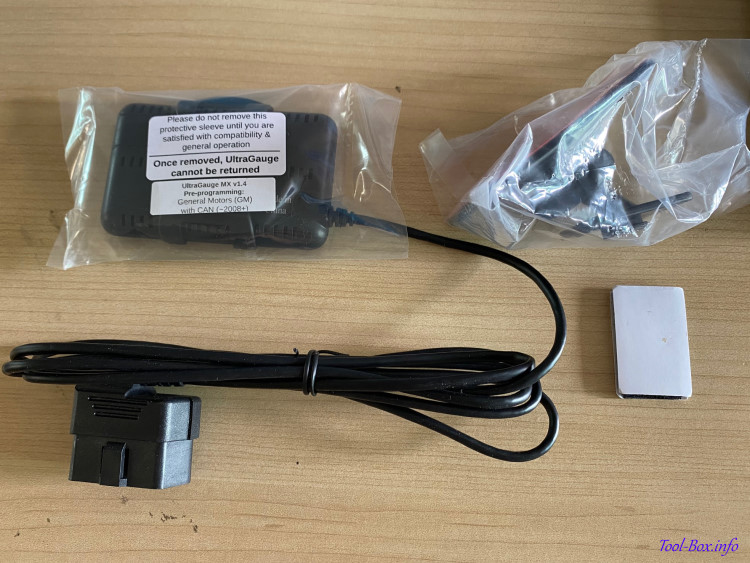
Even knowing the approximate dimensions, it was a bit difficult to get a good idea of where the UltraGauge should be installed. So I ordered it with both the horizontal mount and the hook-and-loop mount to give myself some options.
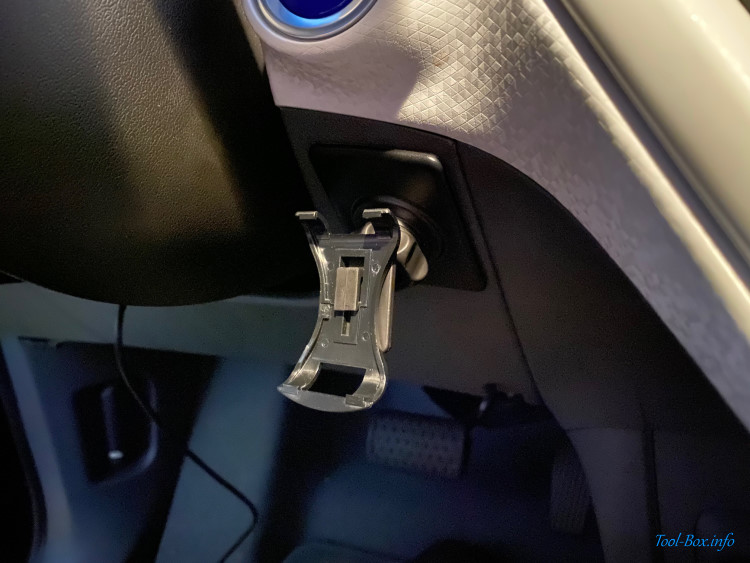
After trying various positions, I settled with the spot just below the power button. There, I could see the screen through the steering wheel most of the time, and the device would be largely shaded from the sunlight.
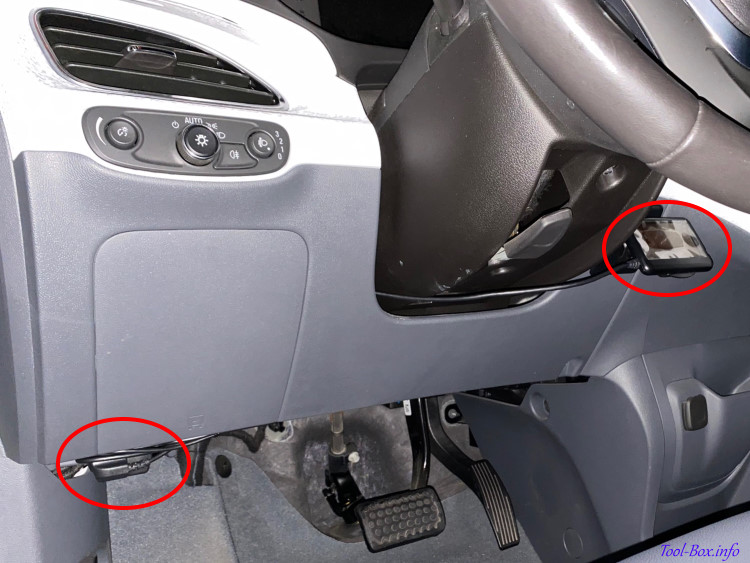
As a bonus, the cable is naturally obscured for the most part and uninstalling in the future will not be a hassle. The hook-and-loop mount was the only thing left over.
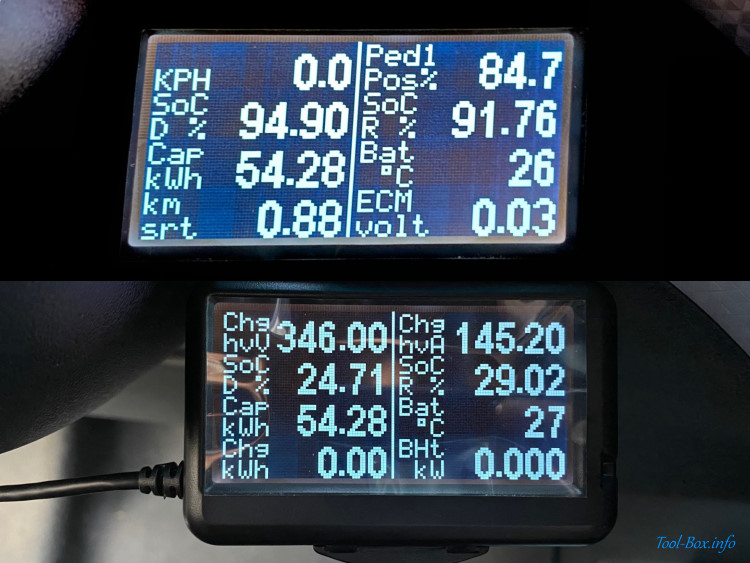
With the installation complete, I fiddled with the page configuration to suit my needs. With several days of testing, the first page now contains the information I wanted to see while driving, and the second page shows real-time charging data.
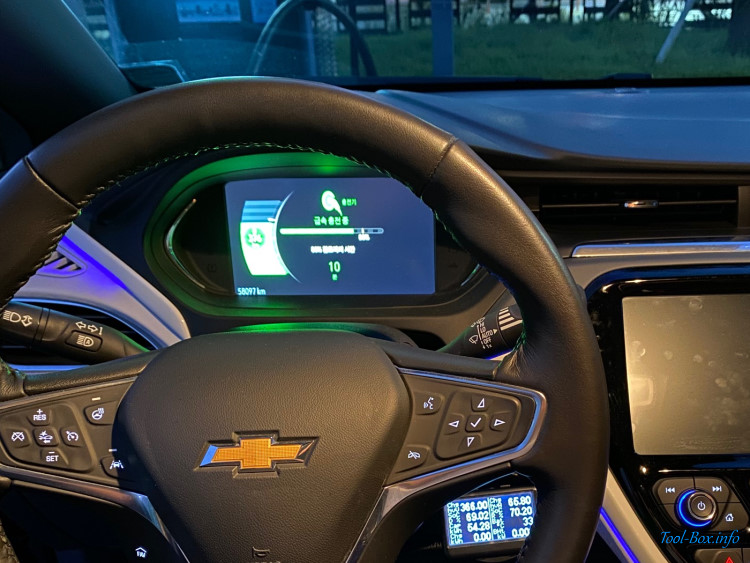
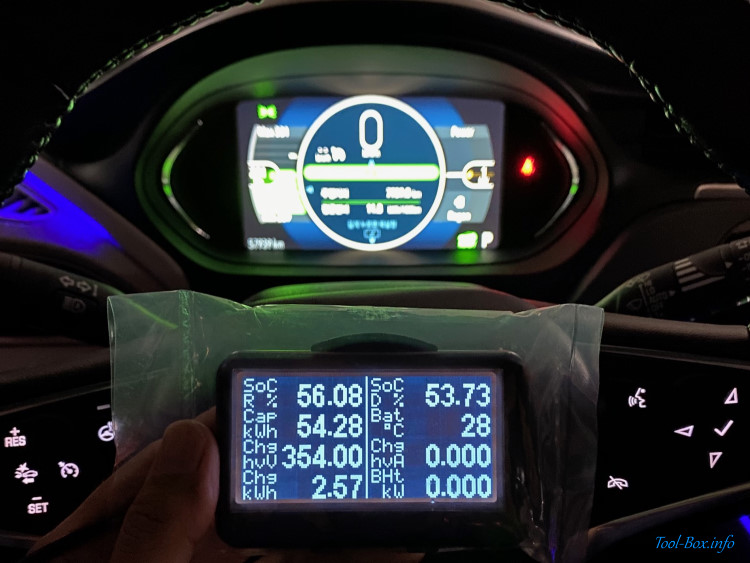
This is how it looks like when the car is hooked up to a DC fast charger. One feature I miss from the smartphone-based solution is that the charging power (= Voltage × Current) isn't automatically calculated and shown because UltraGauge does not support adding or multiplying PIDs together. But other than that, I'm pretty satisfied with the new solution.
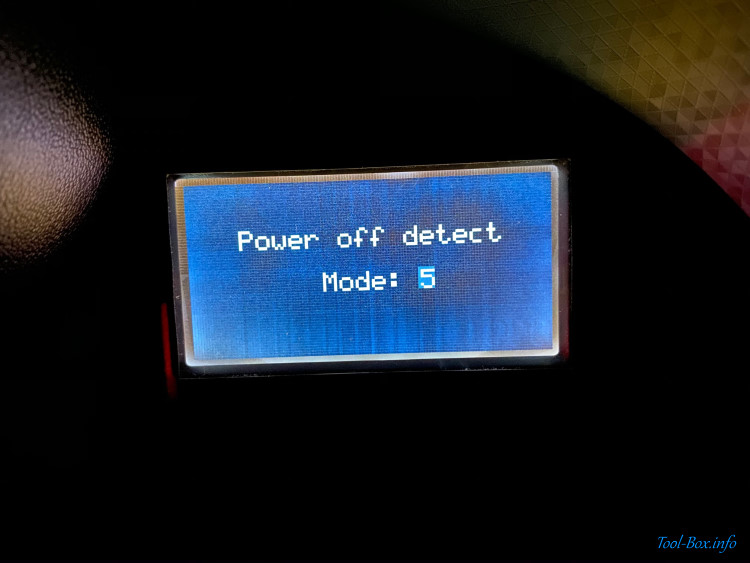
Before wrapping up, I should note that the automatic power on / off feature of the device (MENU - UltraGauge Setup - Compatibility - Pwr off (on) Detect Mode) needs to be tweaked in order for them to work to a reasonable degree. UltraGauge provides six modes of detecting the car powering off, but none of the first five work. Modes 0 and 1 don't detect any changes, while Modes 2 to 4 always think the car is powered off.
The last resort that uses the 12V power's voltage level - Mode 5 - has to be selected. But determining the cut-off voltage (MENU - UltraGauge Setup - Compatibility - Bat Low Threshold) was a bit complicated. The default was 12.85V, but this kept turning the screen off because the level fluctuates between about 12.3V to 15.1V while driving my Bolt. On the other hand, setting it to 12.30V would not immediately turn the screen off. The current setting is 12.45V, which has reliably kept the screen on while driving, and turn it off within a few minutes of actually powering the car off.
The side effect of using Mode 5 for the power off detection is that the power on detection is forced to Mode 2. This relies on the 12V power's voltage level as well, and the screen itself has to be manually turned on by pressing the UP button behind the device after powering the car on. This wasn't as big as an issue as I initially thought, because I get to turn on the screen only when I need to.
