Makibox Trial & Errors

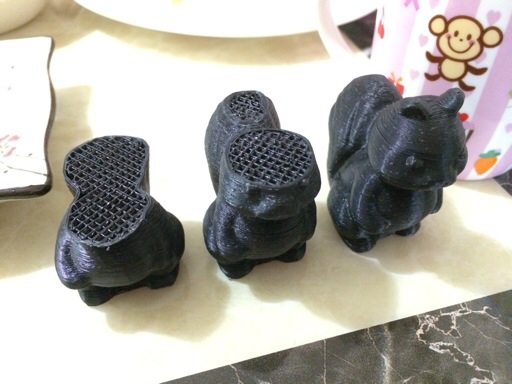
Unintentional cutaway views of the printed squirrel

The designers of Makibox aimed to reduce the headaches of using a 3D printer, but it does not mean it's trouble-free. In fact, there can be some problems because you're dealing with plastics, a tangible material.

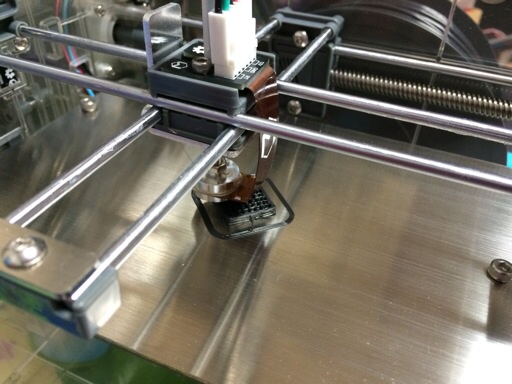
One problem I've encountered was a leaky hot-end nozzle. Specifically, it's leaking where it's not supposed to, on top of the head. When the leak grew too much, the printer tended to stop printing. The incomplete squirrels shown here are such results.
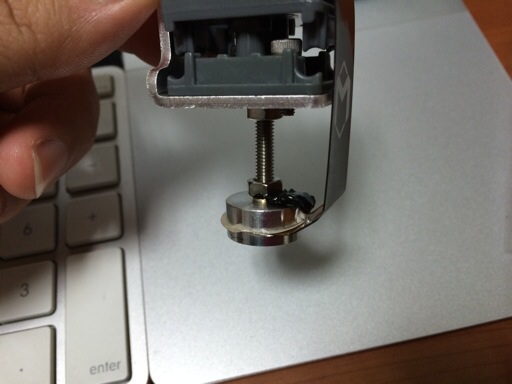
Melted black plastic oozes out at the top

Thankfully, I had a spare hot-end, and that worked without any problems. The leaky one has been sent back for another replacement. With this problem out of the way and printing as much as I would like, I noticed another problem creeping up.
Continue reading "Makibox Trial & Errors"

Printing toys with Makibox

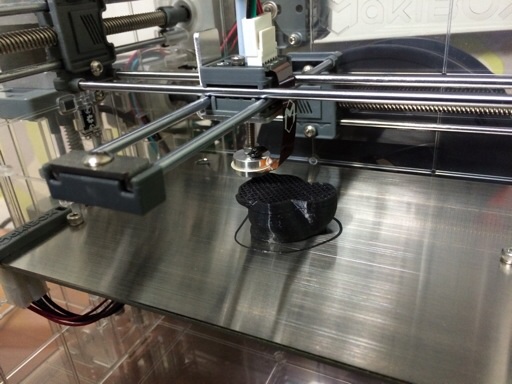
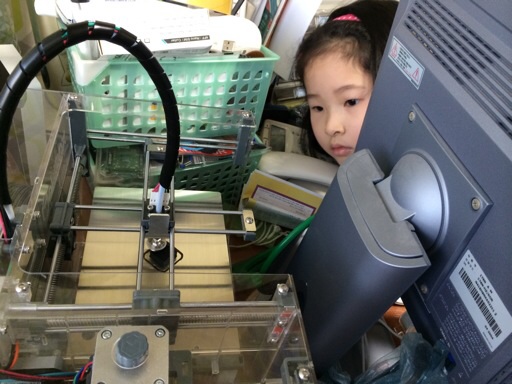
Makibox print in progress watched by Celine Chung
So this printer makes my toys now?

A home 3D printer has myriad of uses, but I think toy printing immediately stand out if you have children. Makibox can print in non-toxic (after printing, anyway) ABS polymer, so I set out to make a simple plastic figure for my daughters after the test prints were done.

One thing to note is that the extruder broke down a few weeks ago, so I had to send it back to Hong Kong for replacement. That's why there had been a lack of blog posts about the 3D printer since early January. I've got my replacement, and it works perfectly so far. Better than the original one, in fact.

Makibox prints a squirrel

I selected a squirrel design from Thingiverse because it didn't look to complicated, yet cute enough so that the kids would like to play with it. It turned out that I was right on both accounts. Keep reading for more pictures.
Continue reading "Printing toys with Makibox"

Comparing free iOS image resizers

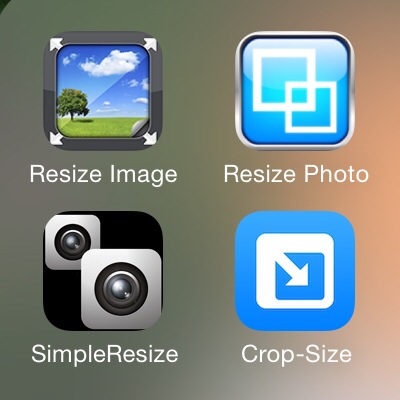
Resize Image, Resize Photo, SimpleResize, Crop-Size
Lots of free image resizers for iOS are available on App Store

Resizing an image seems to be a straightforward task. You tell the app how small or big the image should be, the app scales accordingly, and the result is saved. So when you want to do this on iOS, you might as well just pick any free image resizing app out on the App Store and be done, right? If quality is of your concern, it's not so simple.

"The Toon-Box" photographic web cartoon on this blog is generated on my iPhone 5S (currently on iOS 7.1b3) and resized to a specific dimension before being uploaded. In choosing the right app for the resizing task, I came across four apps that claimed to do the job:

- Resize Image 4.5 (2013-03-04)
- Resize Photo 1.0 (2011-03-24)
- SimpleResize 2.17 (2013-12-11)
- Crop-Size 1.0.0 (2013-11-21)

The version numbers and release dates are for the latest release as of this writing (2014-01-14), which were used for the testing. So how did they fare? What was the best free iOS image resizing app? Keep reading to find out.
Continue reading "Comparing free iOS image resizers"

First Makibox prints

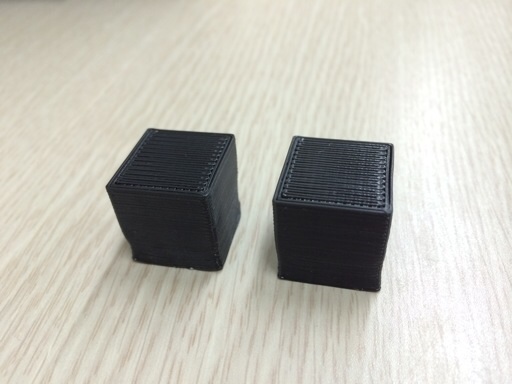
First and second successful cubes from Makibox

Here's how the first 3D prints out of Makibox look like. The bottom layers are slightly warped, but otherwise looks okay. There are slight curling up at the bottom edges because it did not fully stay stuck to the hot bed.

I think the Z-axis calibration can mitigate this issue, because I've seen the nozzle moving a bit too high up from the hot bed as it printed. I'll see what I can do tonight. Meanwhile, keep reading for more photos.
Continue reading "First Makibox prints"

Building Makibox (Part 5)

Makibox starts printing a cube

After much worries and adjustments, I decided to bite the bullet and connect Makibox to a computer to do a test print. Windows driver was loaded to my notebook computer, and I downloaded 5DPrint, the host software that operate the printer, to the Chrome browser. On the 5DPrint, I loaded the test cube G-code file provided at the Makibox website for the very first printing test.

First attempt went horribly wrong because I just loaded the filament and there wasn't enough material to stick to the hot bed first, making the material curl up around the nozzle. The second attempt, however, is going relatively smoothly as I write this. I need to level the hot bed a bit more, but other than that everything seems to be okay. To see the photos leading up to this, read on.
Continue reading "Building Makibox (Part 5)"

Copyright (C) 1996-2025 Woo-Duk Chung (Wesley Woo-Duk Hwang-Chung). All rights reserved.