Building Makibox (Part 4)

Leveling the Makibox's hot bed

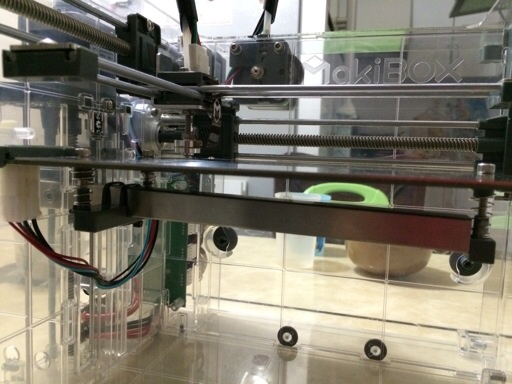
The axis movement issue was somewhat alleviated, so I went with leveling the hot bed where the prints will be formed on. This required turning the three screws on the bed ever so slightly so that the nozzle is basically at the same distance away from the surface.

I made the adjustments without powering on first because they were off by a lot and needed big shifts. The expansion caused by heating of the bed may require further adjustments, but I hope it will be minor.

As for how the axis movement got better, read on.
Continue reading "Building Makibox (Part 4)"

Building Makibox (Part 3)

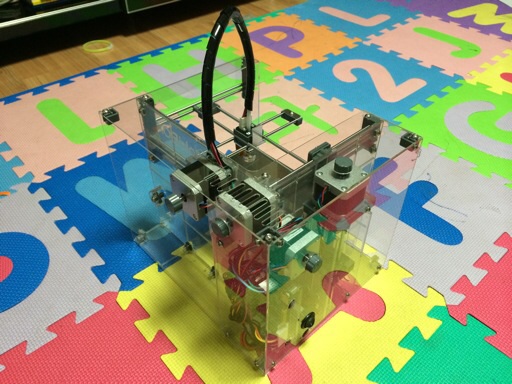
The assembled Makibox A6 HT

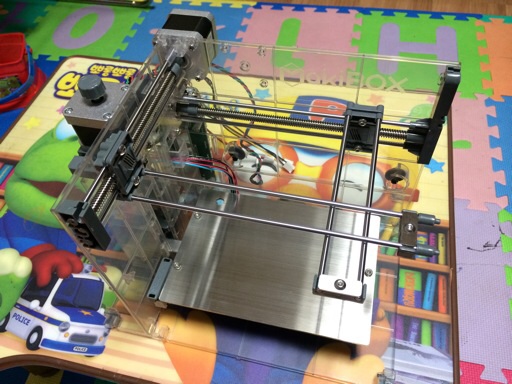
While a lot of people were celebrating the turn of the year on the night of the New Year's Day, I was putting the rest of the outer panels on Makibox and making adjustments on the panels that were already installed. With that, the assembly of the printer was complete. However, the work is far from over.
Continue reading "Building Makibox (Part 3)"

Building Makibox (Part 2)

Makibox's axes are in place

Continuing from where I left off yesterday, I proceeded to put the rest of the Makibox A6 HT parts together. The X and Y axes that will accommodate the printing head was installed. This part was fairly easy. The rest of the parts that needed to be assembled were the stuff that fed and printed the plastic filaments, and the cover panels. Read on to see how they look like.
Continue reading "Building Makibox (Part 2)"

Building Makibox (Part 1)

Opening up the box of parts for Makibox

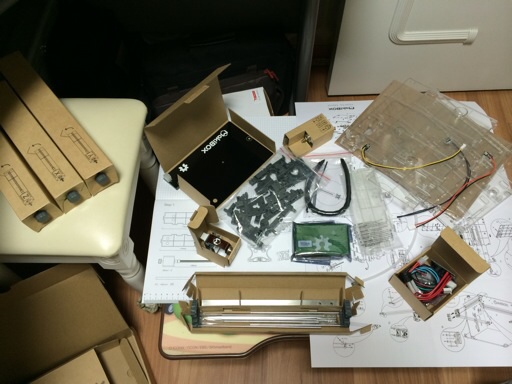
After the Christmas festivities died down and the kids were put to sleep, I got to work on building the Makibox A6 HT. The kit had an assorted array of plastic and metal parts, as well as some pre-built parts like the main circuit board and nozzle. It also came with a detailed (but slightly buggy) assembly instruction.

If things went smoothly, I would've finished building it and had some time to sleep. But apparently that would not be the case. Hiccups along the way dragged down the build speed, and I could only finish about half way through before getting one hour of sleep and going to work. If you want to hear what happened, keep reading.
Continue reading "Building Makibox (Part 1)"

Makibox 3D printer lands in Korea

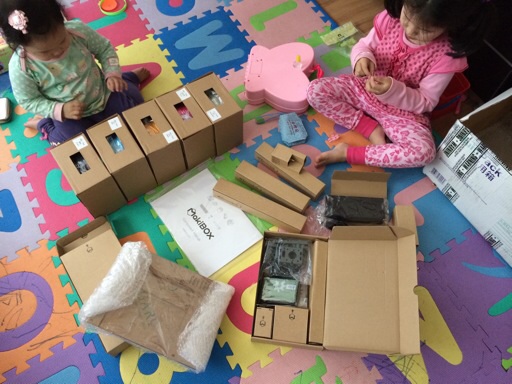
Unboxing the Makibox A6 HT

Makibox, the start-up project that aimed to deliver usable but low cost ($300 for a heated bed version) 3D printer, appeared in February 2012. Hoping to get one by the end of the year, I ordered one on September 1, 2012. Unfortunately, the project saw significant delays.

It finally did arrive at the end of the year, on December 24. It's just that it arrived one full year later than expected, in 2013. Nevertheless, it was a nice Christmas gift. This unit may be the first Makibox to arrive in Korea.

I'll be assembling this over the weekend, after Christmas holidays are over. Stay tuned.
Defined tags for this entry: ,

Copyright (C) 1996-2025 Woo-Duk Chung (Wesley Woo-Duk Hwang-Chung). All rights reserved.