Removing stripped collimator screw
Posted by Wesley on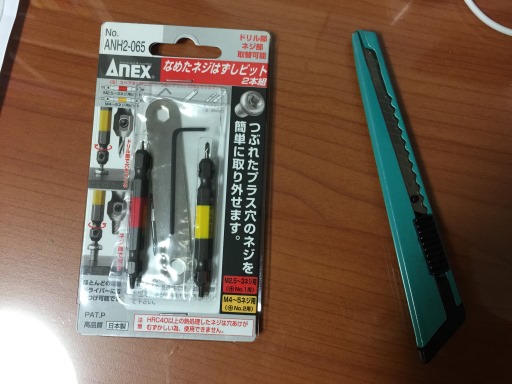
Anex ANH2-065 stripped screw extraction kit
I've mentioned earlier that one of the collimator screws on my Celestron NexStar 6SE telescope was completely stuck, preventing proper calibration. It was so bad that the screw's head became stripped in the attempts to unscrew it, and pliers were of no use, either. To fix this problem, I ordered Anex ANH2-065, a stripped screw extraction kit made in Japan for US$20. It had a lot of favourable reviews, so I thought I might as well try it.
The kit came with two drill bits, one for working with 2.5 to 3mm screws (red) and the other, 4 to 5mm screws (yellow). One end of each bit is used for drilling a small hole in the middle of the screw and the other end is a reverse-threaded tap that gets inserted into this hole. As you turn the bit counter-clockwise, the tap burrows into the screw. Eventually, the screw is supposed to turn with it and come out.
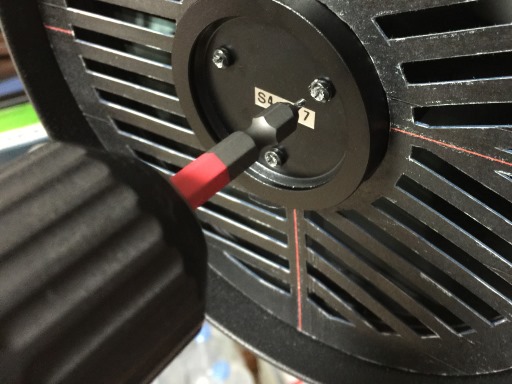
Insert the drill bit into stripped screw
NexStar 6SE's collimator screw is the same one used with C6, an M3 (3mm) type with 12mm length, so I got my old cordless drill charged up and inserted the red bit. I set the torque level to low to reduce the risk of damage, and carefully drilled out a tiny hole about 4mm deep into the stuck screw.
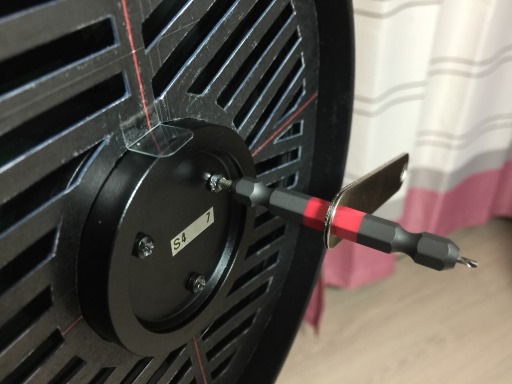
Screw the reverse-threaded tap into the drilled hole
Then I took the bit out, turned it around, and placed the reverse-threaded tap side into the hole. To turn the tool counter-clockwise by hand, I attached a handle that came with the kit. For a while, the tap slowly descended into the screw without anything happening.
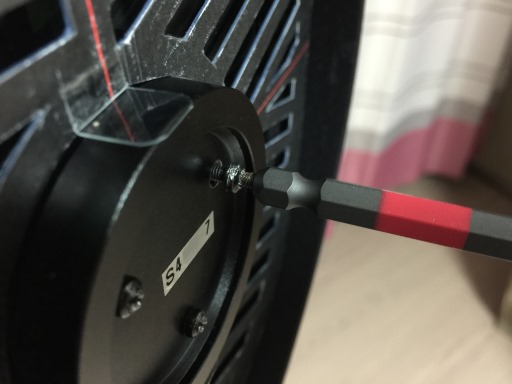
The stubborn screw finally comes out
When the tap was firmly anchored into the screw, a budge created a small creaking sound and the screw finally began to turn. It became loose and was able to come out. It was very satisfying to see this happen, especially because the telescope body was unharmed.
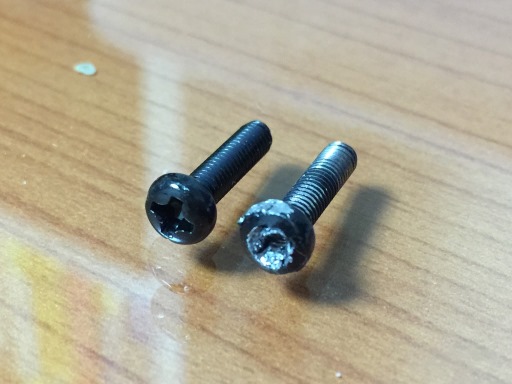
The replacement and the replaced
You can see what happened to the once-stubborn screw here, compared with the replacement screw I had ordered separately. Pretty interesting. I removed and the replaced all the collimator screws one by one with ease after this ordeal.
Defined tags for this entry: Anex ANH2-065, astronomy, Celestron NexStar 6SE, collimation, screw, screwdriver