DIY artificial star for SCT collimation
Posted by Wesley on
Using a Schmidt-Cassegrain telescope (SCT) like my Celestron NexStar 6SE requires the secondary mirror to be collimated properly to get a crisp image. I've done the collimation after fixing the screws, but I wanted to fine-tune further. The adjustment I will be making won't be the definitive for all the cases because the gravity affects the secondary mirror subtly with differing angles. But because the diameter (and consequently, weight) of the mirror is relatively small the deviation after the fine adjustment was hoped to be small.
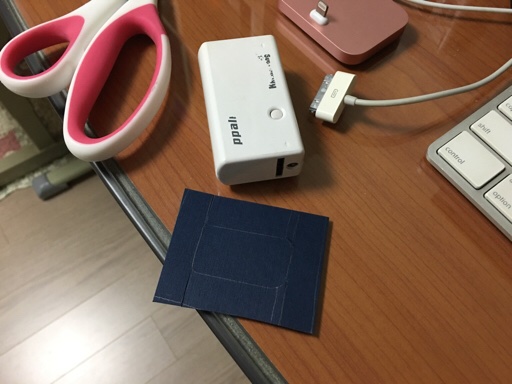
Unfortunately, the real stars often look too shaky, so I decided to try the artificial star method for this tuning instead. An artificial star is basically a bright light source coming from a tiny hole. For the light source, I do indeed have one - an LED flashlight that I bought many years ago. It's actually an external battery for charging phones with a bright LED as a bonus feature, but it's so old that the charging port is a Korean 24-pin standard that was popular about a decade prior. Now it was time for this little gadget to be useful again.
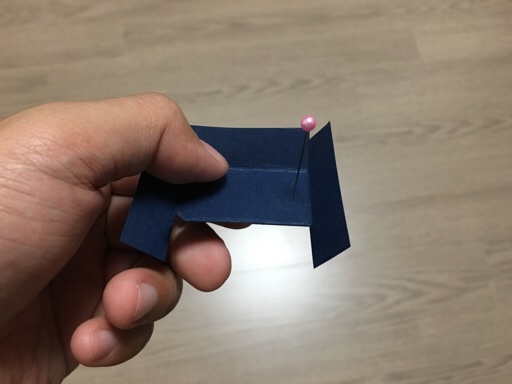
I initially tried it out as is, but the LED part was too big. It was time for a little modification. After trying out different materials, I found that a sheet of back cover for making presentation handouts was effective at blocking light, yet did not require complicated tools to work with. A pair of scissors let me cut one up to make a cover over the flashlight. Next, I punched a tiny hole where the LED was supposed to be at.

Ready to modify the LED flashlight
Unfortunately, the real stars often look too shaky, so I decided to try the artificial star method for this tuning instead. An artificial star is basically a bright light source coming from a tiny hole. For the light source, I do indeed have one - an LED flashlight that I bought many years ago. It's actually an external battery for charging phones with a bright LED as a bonus feature, but it's so old that the charging port is a Korean 24-pin standard that was popular about a decade prior. Now it was time for this little gadget to be useful again.

Punching a hole with a pin
I initially tried it out as is, but the LED part was too big. It was time for a little modification. After trying out different materials, I found that a sheet of back cover for making presentation handouts was effective at blocking light, yet did not require complicated tools to work with. A pair of scissors let me cut one up to make a cover over the flashlight. Next, I punched a tiny hole where the LED was supposed to be at.
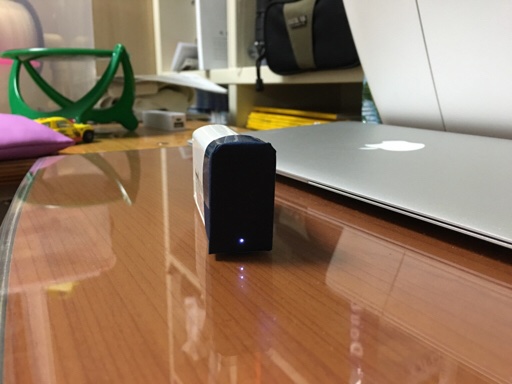
One simple DIY artificial star ready for use
Finally, the edges were glued together. With this simple paper cover on, the light would now only be able to shine through the hole. It was just what I wanted, and I set it up at one end of the living room.
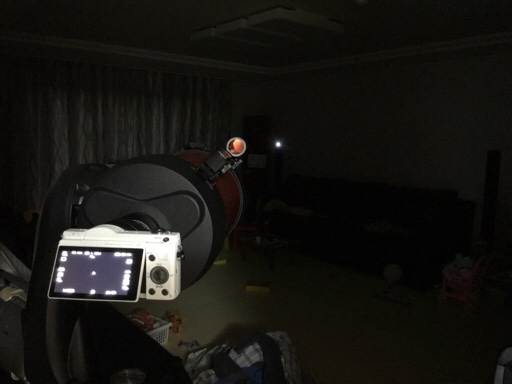
Collimating the telescope with the artificial star and a camera
The telescope was then placed at the other end of the room, about 6m(20ft) away from the light. To aid in the adjustments, I put my Sony A5000 on the telescope instead of an eyepiece. The camera was linked to my iPhone 6S Plus to be controlled remotely.
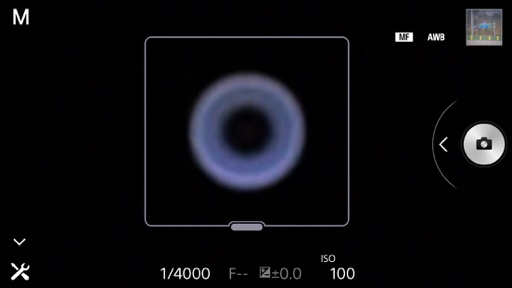
Observing the collimation ring on the remote camera control app
I considered this to be quite helpful because I could evaluate the out-of-focus ring of the artificial star away from the telescope, mitigating a possible source of distortion. Also, it allowed me to use the screen magnification feature of the iPhone to see the ring's distortion more clearly than the camera's own live view screen.
All in all, the simple DIY artificial star, along with a camera and a smartphone let me do a stable fine collimation of my telescope in the comfort of my home. When the sky clears up, I'll check to see how well this helped.
Defined tags for this entry: artificial star, Celestron NexStar 6SE, collimation, iPhone 6S Plus, LED, Sony A5000, telescope