Carrying the Portable Athlon (2/2)
Posted by Wesley on
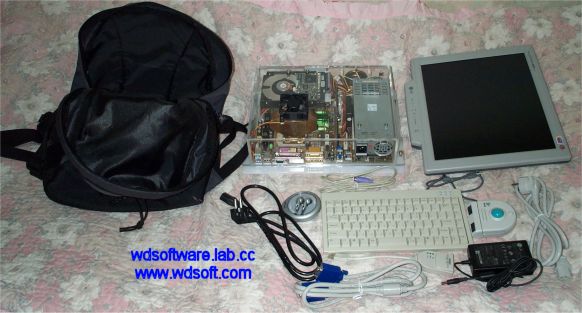
Of course there is! The backpack features additional storage space on the front and I can put the keyboard into this area easily. The earphone case would rattle if I placed it in the main compartment, so it's put in with the keyboard to prevent noise.
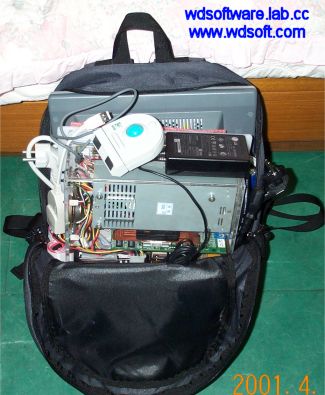
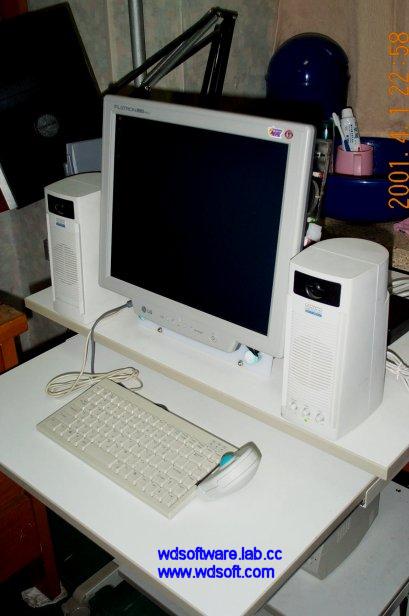
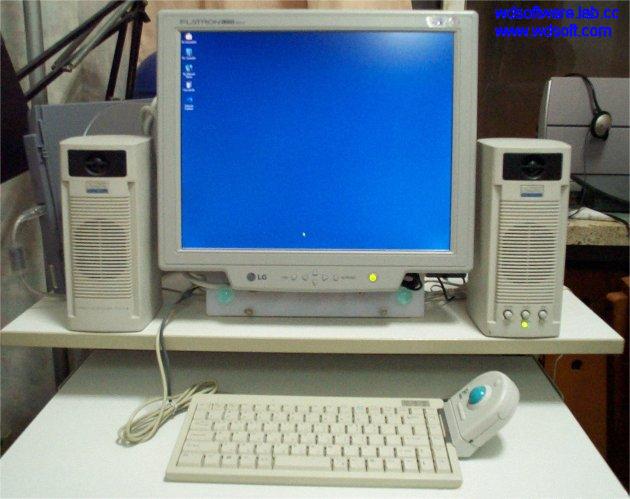
The system is fully in the backpack now!

That's me with the backpack. Now I can go anywhere with my system in the back. Due to the concealing nature of the backpack, though, most people thinks I'm going camping or something.

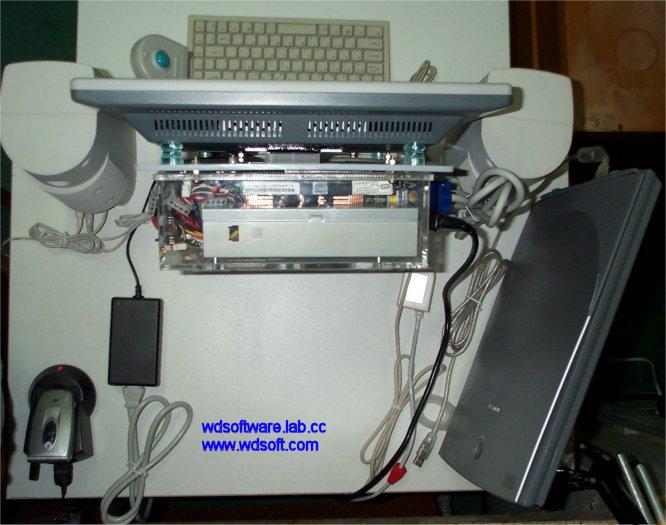
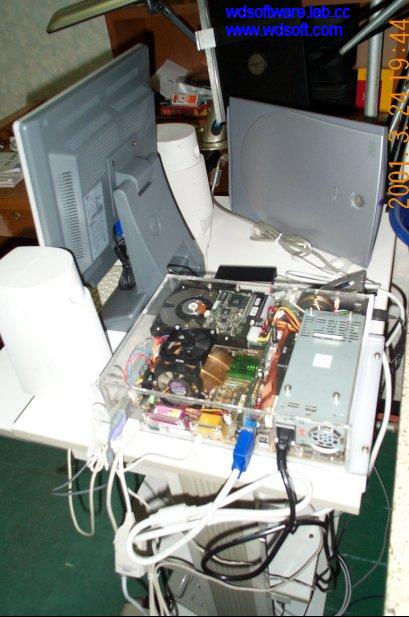
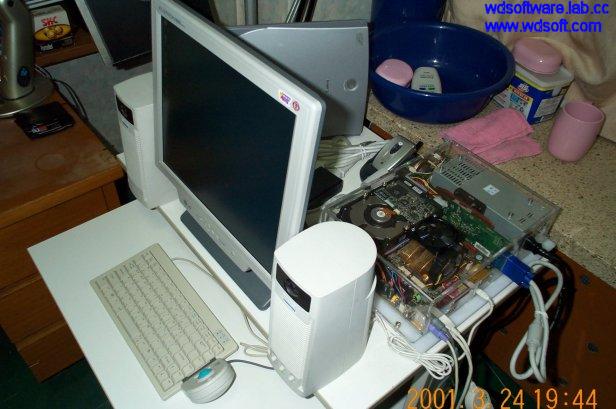
Yet another thing to consider. How much does it really weigh, anyway? I didn't know this exactly myself, as I didn't have a chance to do an accurate measurement. I just felt that carrying around this was a bit heavy, but bearable. Fortunately, I encountered a digital bathroom scale accurate up to 50g which was deemed suitable for answering the big question.
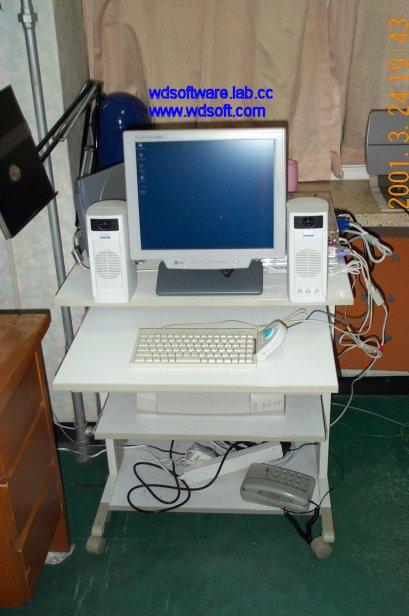
| Component | kg | Lbs. |
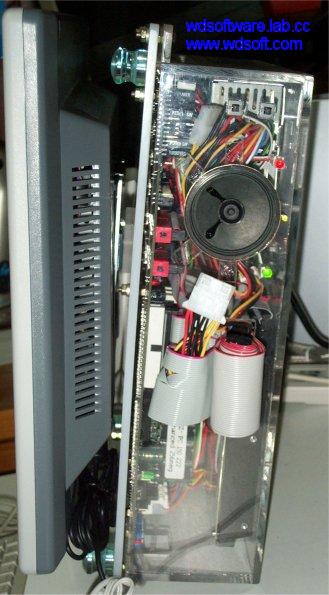
| System Case | 4.60 | 10.14 |
| LCD Panel | 2.90 | 6.39 |
| Keyboard | 0.45 | 0.99 |
| Mouse | 0.15 | 0.33 |
| USB LAN + Earphones | 0.05 | 0.11 |
| Cables | 0.90 | 1.98 |
| Backpack | 0.65 | 1.43 |
| TOTAL | 9.70 | 21.4 |
|---|
While modern notebook computers weigh in at around 2 to 4kg, my portable system isn't throwing around extremely lot of weight either. In fact, it's lighter than world's first portable computer, 'Osbourne 1' from 1981, which weighed 24 pounds(11kg) and came in a luggage. So, I hope your questions are answered now. I'm off to study for some exams next week.

