FLIR One 1st gen on iPhone 6S Plus
Posted by Wesley on
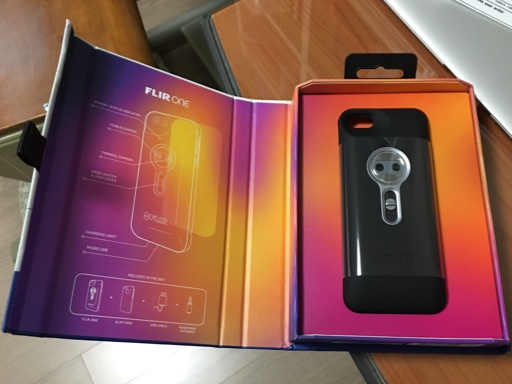
Opening the packaging of the first generation FLIR One
A few months ago, I noticed that the first generation FLIR One thermal imaging module for iPhone 5 & 5S went on a bargain sale online for about US$110. Since the newer version and the competing products were two to three times more expensive I thought it would be a great chance to own a thermal imaging camera of my own and ordered one. Good thing I did, because as of this writing the price went back up so high that you'd be better off getting the newer version.
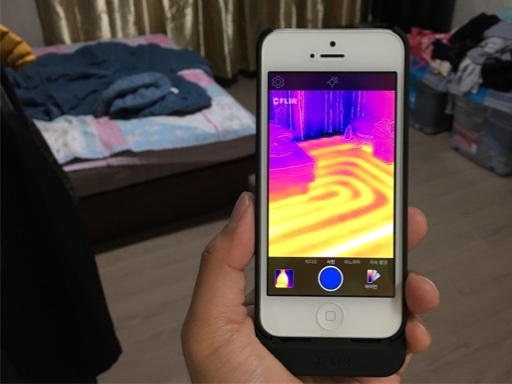
Mine arrived after a couple of weeks and I was already impressed with the nifty packaging. The product itself was also well-built and tightly integrated with my iPhone 5 once I put it into the provided case. Functionally, it works pretty much as advertised. You can see the thermal images of your environment through the phone's screen, with objects' contours enhanced using the images from a regular camera next to the thermal one. This technique, called MSX, is a way of mitigating a relatively low pixel count of the sensor (80 x 60 = 4,800). You have to recalibrate the sensor from time to time using a sliding switch next to it, which is slightly inconvenient at times.

FLIR One works fine with iPhone 5, as intended
Other device specifications limit the use of this module mostly to indoor use. The maximum range is about 30m (100 feet) and can only detect between 0°C to 100°C (32°F - 212°F). It does work quite well if you work within these limits, though. I can see where the heat leaks in my house and whether the floor heating is working properly, to give some examples.
To me, the fact that it works only with iPhone 5 or 5S out of the box was its biggest disadvantage because the larger iPhone 6 and 6 Plus series came out just two months after its official availability. FLIR did address this problem by releasing a second generation model a year later that solved the form factor problem (just plugs into the bottom of a phone) along with an upgraded pixel count (160 x 120 = 19,200) and range (-20°C to 120°C). It also does auto-calibration, boosting its convenience. But what about for those who already own one and upgraded to the newer iPhones?
You could use it on a spare iPhone, like I initially did, or modify it. There are aftermarket phone cases to fit an iPhone 6(S) or 6(S) Plus. But these require you to cut off the curved area to the side of the connector on the module so that they won't interfere with the wider width of these phones. Otherwise, the Lightning connector wouldn't go all the way in. But I did not like to mutilate it like this and decided to find another way.
