Moving to Apple HomeKit with Elgato Eve
Posted by Wesley on
Months into using the SKT Smart Home as the home IoT system, several shortfalls such as the lack of interaction beyond the main app and no actual user-side ownership of data left me feeling unfulfilled. Meanwhile, Apple's own home IoT efforts, HomeKit, had been maturing and being quite an Apple enthusiast, I thought this may be a good time to give it a try.
First appeared on iOS 8 in 2014, HomeKit finally got its own system app "Home" and a place in the Control Center with iOS 10, along with notification from accessories (iOS 10.2) and geofencing support. With the upcoming iOS 11, it's set to become even more powerful, supporting more accessory types, per-user geofencing, better timing options (offsets and delays), shorter Bluetooth LE latency, and hobbyist development of accessories.
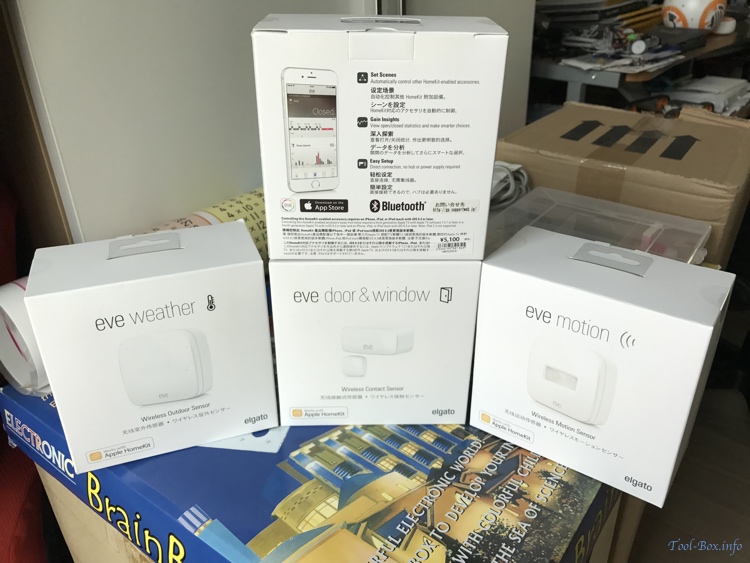
For my first HomeKit accessories, I picked up several types of Elgato Eve sensors during my Fukuoka visits in April. Eve Weather tracks the outside temperature, humidity, and air pressure. Eve Motion senses human movement up to 9 meters in the 120 degrees' field of view. Eve Door & Window detects the opening and closing of openable items. They seemed to be good starting points for future expansion because they provide sensor data that can trigger actions.
Now, the reason why I bought them in Japan is because most of the HomeKit-enabled accessories are not sold in Korea at the moment. They are most prominently available in the U.S., but this means that anything that runs off AC power like power plugs and light switches are often 120V-only, incompatible with the 220V outlets. Battery-powered ones can be found with relative ease in many Eurasian countries. For now, I'm sourcing various accessories from the U.S., Germany, and Japan.
FYI, the sensor series for Elgato Eve are most widely available around the world and you should compare the prices when buying them from overseas. Price in Japan isn't particularly favourable, so you should pick them up from physical stores only if you're already visiting the country for other reasons.
Eve sensors are battery operated, so they can be installed freely around the house. What's more, batteries in these sensors last at least a year according to Elgato, so they need little maintenance. More than two months into their use, battery indicators have barely budged. Should the batteries eventually run out, Eve Weather and Eve Motion use standard AA batteries, so they are cheap and easy to replace.
First appeared on iOS 8 in 2014, HomeKit finally got its own system app "Home" and a place in the Control Center with iOS 10, along with notification from accessories (iOS 10.2) and geofencing support. With the upcoming iOS 11, it's set to become even more powerful, supporting more accessory types, per-user geofencing, better timing options (offsets and delays), shorter Bluetooth LE latency, and hobbyist development of accessories.
Stepping into the Apple HomeKit world with Elgato Eve sensors - Weather, Door & Window, and Motion
For my first HomeKit accessories, I picked up several types of Elgato Eve sensors during my Fukuoka visits in April. Eve Weather tracks the outside temperature, humidity, and air pressure. Eve Motion senses human movement up to 9 meters in the 120 degrees' field of view. Eve Door & Window detects the opening and closing of openable items. They seemed to be good starting points for future expansion because they provide sensor data that can trigger actions.
Now, the reason why I bought them in Japan is because most of the HomeKit-enabled accessories are not sold in Korea at the moment. They are most prominently available in the U.S., but this means that anything that runs off AC power like power plugs and light switches are often 120V-only, incompatible with the 220V outlets. Battery-powered ones can be found with relative ease in many Eurasian countries. For now, I'm sourcing various accessories from the U.S., Germany, and Japan.
FYI, the sensor series for Elgato Eve are most widely available around the world and you should compare the prices when buying them from overseas. Price in Japan isn't particularly favourable, so you should pick them up from physical stores only if you're already visiting the country for other reasons.
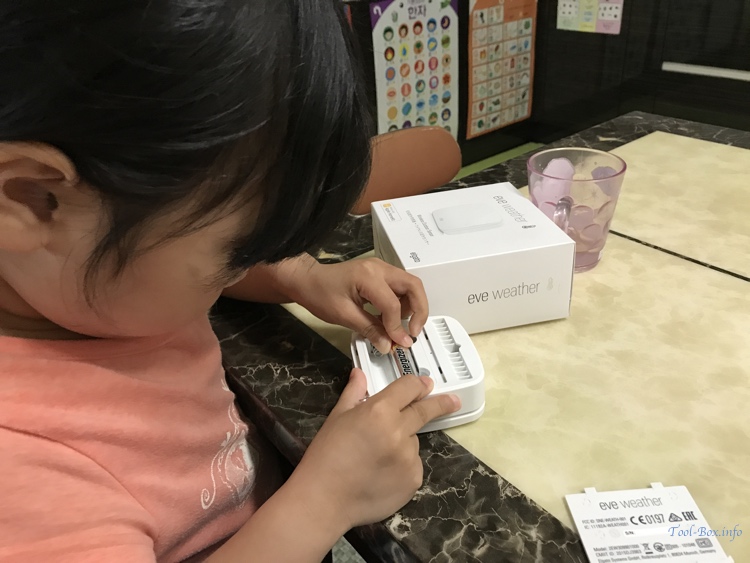
Hayun inserts the AA batteries into Eve Weather
Eve sensors are battery operated, so they can be installed freely around the house. What's more, batteries in these sensors last at least a year according to Elgato, so they need little maintenance. More than two months into their use, battery indicators have barely budged. Should the batteries eventually run out, Eve Weather and Eve Motion use standard AA batteries, so they are cheap and easy to replace.
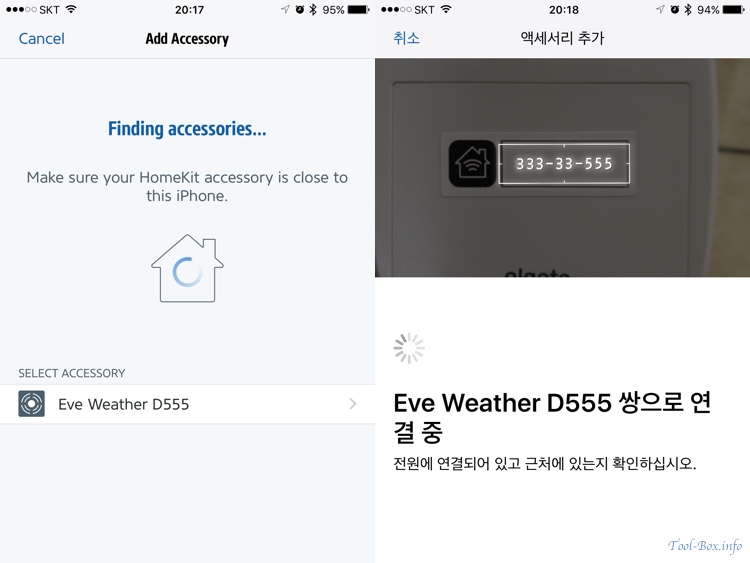
Pairing the Eve Weather to the iPhone('s iCloud account) using the Elgato Eve app
To start using the sensors, I installed the official Elgato Eve app on my iPhone and started the pairing process there. All non-paired Eve products nearby appear in the Add Accessory screen. Once an accessory is selected, most of the subsequent processes are automatic except for the one step where you need to enter the unique 8-digit HomeKit code for authentication using the camera. According to Apple, you can do the pairing with the default "Home" app as well. I think that's why the authentication screen showed up in Korean even though the Eve app has not been localized to Korean.
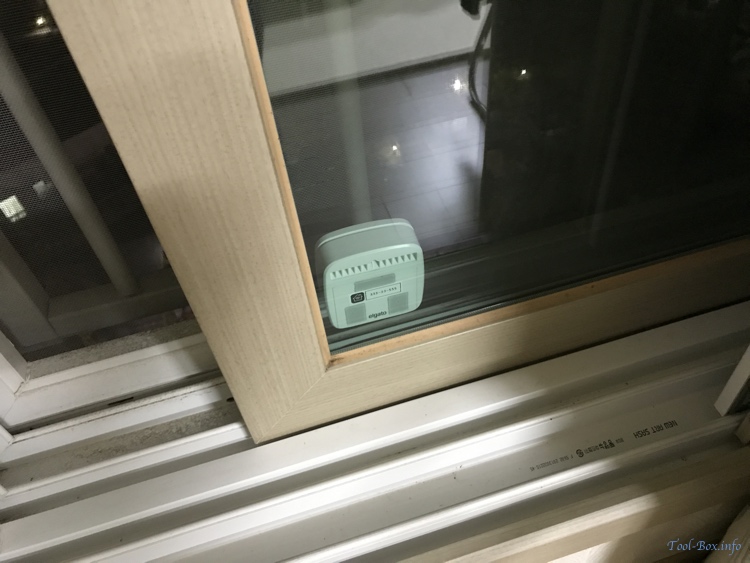
Eve Weather was installed on the veranda window, facing outside
Eve Weather is supposed to act like a compact weather station and needs to be sampling outside air. After giving much thought on how to place it securely while meeting this goal, I ended up putting it on the veranda window using slices of ultra-strong double-sided foam tape used for attaching a dash cam to a car's windshield. It has been working perfectly so far.
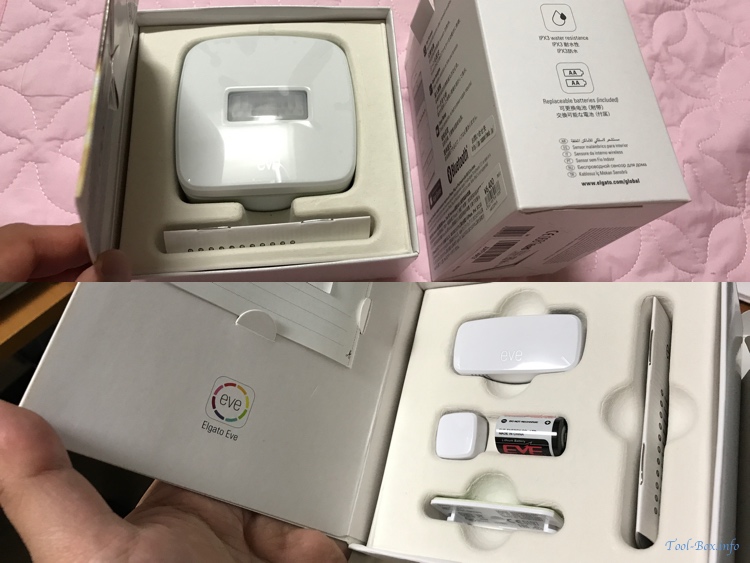
Eve Motion (top) and Eve Door & Window (bottom) in their original packaging
Physically speaking, Eve Motion is quite similar to Eve Weather in that both are shaped nearly the same and can be used outside thanks to the IPX3 rating. But Motion's Passive IR (PIR) sensor in the middle make it stand out from Weather. As for the Eve Door & Window, the main sensor is about the size of a thumb of an adult. To make it this small, Elgato has opted to use the ER14250 3.6V 1.2A Lithium battery, which is exactly half the size of an AA battery. While uncommon, it's not hard to find a seller online in Korea if you search for a 1/2 AA Lithium battery.
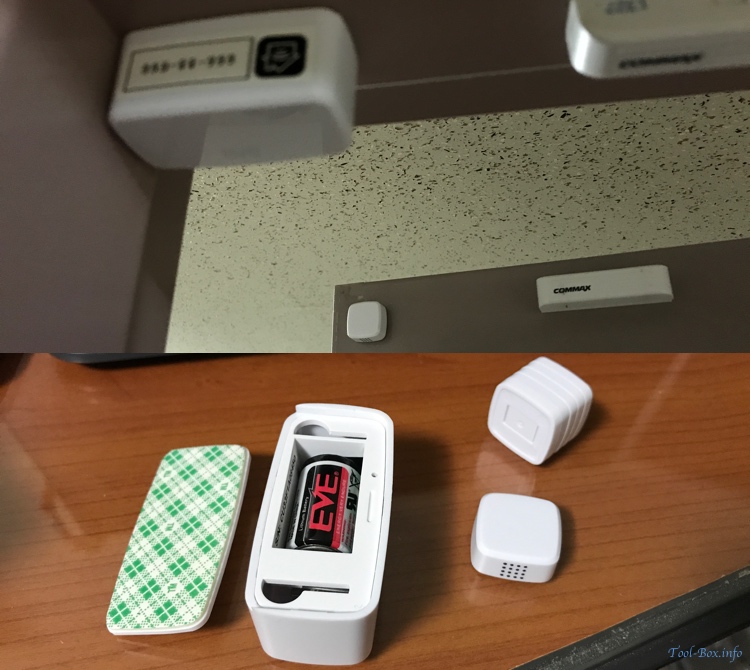
Eve Door & Window installed on the main entrance after inserting an ER14250 battery
When installing the Eve Door & Window sensor, it's recommended that the square magnet be properly aligned with the main unit, and the package comes with spacers to do just that. Fortunately, there are some margins, so it's possible to have it installed in a different orientation and still work. It would have been very difficult to install one on an entrance of a Korean apartment otherwise.
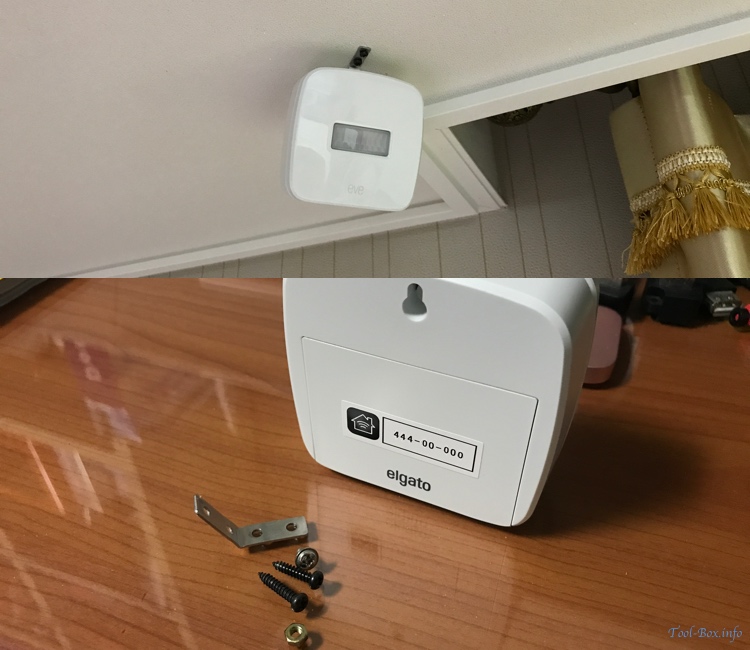
Eve Motion installed on the ceiling with a metal bracket, two screws, a bolt, and a nut
Elgato suggests installing Eve Motion on a flat surface about 1 to 2 meters off the ground to get good detection coverage. But when I installed one in the bedroom, I wanted to have a dead zone around the bed so that it wouldn't be triggered while I'm in bed. So I used a metal angle bracket to hang the sensor on the ceiling directly above the bed, making it face down slightly.
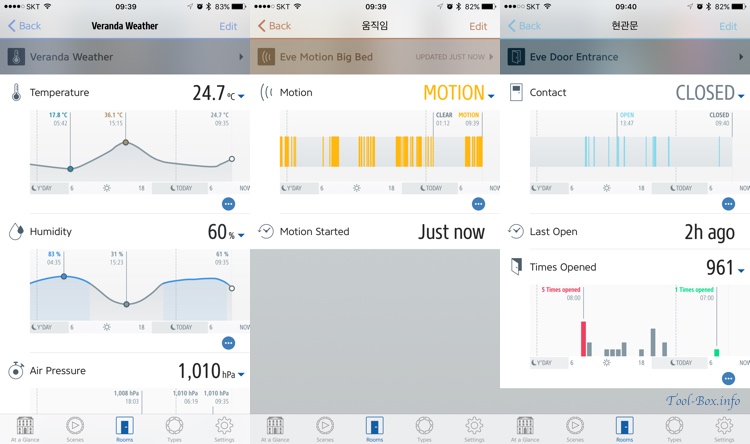
Data gathered from Eve Weather, Motion, and Door & Window (from left to right)
The sensors provide near real-time data to HomeKit framework for viewing or triggering automated action, and historic data can be browsed on the Elgato Eve app as you see here. I say "near" real-time because there's about 3 to 5 seconds of delay due to the way Bluetooth LE is polled. This hinders the full potential of the motion and door sensors because there will be that much delay in automation. iOS 11 is said to make this a sub-second affair, so I'll see in about 3 months whether this will have been resolved.
As for browsing historic data, they can be seen in graphs or tables of numbers, but they are only synchronized in bulk while you're browsing these detailed information. This takes about 15 seconds to about a minute depending on the conditions. If you only look at the overview, there may be a big backlog of unsynchronized data. So I made it a habit to check out the graphs about twice a day.
With these basic foundations of HomeKit accessories in my house, I started diving deeper. I needed something that could be controlled...