Heatpipe Madness
Posted by Wesley on
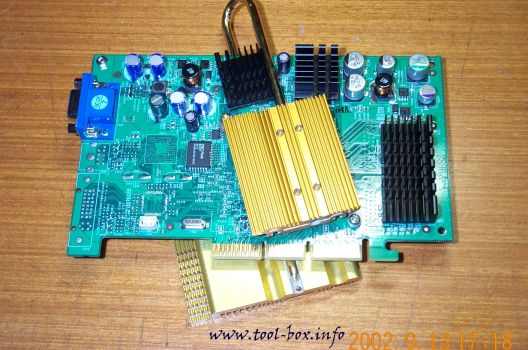
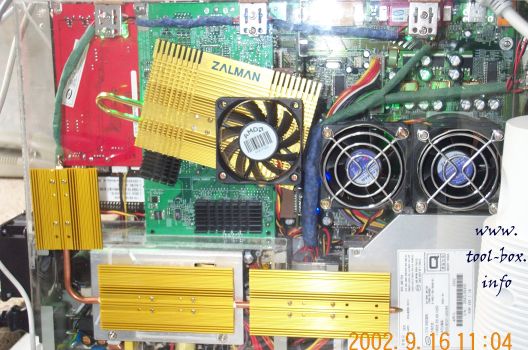
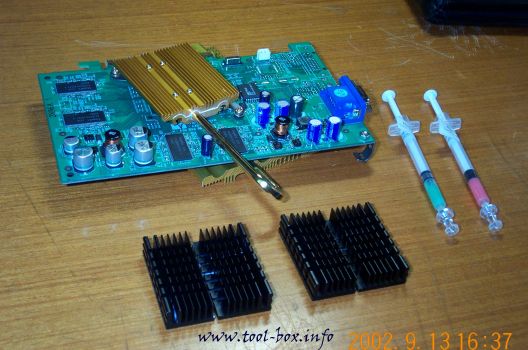
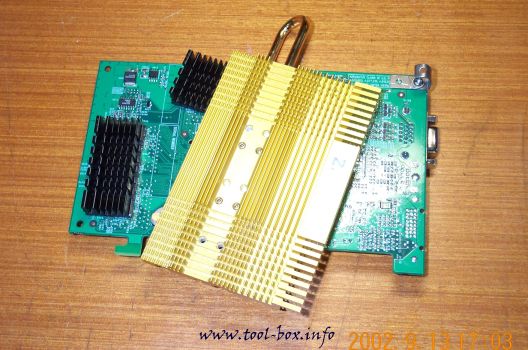
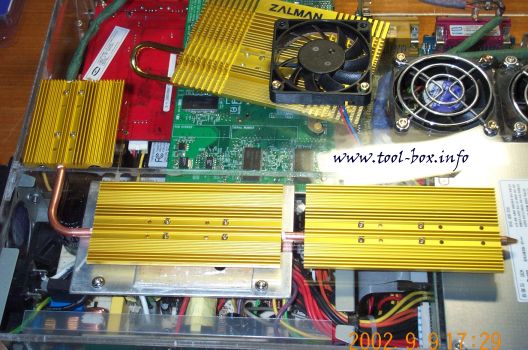
Heat problems have plagued the XPPort-II (a.k.a. Portable Athlon II) due to the high-performance components that make up the system, while having too cramped a space to have sufficient cooling applied. The solution was to use heatpipes to move the heat to where it can be properly cooled. Read on to find out how this helped stability and overclocking.

 Note that this score is currently the highest possible score while having the system completely stable. I might be able to squeeze a few more points while compromising stability just to the point that 3DMark barely completes, but that goes against my philosophy...