The Heatpipe Mod on XPPort-II (7/11)
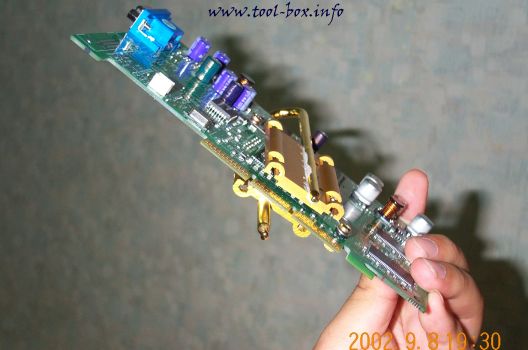
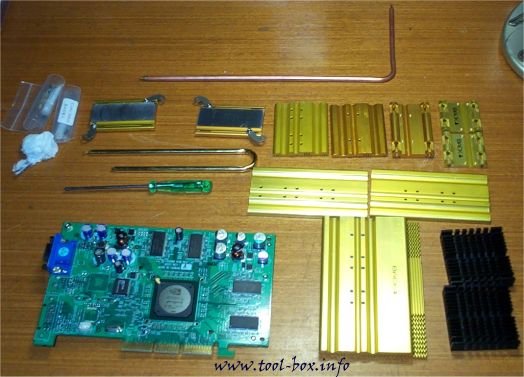
Posted by Wesley onThe bulk of the components that were not used for the video card heatsink were to be used to cool something that had been a relatively big problem for my system, and it actually does have to do with cooling the video card a bit, too.
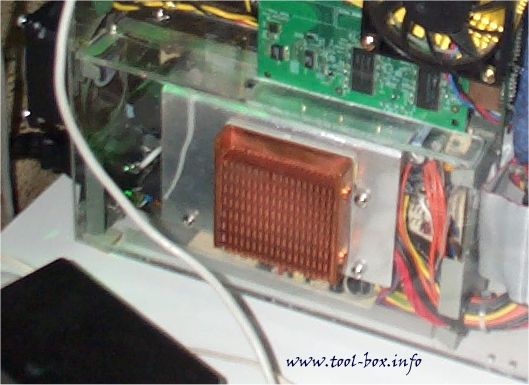
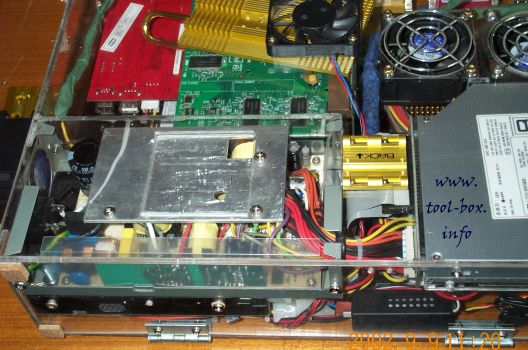
This is the close-up of the PSU (power supply unit) which provides electrical power to my system. This is a powerful 300W model that is fit into a relatively small form factor, and was originally intended for use in 1U servers. Due to the high capacity, though, the aluminum heatplate connected to the regulators tend to get very hot, to around at least 80C, and is probably sufficient enough to cook an egg, literally. In the picture above, I had attached a copper heatsink to combat this glaring heat problem, but this proved to be of little help since there's no fan on this thing and it couldn't get the heat dissipated well, having too small a surface area for sufficient natural convection cooling.
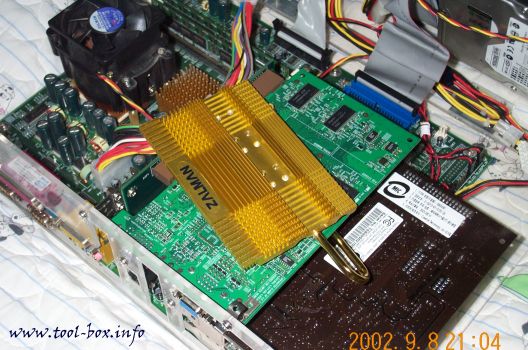
Now, if you look at the area just above the PSU, you will notice that the video card literally sits on top of it very closely. Obviously, the heat generated from the heatplate will affect the video card and it gets unintentionally hot. This would not only hamper the reliability of the video card, but also its overclockability. I needed a better way to cool the PSU.
It was rather difficult to remove the copper heatsink that I had attached. Apparently, I attached this thing almost too well. I was afraid I might break the case trying to remove it, but I managed to do it without much drama while having the PSU heated up. After the removal, I started installing the heatsink bases that would hold the heatpipe and the heatsinks into place.