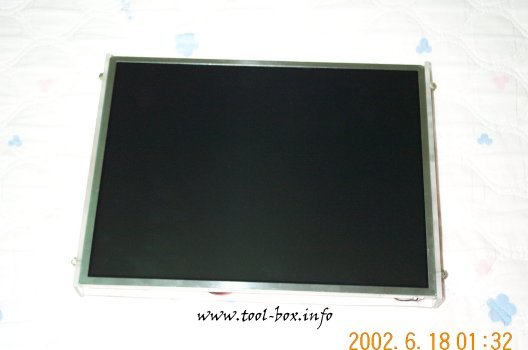
Building LCD Monitor (9/9)


Left Side of the LCD Monitor

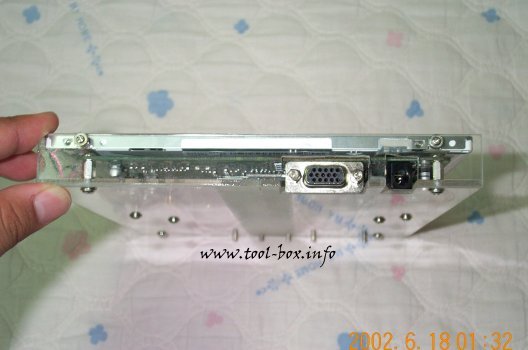
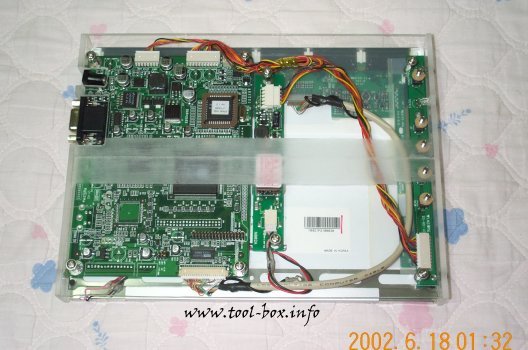
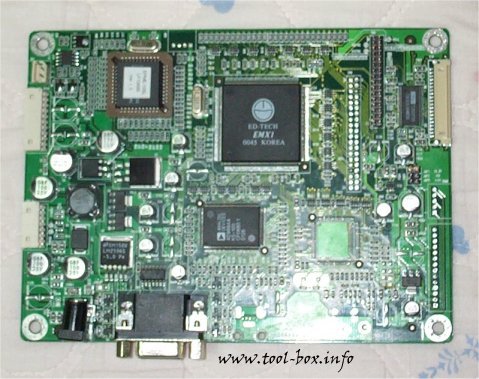
The video connector and the DC power input is more readily visible this way. These two are easily found side by side in normal LCD monitors as well. Let's look at the opposite side.

Right Side of the LCD Monitor

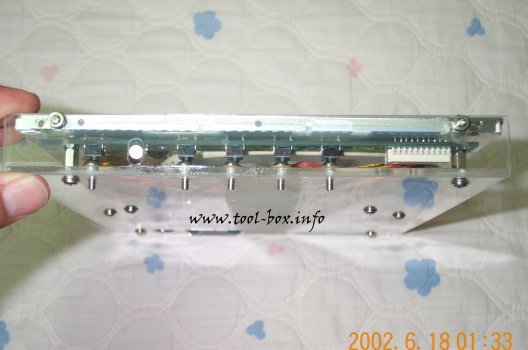
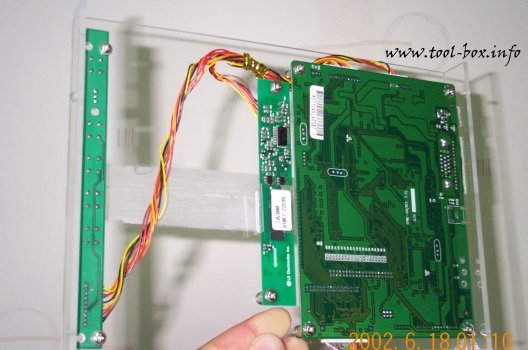
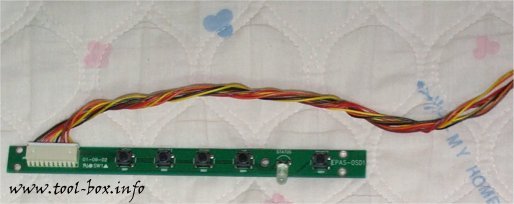
The OSD controls are visible here. The buttons were low-profile, so I used bolts to extend the buttons' reach. I've bended the LED light to the side so that it can be visible from the front.

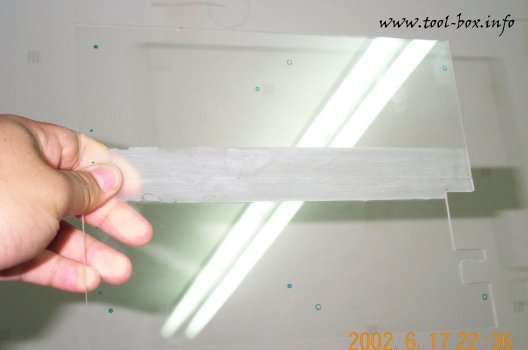
So there you have it! This is how you can build an LCD monitor by yourself. With the right components, you can make your very own, one-of-a-kind monitor for use with your custom system. Hey, it looks like I've finally wrote an article without tiring myself to sleep. :-) Anyways, good luck with monitor creation, folks!

Building LCD Monitor (8/9)


Front Side of the LCD Monitor

It doesn't look much different from the first LCD panel picture because all the other components are completely concealed in the back. It's quite visible that the four bolts are holding the panel to the casing firmly.

Back Side of the LCD Monitor

This is how the monitor looks from the back. You can find the analog video connector and the DC power input at the top left side, and the OSD controls at the right side. You can see the wires connecting the LCD to the controller, as well as others.

Building LCD Monitor (7/9)


Finished Casiing

This is how the finished casing looks like. Far simpler than most used in the production monitors, but it gets the job done. Try that with CRT monitors. :-) The components will now be placed here.

Components in place

There are plenty of space left after placing all the components and connecting them together. The connectors are unique, so there is little chance you'll mix up and get them connected wrong. I can use the leftover space to add other components in the future such as AC/DC converter so I can power the monitor directly from the power outlet. Now all I need to do is to screw the LCD panel in place.

Building LCD Monitor (6/9)


Now let's put the components together. We need a casing. It doesn't need to be complex or thick, because the components are lightweight, weight only a couple of hundreds of grams. I used some Plexiglas (pressed acrylic) panels left over from building my new computer (to be introduced in the upcoming article) to accommodate the components in place. First, the back panel:

The Back Panel

I put together two panels into one, hence the grey area in the middle. Holes were drilled for placing all the electronic components on it. Next, the side panels:

The Side Panels

The LCD panel I used had fastening holes on the left and the right side because it was intended for use in laptop computers, where space must be conserved. Therefore I drilled holes on the side panels to hold the LCD in place.

Building LCD Monitor (5/9)


This component is the 'brain' of the LCD monitor. It drives the monitor to properly display images, and it interprets the computer's video signals to that which can be understood by the LCD panel. LCD's native control signals are in a world of their own: TTL and LVDS to name a few. These are digital signals are significantly different from the analog video signals most video cards use today, and the A/D converter bridges the difference. If the video card uses digital signal like DVI, you'll still need a Digital-Digital converter because DVI and LCD signals are incompatible.

Analog-Digital Converter EPME-10SL

To ensure full compatibility, the A/D converter module usually comes customized for a specific model of the LCD panel. Therefore, if you were to buy an LCD panel, you should buy the A/D converter together as well. I obtain my parts from Eunpa LCD, a direct distributor of LG.Philips LCD panels, the largest laptop LCD producer in the world. Both companies are based in Korea, so take note of this for those living outside the country. The Europeans may want to try Data Display AG, by the way.

For those who are trying to obtain an LCD panel from a used laptop computer, you will probably need to find a company that produces A/D converter module for the model you have. This is because the LCD controller in the laptop computer usually interfaces to the video chip by a proprietary connection instead of a normal video connector, so you won't be able to make a standalone LCD monitor with it. You'll have a good chance of getting the converter module from the companies mentioned above if your panel says it's from LG.Philips, of course.

The OSD(On-Screen Display) control is not an essential part of the LCD monitor, as it can operate independently without one. However, you will need to have some control over adjustments of the screen, so you will want one if you could.

OSD Control

The OSD control is actually just a set of buttons and LED that connects to the controller. If you have the datasheet for the controller, you can make the OSD control by yourself. By pressing the buttons here, it sends signals to the controller, which in turn adjusts the screen's properties.

Copyright (C) 1996-2025 Woo-Duk Chung (Wesley Woo-Duk Hwang-Chung). All rights reserved.