iPhone 6 Plus Touch ID repair
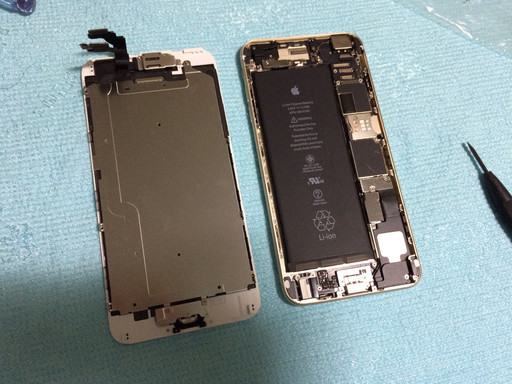
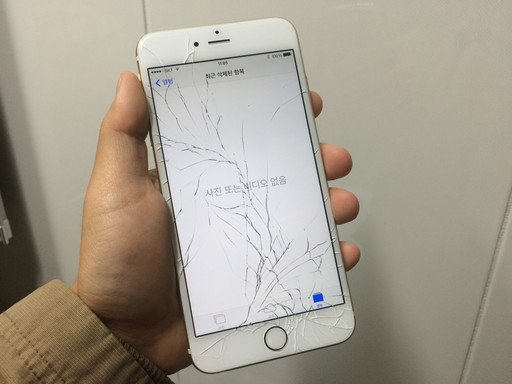
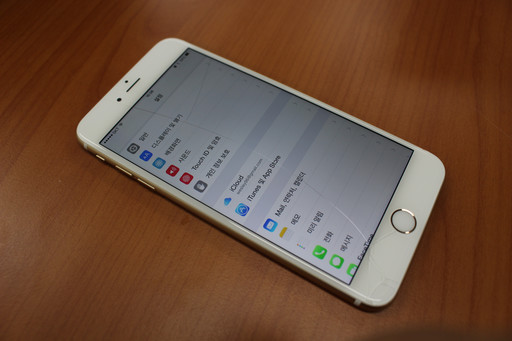
Posted by Wesley onAfter replacing the entire display assembly on my iPhone 6 Plus, everything seemed to be okay, except for one thing. The Touch ID sensor was not working for some reason, and it wouldn't respond to my fingerprint touches. The home button itself was working, and I could press it to go back to the home screen or call up the multitasking view.
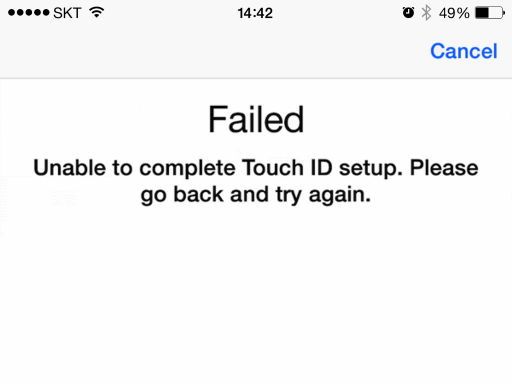
When I went to the Settings app, Touch ID option was disabled. When I tried to re-enable it, the process immediately failed, showing the above on the screen. Also, the Reachability function that brings the screen area down half way did not work, either. This relied on lightly touching the home button quickly twice, so it must have been recognizing the fingerprint to function.
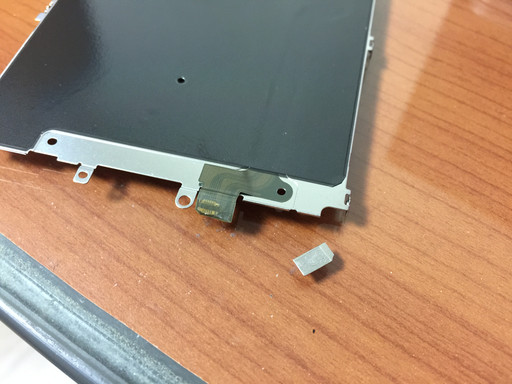
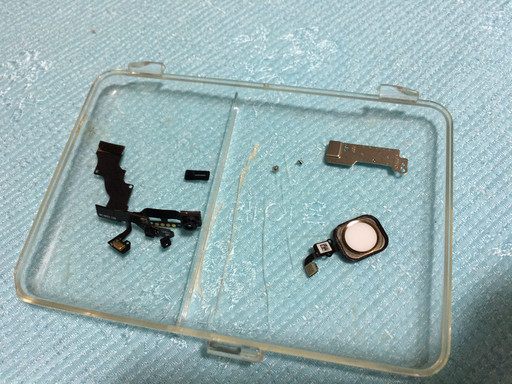
The bottom connector on the Touch ID cable wasn't in good condition
I remembered that the Touch ID cable on the display assembly's shield plate got weak while applying heat to loosen the adhesive. Thinking that maybe the connector was damaged, I ordered some replacement shield plates with the Touch ID cable on them.
