The Second Portable Athlon (2/10)


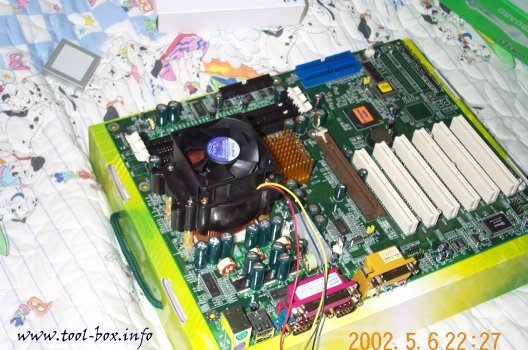
Now the CPU and the cooler is properly in place. The CPU used is AMD Athlon XP 1700+ (1467MHz), which is really from another project called TabletXP, my attempt at creating an Athlon XP based tablet computer. It did not go as expected because the CPU was taking too much power and wasn't feasible enough to be used on batteries.
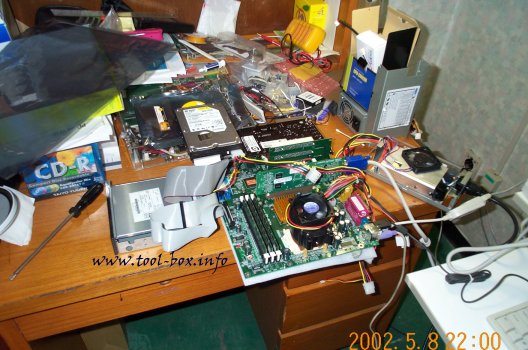


The computer makes its first test run for functionality. Due to the expected size constraint, I applied some server parts in this project. I got a slim size CD-ROM / floppy drive combo from a server shop (they had them for 1U servers). The PCI riser card and the power supply came from IKIS. The power supply is a 300W version made for 1U servers made by Matrix Power, twice as powerful as the original Portable Athlon. Operating an Athlon system on a 150W power supply was a risky business, and it became evident in the end, as the power rails eventually fell below normal operating parameters due to stress. Using a high-capacity server-designed power supply should not repeat this problem, I thought. Anyways, the test went well, so the system was ready to be built into a proper casing.
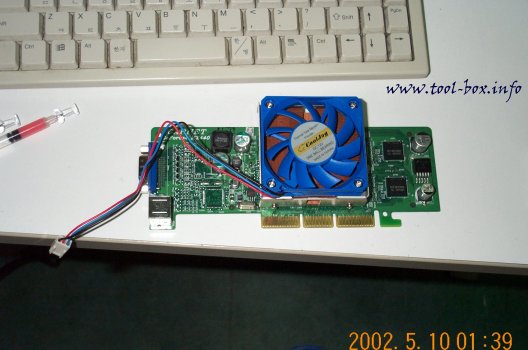


The video card needed some modifications first, though. Operating in a tight space meant that I had to prepare it to withstand hot environments. Therefore, I replaced the original heatsink with the CoolJag JAC311C, a high performance copper heatsink made for cooling CPUs in 1U servers. It actually came from the TabletXP project, too, and it was originally cooling the Athlon XP, so I could expect a very effective cooling. Oh, and the video card is an NVIDIA GeForce4 MX440 based model from Garnet Systems. They had two version of the MX440 card, one in normal size, and the other in slim size (this one). There was no Ti-grade GeForce cards in slim size, so this was the fastest slim size card on the market I could buy.
The Second Portable Athlon (1/10)


The original Portable Athlon was signalling its retirement. The highly overclocked GeForce2 MX in the system finally failed, probably due to extensive operation under the cramped environment. The card seemed fine at first, but it invoked hard drive errors during booting (I thought the hard disk had gone bad at first). I think it was sending unstable signals and risking the stability of the system. Also, the case design had very limited expandability, with no PCI extension cards installable, and without a room for a floppy drive or a CD-ROM drive. I was sort of getting annoyed by that. I decided to get over this, and started building a new version. I'll show the journey around with lots pictures.


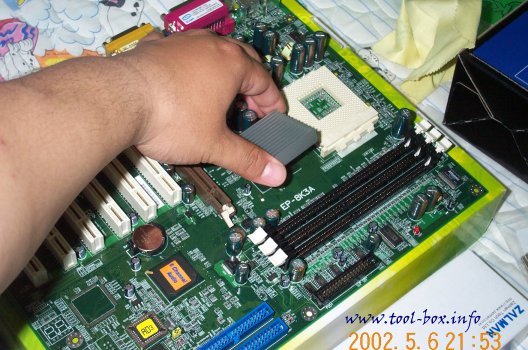
This is the EPoX EP-8K3A mainboard with KT333 chipset, supporting PC2700 (166MHz operation, 333MHz effective speed) DDR-SDRAM and 166MHz FSB. You can clearly see the markings on the surface. Like the original Portable Athlon, this mainboard is full ATX, not the smaller microATX that is commonly used in small form-factor or slim-size computers. Back in the original, though, there wasn't much benefit of using a full ATX mainboard in terms of expansion because it was blocked by the power supply sitting all over it. Not this time; those PCI slots would have real use. Here, I'm removing the default northbridge heatsink.


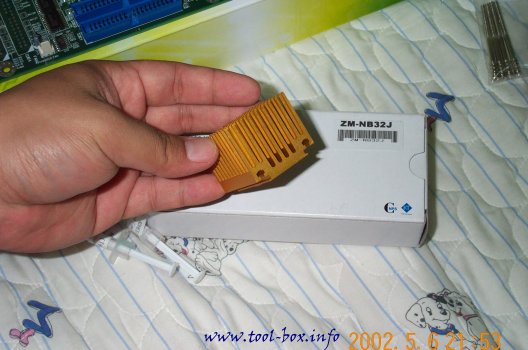
The default heatsink would be more useful somewhere else. I'm going to replace it with Zalman Tech's beautifully gold-coloured ZM-NB32J northbridge heatsink.


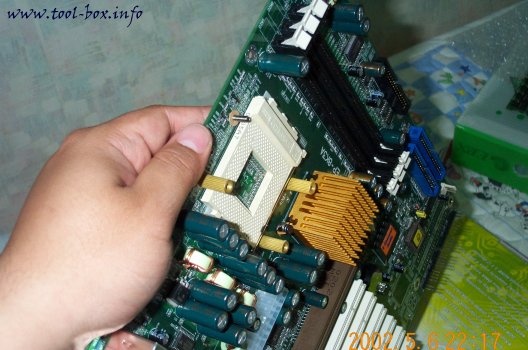
The new heatsink is now in place. Next step is to install a CPU cooler. I am to install CNPS5100-Cu, again from Zalman, which does not use clips, but four supporting bolts. Therefore, I needed to put the studs on first.

Building LCD Monitor (9/9)


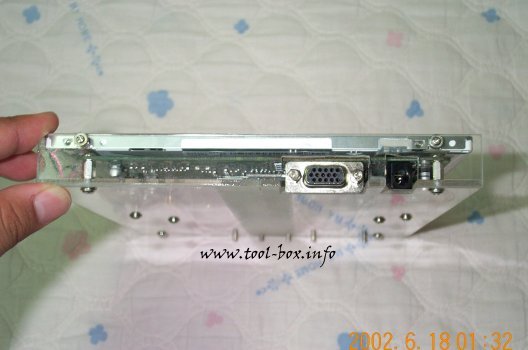
Left Side of the LCD Monitor

The video connector and the DC power input is more readily visible this way. These two are easily found side by side in normal LCD monitors as well. Let's look at the opposite side.

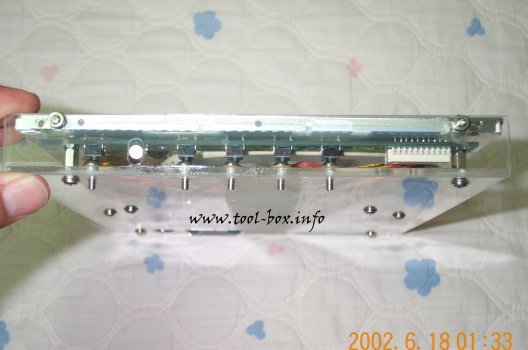
Right Side of the LCD Monitor

The OSD controls are visible here. The buttons were low-profile, so I used bolts to extend the buttons' reach. I've bended the LED light to the side so that it can be visible from the front.

So there you have it! This is how you can build an LCD monitor by yourself. With the right components, you can make your very own, one-of-a-kind monitor for use with your custom system. Hey, it looks like I've finally wrote an article without tiring myself to sleep. :-) Anyways, good luck with monitor creation, folks!

Building LCD Monitor (8/9)


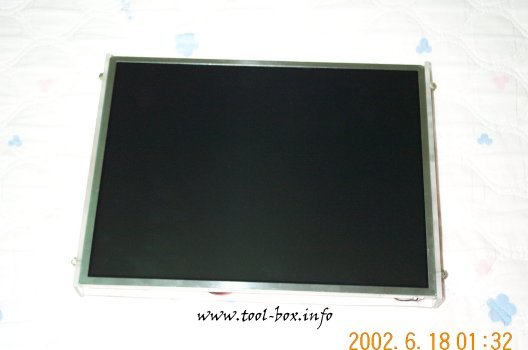
Front Side of the LCD Monitor

It doesn't look much different from the first LCD panel picture because all the other components are completely concealed in the back. It's quite visible that the four bolts are holding the panel to the casing firmly.

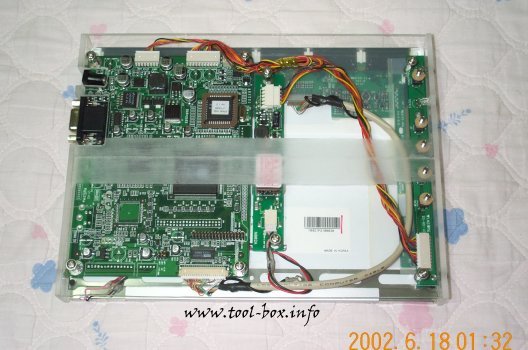
Back Side of the LCD Monitor

This is how the monitor looks from the back. You can find the analog video connector and the DC power input at the top left side, and the OSD controls at the right side. You can see the wires connecting the LCD to the controller, as well as others.

Building LCD Monitor (7/9)


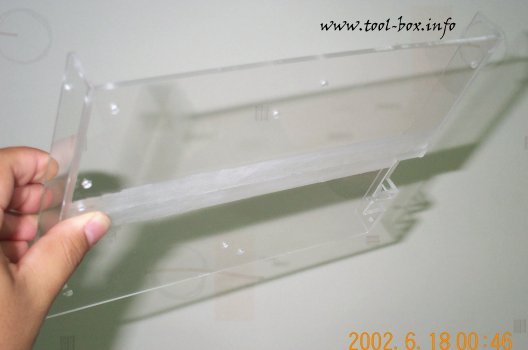
Finished Casiing

This is how the finished casing looks like. Far simpler than most used in the production monitors, but it gets the job done. Try that with CRT monitors. :-) The components will now be placed here.

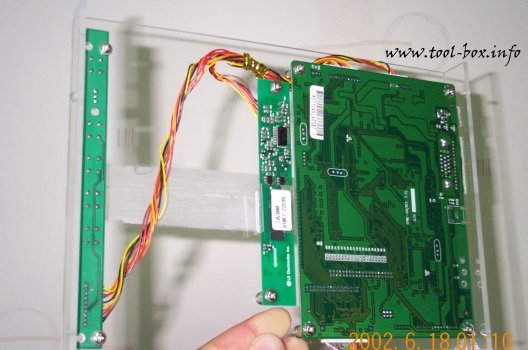
Components in place

There are plenty of space left after placing all the components and connecting them together. The connectors are unique, so there is little chance you'll mix up and get them connected wrong. I can use the leftover space to add other components in the future such as AC/DC converter so I can power the monitor directly from the power outlet. Now all I need to do is to screw the LCD panel in place.

Copyright (C) 1996-2024 Woo-Duk Chung (Wesley Woo-Duk Hwang-Chung). All rights reserved.