Entries tagged as Makibox

Building Makibox (Part 5)

Makibox starts printing a cube

After much worries and adjustments, I decided to bite the bullet and connect Makibox to a computer to do a test print. Windows driver was loaded to my notebook computer, and I downloaded 5DPrint, the host software that operate the printer, to the Chrome browser. On the 5DPrint, I loaded the test cube G-code file provided at the Makibox website for the very first printing test.

First attempt went horribly wrong because I just loaded the filament and there wasn't enough material to stick to the hot bed first, making the material curl up around the nozzle. The second attempt, however, is going relatively smoothly as I write this. I need to level the hot bed a bit more, but other than that everything seems to be okay. To see the photos leading up to this, read on.
Continue reading "Building Makibox (Part 5)"

Building Makibox (Part 4)

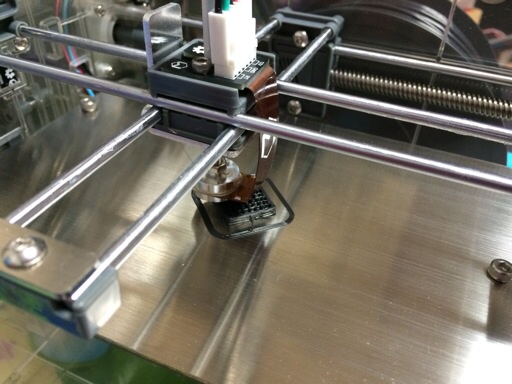
Leveling the Makibox's hot bed

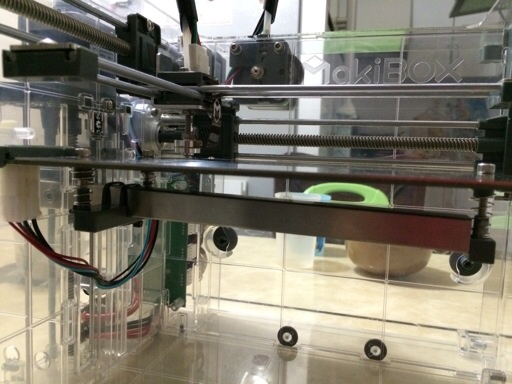
The axis movement issue was somewhat alleviated, so I went with leveling the hot bed where the prints will be formed on. This required turning the three screws on the bed ever so slightly so that the nozzle is basically at the same distance away from the surface.

I made the adjustments without powering on first because they were off by a lot and needed big shifts. The expansion caused by heating of the bed may require further adjustments, but I hope it will be minor.

As for how the axis movement got better, read on.
Continue reading "Building Makibox (Part 4)"

Building Makibox (Part 3)

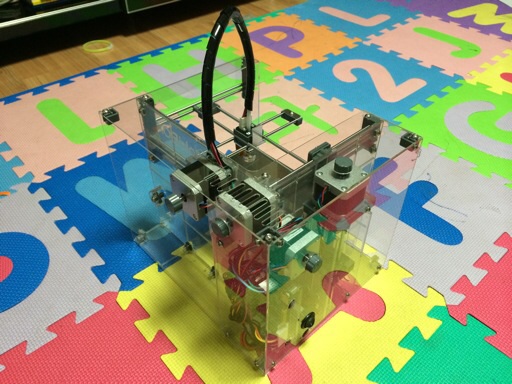
The assembled Makibox A6 HT

While a lot of people were celebrating the turn of the year on the night of the New Year's Day, I was putting the rest of the outer panels on Makibox and making adjustments on the panels that were already installed. With that, the assembly of the printer was complete. However, the work is far from over.
Continue reading "Building Makibox (Part 3)"

Building Makibox (Part 2)

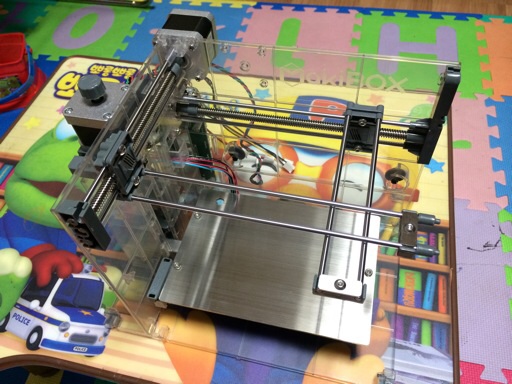
Makibox's axes are in place

Continuing from where I left off yesterday, I proceeded to put the rest of the Makibox A6 HT parts together. The X and Y axes that will accommodate the printing head was installed. This part was fairly easy. The rest of the parts that needed to be assembled were the stuff that fed and printed the plastic filaments, and the cover panels. Read on to see how they look like.
Continue reading "Building Makibox (Part 2)"

Building Makibox (Part 1)

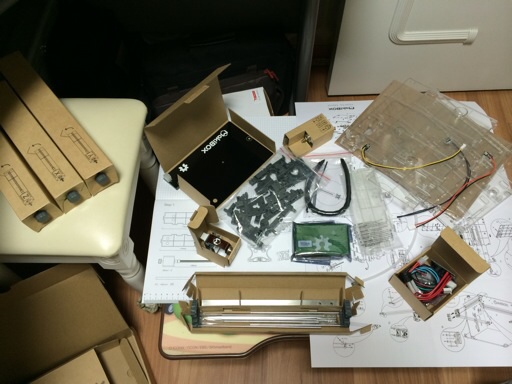
Opening up the box of parts for Makibox

After the Christmas festivities died down and the kids were put to sleep, I got to work on building the Makibox A6 HT. The kit had an assorted array of plastic and metal parts, as well as some pre-built parts like the main circuit board and nozzle. It also came with a detailed (but slightly buggy) assembly instruction.

If things went smoothly, I would've finished building it and had some time to sleep. But apparently that would not be the case. Hiccups along the way dragged down the build speed, and I could only finish about half way through before getting one hour of sleep and going to work. If you want to hear what happened, keep reading.
Continue reading "Building Makibox (Part 1)"

Copyright (C) 1996-2024 Woo-Duk Chung (Wesley Woo-Duk Hwang-Chung). All rights reserved.