Entries tagged as A1522

Digital nostalgia: from 1999 to 2015

Yongsan Seonin Electronics Market, 1999-12-14

I've owned a digital camera since November 1999, and I kept every photos and videos I did not immediately delete since then. So I now have more than 15 years of digital memory with me. The first 4 years or so were captured on my first digital camera, a 2-megapixel, 2x optical zoom Kodak DC280, which I bought for 960,000 Won (US$830 at the time). It was a top-of-the-line consumer digital camera, as most cameras back then were of either 0.3- or 1.3-megapixel types. I also remember paying 160,000 Won (US$140) for a 32MB memory card.

I went back to check out some of the earliest photos and revisited the places within them to see how much has changed. With me was my iPhone 6 Plus, which incidentally cost me nearly the same (equivalent of 977,000 Won, US$940 at the time), yet had an 8-megapixel sensor and 128GB of storage.

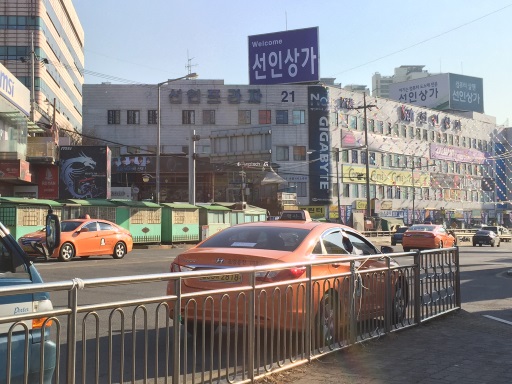
Yongsan Seonin Electronics Market, 2015-01-31

First up is one of the iconic buildings in the huge Yongsan Electronics Market area. Building 21 of the Seonin Plaza, a.k.a. Seonin Electronics Market had been my favourite place to buy computer gears and parts in my university days.

The 1999 photo shows a dual Pentium III 500 server ad at the entrance, while the 2015 one has a GeForce GTX 740 graphics card ad in its place. The 2015 photo also shows Building 23 behind the right side of the building, which didn't exist until 2007.

Let's move to somewhere underground now.

Continue reading "Digital nostalgia: from 1999 to 2015"

iPhone 6 Plus Touch ID repair

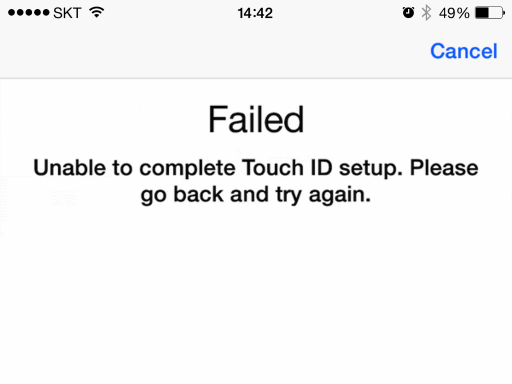
"Failed - Unable to complete Touch ID setup. Please go back and try again."
Touch ID was not working anymore

After replacing the entire display assembly on my iPhone 6 Plus, everything seemed to be okay, except for one thing. The Touch ID sensor was not working for some reason, and it wouldn't respond to my fingerprint touches. The home button itself was working, and I could press it to go back to the home screen or call up the multitasking view.

When I went to the Settings app, Touch ID option was disabled. When I tried to re-enable it, the process immediately failed, showing the above on the screen. Also, the Reachability function that brings the screen area down half way did not work, either. This relied on lightly touching the home button quickly twice, so it must have been recognizing the fingerprint to function.

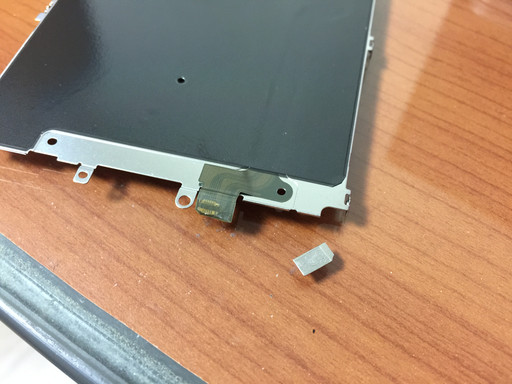
The bottom connector on the Touch ID cable wasn't in good condition

I remembered that the Touch ID cable on the display assembly's shield plate got weak while applying heat to loosen the adhesive. Thinking that maybe the connector was damaged, I ordered some replacement shield plates with the Touch ID cable on them.
Continue reading "iPhone 6 Plus Touch ID repair"

iPhone 6 Plus screen repair (Part 3)

Taking the iPhone 6 Plus display assembly apart

Seeing that the glue can no longer cleanly fix the cracked screen, I decided to order a 3rd party replacement display assembly for my iPhone 6 Plus. Currently, they're pretty expensive - easily fetching more than US$300 with shipping cost extra - and some sellers don't really have them in stock or ask for more money once you pay the listed price. In my case, it took me three tries to get one shipped, paying about $260 for the display and $35 for shipping.

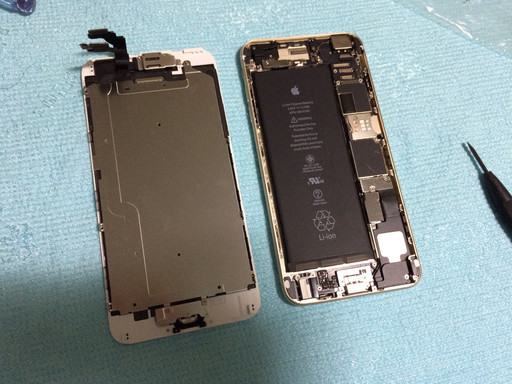
With the replacement in hand, I started disassembling the phone. After removing two pentalobe screws on the bottom and lifting the screen with a suction cup, I was able to easily disconnect the display assembly from the rest of the phone. All I needed to do was to take off the five screws holding the cable bracket, and then carefully disconnect the four cables from the display assembly.

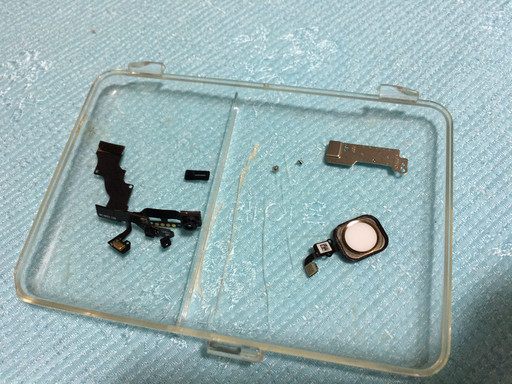
Parts separated from the display assembly

But there were a lot of modules on the display assembly that had to be separated. They did not come with the replacement display, so they had to be re-used. And in the case of the home button, the integrated Touch ID sensor is uniquely paired with the phone and any replacement will not have the fingerprint sensing enabled due to security reasons.

So I carefully removed the earpiece speaker and the front-side camera & sensor assembly on top, and then the home button on the bottom. Where they were stuck using adhesives, I used a heat gun at a setting of 50C (122F) to loosen them.
Continue reading "iPhone 6 Plus screen repair (Part 3)"

iPhone 6 Plus screen repair (Part 2)

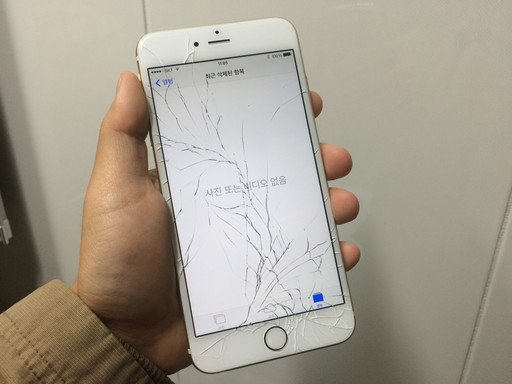
A much worse case of cracked screen on my iPhone 6 Plus

Still looks bad while turned off
I had been using my iPhone 6 Plus with the repaired screen for a few weeks without issues. But one day, I put the phone down on the desk a bit hard... and the screen somehow cracked like crazy even though the screen was facing up. I suppose the previous incident weakened the screen already and this was sort of a final blow.

You can see that the cracks occurred near the original hairline cracks and spread dramatically. Much of the original cracks were held together by the glue, but the nearby areas were already vulnerable to crack anyway. While the touch screen functionality was not affected, the cracks undermined the safety of my fingers and the visibility. It was time to try the Screen Glue again.
Continue reading "iPhone 6 Plus screen repair (Part 2)"

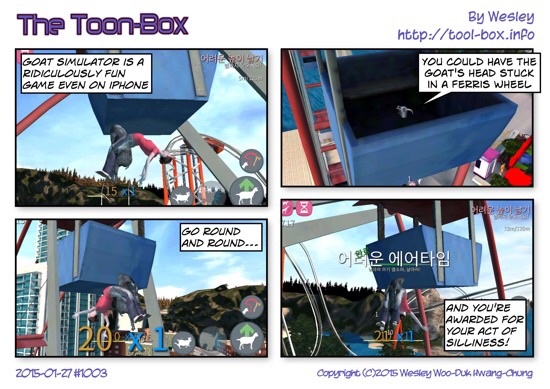
Today's "The Toon-Box"


Copyright (C) 1996-2024 Woo-Duk Chung (Wesley Woo-Duk Hwang-Chung). All rights reserved.