Entries tagged as camera

FLIR ONE Pro - Impressions & Outside Uses

I have been a long time user of a FLIR ONE, an infrared thermographic camera module that connects to a smartphone. This type of camera visualizes the hot and cold spots of a subject by measuring infrared emissions. Such cameras are generally quite expensive, but by reducing it to just the camera module and relegating much of the operation to the connected smartphone, having it at a much lower price point became possible. That's how the FLIR ONE series came about.

More specifically, I own a first generation of the series, which is shaped to fit on an iPhone 5 or 5S only. Subsequent generations were redesigned to support a wide range of phones. So I was quite thankful to have given the chance by FLIR to test out the high-end version of their latest generation smartphone attachment - the FLIR ONE Pro. I was eager to see what sorts of improvements were made during the past few years.

Contents of the FLIR ONE Pro package

The product came in a colourful box that contained the main module, a USB-C charging cable, a compact carrying pouch, and some leaflets. The general style of the packaging had remained constant and professional, and the addition of a pouch was a nice touch since the module really shines when it can be brought to everywhere.

The quick start guide basically tells you to connect the module to your smartphone and install the FLIR ONE app. It is really a plug-and-go affair, so the simplicity is understandable. I do wonder if basic app functions could have been explained on paper a bit further, however.

Size of FLIR One 1st generation (top left) and FLIR ONE Pro (bottom right) compared with a transit card (bottom left)

Comparing to the first generation module, the look of the main component - the thermographic sensor and the regular camera bundle - hasn't changed much. However, the overall packaging has changed dramatically. The first generation was shaped to encase an iPhone 5/5S, so the long shape allowed it to house a large battery. It also has a recalibration / power switch next to the sensor bundle.

The FLIR ONE Pro, on the other hand, was designed to fit on a data/charging port of a phone and is smaller than a transit card. In order to accommodate thick phone cases, the length of the connector on the module is adjustable through the dial just below it. In order to make it compact, however, the integrated battery is much smaller and runs shorter than the first generation. There is a small power button at the bottom with status light. Automatic recalibration function did away with a need for a manual button.
Continue reading "FLIR ONE Pro - Impressions & Outside Uses"

100-minute tracking of Jupiter

Jupiter and the Galilean moons seen on 00:44, April 20, 2018

Jupiter and its four major satellites (Galilean moons) are good targets for time lapse photography because of the relatively rapid movement. The rotational period of the planet is slightly less than 10 hours, and Io, the innermost of the Galilean moons, orbits the planet in about 42.5 hours. Under good conditions, these things become noticeable over a span of just about an hour.

Shortly after midnight of April 20, 2018, Io came out from behind Jupiter on the left side, while the Great Red Spot was moving towards the back of the planet on the right side after being in the center. These were all captured on my camera as I took 597 photos of the Jovian system over a period of 100 minutes between midnight and 01:40AM. The photos were then stacked and processed in 1-minute intervals (6 photos on average), like the one you see above, then put together into video as you see below.


I think it shows the dynamics of these celestial objects quite well. Now that I have a good grasp of the workflow for making a planetary animation, I should be able to make a similar one for Mars when it approaches Earth close enough to be seen as half the apparent size of Jupiter next July. Before wrapping up, here's a bonus picture of the Jovian system that I took just after photographing the Sombrero Galaxy. You can actually see Io casting a tiny shadow on Jupiter. I thought I would never see that sort of thing on my telescope.

Jupiter and the Galilean moons seen on 01:03, April 19, 2018

Telescope: Celestron NexStar 6SE
Device: Sony A5000 (prime focus)
Settings: (1500mm) - ISO 100 - 1/15s(#1), 1/20s(#2) - (f/10)
Filters: Baader Moon & Skyglow
Time: 2018-04-20 00:00 ~ 01:40(#1), 2018-04-19 01:03(#2) KST
Location: Naju, Korea
597(#1), 6(#2) photos processed with PIPP 2.5.6 and RegiStax 6.1.0.8

Sombrero Galaxy

Sombrero Galaxy seen on the night between April 18 and 19, 2018 (25% size)

I was looking to photograph a galaxy that was shaped distinct enough to look like something other than a blob of fuzzy light ball under limited equipment and conditions. Looking through the available targets, I picked out the Sombrero Galaxy, also known as Messier 104. This is a spiral galaxy in the Virgo constellation that resembles the shape of a sombrero, a Mexican style wide-brimmed straw hat.

As you can see here, the observation and the photography were successful. The "brim" definitely makes the galaxy easily identifiable, helped by the use of a filter to cut down the ambient light pollution. The photo isn't quite as smooth as I liked due to the field rotation inherent in the Alt-Az mount. This prevented me from using an exposure time longer than a minute, and I had to compensate with a high ISO setting.

Telescope: Celestron NexStar 6SE
Device: Sony A5000 (prime focus)
Settings: (1500mm) - ISO 3200 - 60s - (f/10)
Filters: Baader Moon & Skyglow
Time: 2018-04-18 23:08 ~ 2018-04-19 00:48 KST
Location: Naju, Korea
7 photos stacked with DeepSkyStacker 3.3.4

Today’s “The Toon-Box”

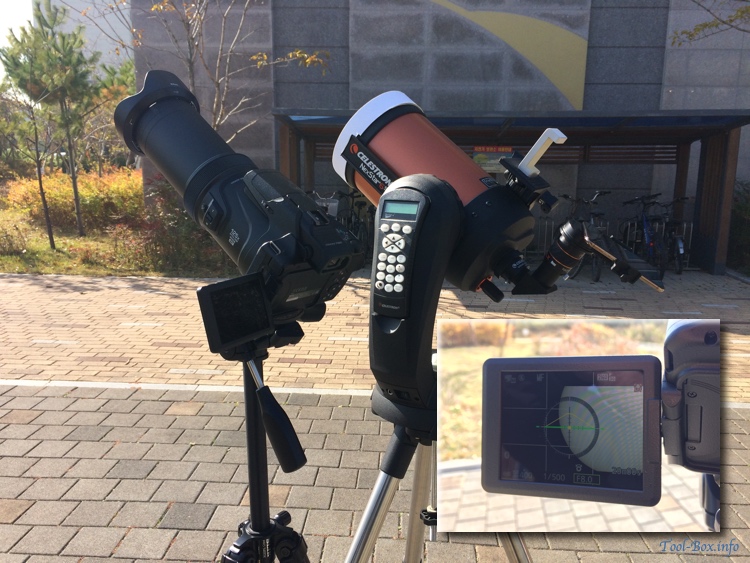
A more successful tracking of ISS

ISS as seen from Naju in April 12, 2018

After several days of clear skies, clouds have been rolling in for the past two days. Amazingly, they did thin out for a few hours in the evening, enabling me to see the ISS for two consecutive days under good conditions. Tracked observation on April 11 failed due to low battery on the telescope, but I was better prepared on April 12 and made a successful tracking.

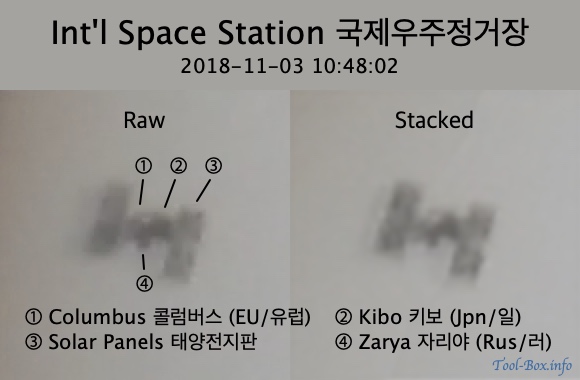
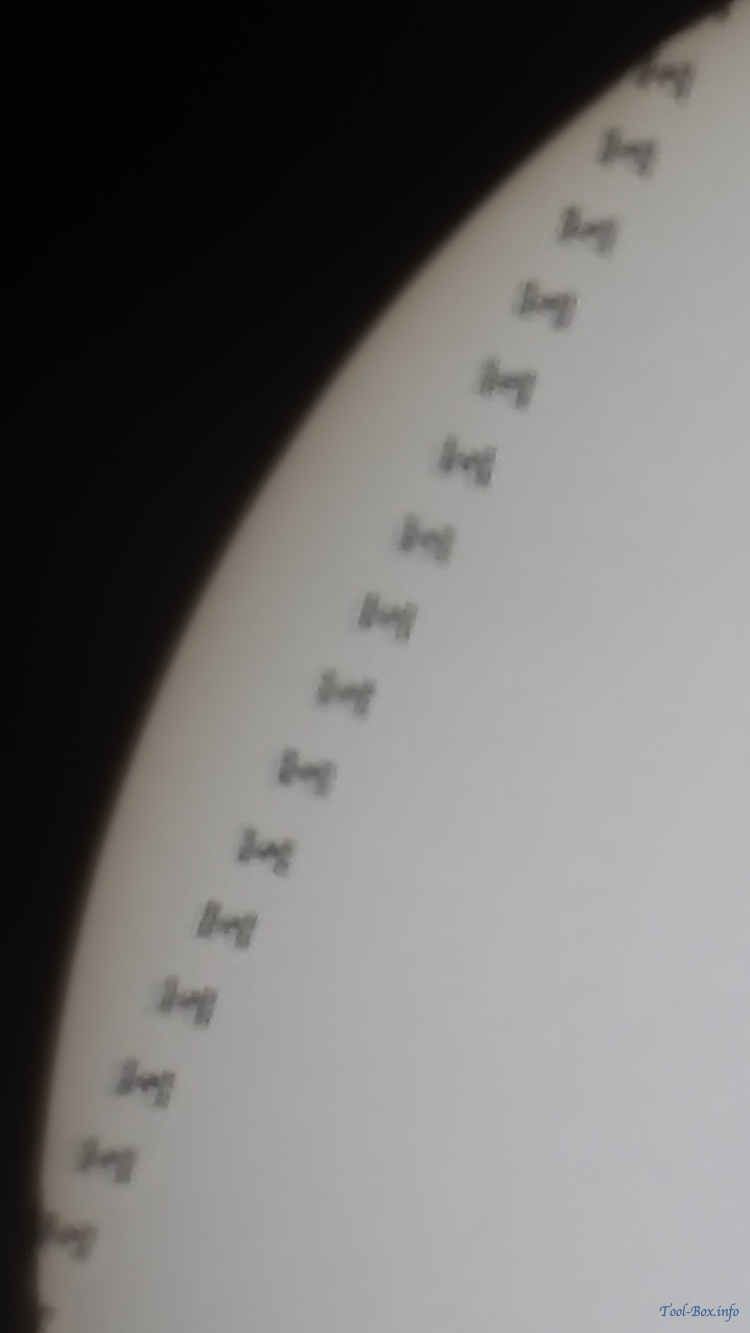
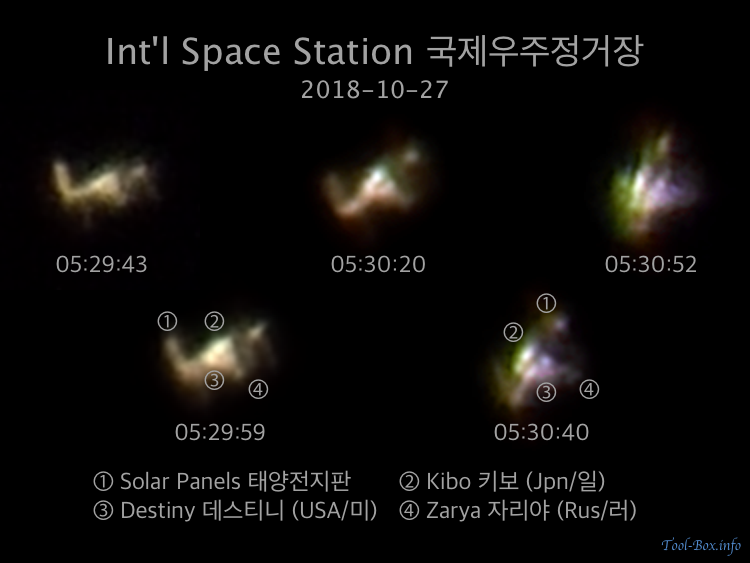
The International Space Station was 546km away from me at the closest approach at 19:38:03 (408km altitude, -3.6 mag brightness), so the second photo from the bottom right is representative of this. It is coincidentally the clearest photo I got. You can identify many of the modules - starting from the Zvezda module on the top and moving down, you can see the Zarya module in the center with two radiator panels side by side. On the bottom, you can see the cluster of Columbus-Harmony-Kibo modules in the center, with large solar panels on each end. The bright spot is likely where the SpaceX Dragon spacecraft from the CRS-14 mission is currently docked at.


As I have captured several hundreds of frames, it was sufficient enough to arrange them into this 34-second video clip. I have hosted the file on the website, and it should be watchable on a modern browser.

Telescope: Celestron NexStar 6SE + X-Cel LX 9mm eyepiece
Device: iPhone X (afocal)
Settings: 28mm - ISO 400 - 1/1500s - f/1.8
Filters: None
Date/Time: 2018-04-12 19:37-19:38 KST
Location: Naju, Korea
Photos processed with PIPP 2.5.6 and RegiStax 6.1.0.8
Defined tags for this entry: , , , , , ,

Copyright (C) 1996-2024 Woo-Duk Chung (Wesley Woo-Duk Hwang-Chung). All rights reserved.