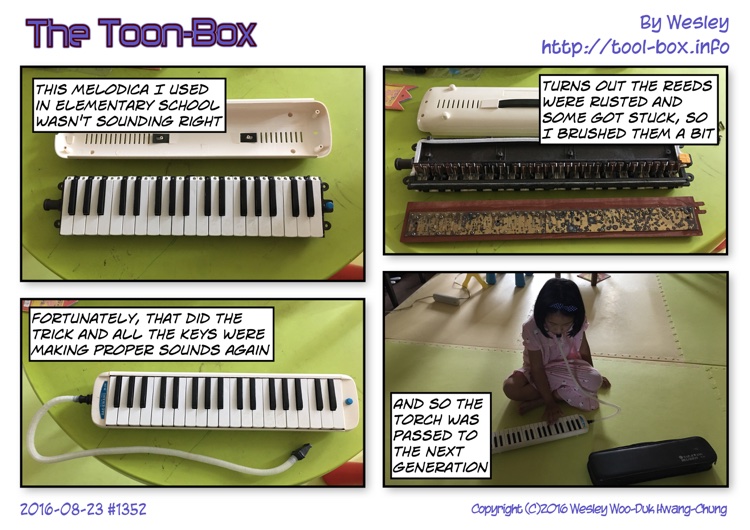
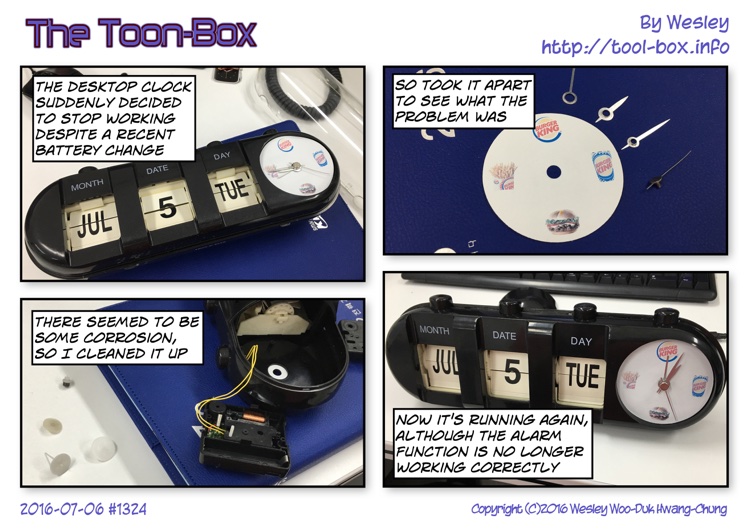
Entries tagged as repair

Site renewal ahead of blog's 20th anniversary

Updated Favicon

The first time I logged online was back in 1996, via the then-popular but now-defunct Nownuri online service. Later that year, I was able to connect to the Internet and create my own web page, hosted on another service provider's server. Internet Archives has retained a snapshot from 1999. It was the direct predecessor to this website, and it persisted until 2001 when I registered the Tool-Box.info domain, changed the blog's name to what it is now, and overhauled the design.

Then in 2005, the website was overhauled once again in order to use the Serendipity Weblog System (s9y), a PHP-based content management system, running on my home Mac mini computer. This system has been able to meet all my needs, so the basic framework has remained the same for the past 11 years. Only the updates to the software and hardware came and went in between.

When the current website was initially designed, I targeted the screen resolution of 800x600, which was more or less the minimum people's computers could do at the time. It has worked okay over the years, but the general horizontal resolution for the desktop computers had increased more than twofold, while the mobile devices often has less than half the targeted resolution even as its usage base skyrocketed. So the website's design could not serve either of the platform all that well.

This meant that I needed to redo the website design. I had considered creating a separate design for the mobile devices, but the existing solutions did not work as well as I hoped. Then I decided to try using a new theme included in the recent versions of s9y called "Next" which used the so-called "responsive web design." The theme automatically and dynamically adjusts the layout of the site content based on the screen size, which meant that I only need to keep a single theme and don't have to fiddle with web browser detection. This was the direction I wanted to take, so I got to work.

Throughout the weekend, I analyzed the ins and outs of the theme, then I made some changes to the style sheets and the template files to create a faithful successor to the original Tool-Box.info design. The graphics assets were updated or recreated to better work in multiple resolutions. If you accessed this website yesterday or the day before, you'll probably have noticed the ongoing changes. That work is now done.

Going forward, I hope the new design serves the needs of the visitors for the next decade well. The photos and the Toon-Box web toon that I upload will be in a higher resolution starting today to suit the new design, too. I have checked that the website works fine with modern web browsers with HTML5 support, for both desktop and mobile. But if you see any weird problems, feel free to notify me via the comments.
Defined tags for this entry: , ,

Today's "The Toon-Box"

Defined tags for this entry: , , , ,

Cleaning iPhone 6 Plus rear(back) camera

Removing the display assembly is the first step to most iPhone 6 Plus tinkerings

Rear camera on iPhones doesn't seem to have any gaps for dust to get in, but for some reason it gets in on rare occasions. You could take the phone to an authorized service center for either cleaning or refurbishment, or if that's not a viable option like my case, you could do the cleaning yourself.

To do that, you need to first open up the phone and separate the display assembly from the rest of the phone. The cables connecting the two are held by five screws and a cover plate, so once you take them out, the four cables can be popped off with a spudger.

Remove the cover plate to pull out the rear camera

To access the rear (back) camera, you need to remove two screws that hold the cover plate for the camera on the top right area of the phone. The screw on the left is obscured by a black pad, so you need to lift it slightly with something like a flathead screwdriver while you unscrew. The cover plate may not completely become loose, but it does not need to be.
Continue reading "Cleaning iPhone 6 Plus rear(back) camera"

iPhone 6 Plus Touch ID repair

"Failed - Unable to complete Touch ID setup. Please go back and try again."
Touch ID was not working anymore

After replacing the entire display assembly on my iPhone 6 Plus, everything seemed to be okay, except for one thing. The Touch ID sensor was not working for some reason, and it wouldn't respond to my fingerprint touches. The home button itself was working, and I could press it to go back to the home screen or call up the multitasking view.

When I went to the Settings app, Touch ID option was disabled. When I tried to re-enable it, the process immediately failed, showing the above on the screen. Also, the Reachability function that brings the screen area down half way did not work, either. This relied on lightly touching the home button quickly twice, so it must have been recognizing the fingerprint to function.

The bottom connector on the Touch ID cable wasn't in good condition

I remembered that the Touch ID cable on the display assembly's shield plate got weak while applying heat to loosen the adhesive. Thinking that maybe the connector was damaged, I ordered some replacement shield plates with the Touch ID cable on them.
Continue reading "iPhone 6 Plus Touch ID repair"

iPhone 6 Plus screen repair (Part 3)

Taking the iPhone 6 Plus display assembly apart

Seeing that the glue can no longer cleanly fix the cracked screen, I decided to order a 3rd party replacement display assembly for my iPhone 6 Plus. Currently, they're pretty expensive - easily fetching more than US$300 with shipping cost extra - and some sellers don't really have them in stock or ask for more money once you pay the listed price. In my case, it took me three tries to get one shipped, paying about $260 for the display and $35 for shipping.

With the replacement in hand, I started disassembling the phone. After removing two pentalobe screws on the bottom and lifting the screen with a suction cup, I was able to easily disconnect the display assembly from the rest of the phone. All I needed to do was to take off the five screws holding the cable bracket, and then carefully disconnect the four cables from the display assembly.

Parts separated from the display assembly

But there were a lot of modules on the display assembly that had to be separated. They did not come with the replacement display, so they had to be re-used. And in the case of the home button, the integrated Touch ID sensor is uniquely paired with the phone and any replacement will not have the fingerprint sensing enabled due to security reasons.

So I carefully removed the earpiece speaker and the front-side camera & sensor assembly on top, and then the home button on the bottom. Where they were stuck using adhesives, I used a heat gun at a setting of 50C (122F) to loosen them.
Continue reading "iPhone 6 Plus screen repair (Part 3)"

Copyright (C) 1996-2024 Woo-Duk Chung (Wesley Woo-Duk Hwang-Chung). All rights reserved.