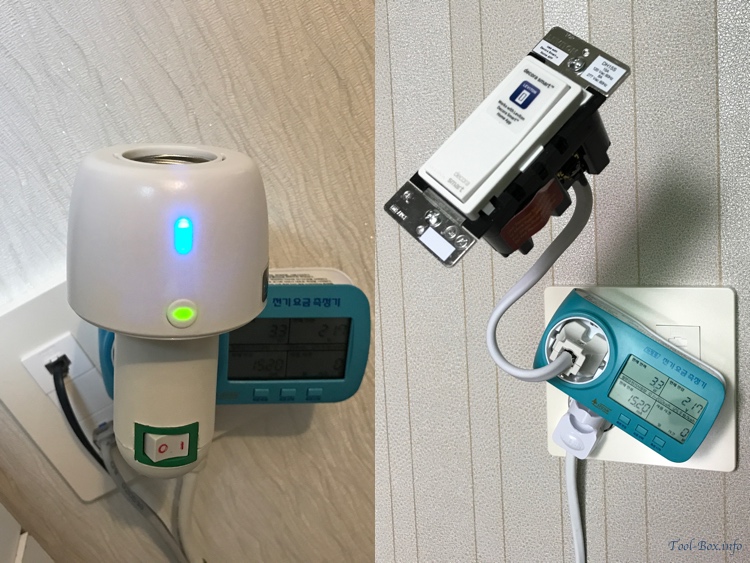
On installing and configuring HomeKit lighting
Posted by Wesley on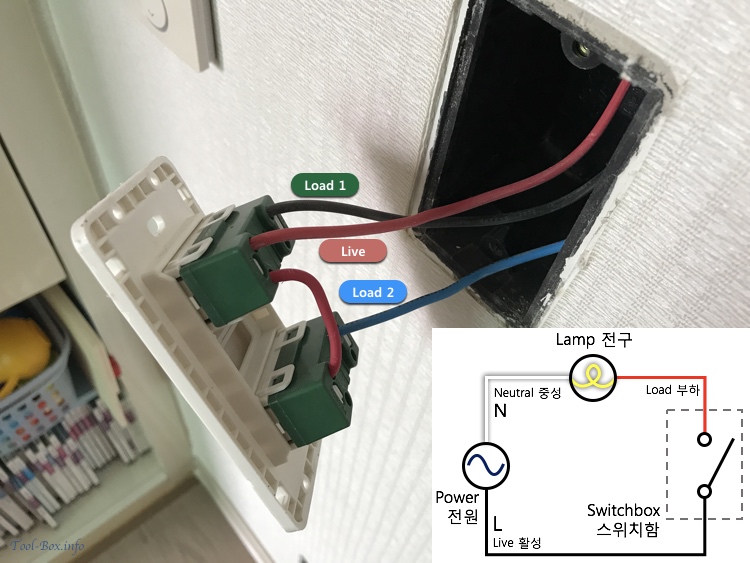
Regular light switch installation and its circuit diagram
There are some things to consider and take action when you're installing smart lighting, HomeKit enabled or not, around the house. For the light switches, the biggest concern is the presence of a neutral wire. In most cases, you need this for a smart switch to function, but many switch boxes omit this and make things complicated. To see why things are like this, we need to take a look at the circuit diagram.
For a light to turn on, it has to connect to both ends of a power source. This is generally a single-phase AC power, which can be derived from a 3-phase AC power by using one of the phase wire and a neutral point. The wire connecting to the neutral point becomes the "neutral (N)" and the phase wire, the "live (L)" as seen in the diagram.
With a regular switch, all you need to do is to connect or break the connection between the live wire and the "load" wire leading up to the lamp. Therefore, a switch box only needs to have the live wire and one or more load wires coming out of it. Number of load wires correspond to the number of controllable light fixtures, of course. Neutral wire could also be present, but it wouldn't be connected to anything because there is no need to.
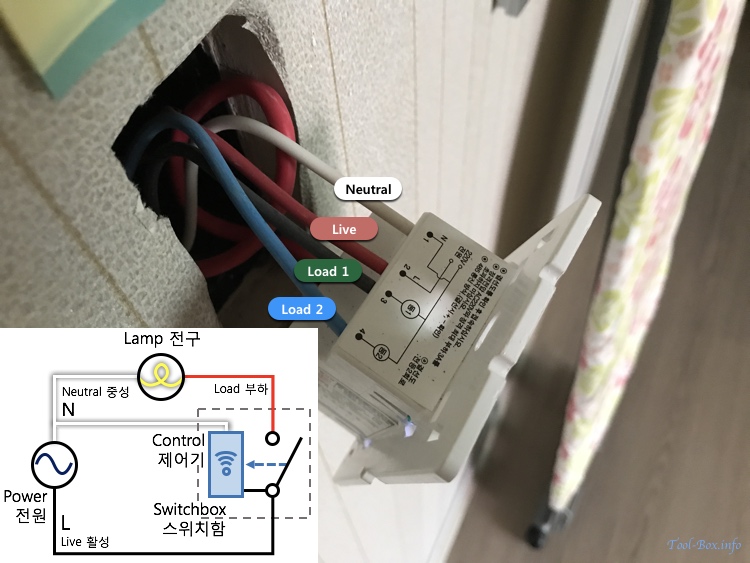
Smart light switch installation and its circuit diagram
The situation becomes different with a smart light switch. In order for the control module in the device to work, it also needs to connect to both ends of a power source, but at all times and independent of the lighting. As the live wire is already present, we need to add the neutral wire to the device as seen in the circuit diagram. With this configuration, the switch connected to the live wire and the load wire could be controlled either manually or by the control module. This is the reason why most smart light switches require the neutral wire.
The rare exceptions that can forgo the neutral wire have the control module connect between the live and the load wires. The module itself consumes little power and a very low current leaks through the load wire in the "off mode" so as to effectively prevent the lighting from turning on. But this generally requires the lighting load to be sufficiently large. If not, the leaked current may cause the lighting to flicker or cause other problems. In other words, this solution isn't as widely compatible as the switches using a neutral wire.